
Maintaining a Room Temperature Sourdough Starter ensures it's always active and ready for baking. A room temperature starter requires regular feedings and attention.
If you're an avid baker who uses sourdough frequently, keeping your starter at room temperature is a convenient way to have a strong and active culture at all times.

IS ROOM-TEMPERATURE STORAGE RIGHT FOR YOU?
Keeping your starter at room temperature makes sense if you bake frequently and want it active and ready to use. But if you bake less often or want to reduce feedings and discard, another storage method may fit your routine better.
Take my quick quiz to find the sourdough starter storage method that best fits how often you bake and how much maintenance you want.
Jump to:
Why Keep Your Sourdough Starter at Room Temperature
- A room-temperature starter stays active and can be easier to prepare for baking on short notice. It's particularly convenient if you bake daily or every few days. Use your room-temperature starter to bake this Same-Day Sourdough Bread.
- Regular feeding keeps the yeast and bacteria population robust, leading to a better rise in the flavor of your bread.
- Unlike a refrigerated starter, which may need time and one or more feedings to become fully active again, a well-maintained room-temperature starter remains consistently active.
A 1:1:1 feeding ratio (starter:water:flour by weight) is a simple starting point for maintaining a room-temperature starter.
For example: 20 grams starter + 20 grams water + 20 grams flour.
What You Will Need
Healthy Established Sourdough Starter
Flour:
- All-purpose flour works well for feeding.
- Whole wheat or rye flour can boost activity if the starter seems sluggish.
Water: I prefer using filtered or unchlorinated water when feeding my starter. If you're having trouble getting your starter to become active, your water source is one variable worth considering.
If your tap water contains chlorine, allowing it to sit uncovered may help the chlorine dissipate. Chloramine, however, doesn't dissipate as easily, so filtered water may be a better option.
Visit the Environmental Protection Agency's website to view your local Consumer Confidence Report.
If you must use city water, let it sit out overnight before adding it to your sourdough starter. This length of time should be sufficient to allow the chlorine to dissipate.
If your city uses chloramine, leaving the water out on the counter won't do much. It is best to stick with filtered water.
A Clean Jar or Container with a Lid: I like to use 1-quart glass canning jars.
Digital Scale: When baking and creating a sourdough starter, accurate measurements are important.
The absolute easiest way to maintain this ratio is to always use a digital kitchen scale to measure your ingredients. When starting and maintaining a sourdough starter, accuracy matters. Weight measurements are more accurate than volume measurements.
This scale from OXO is the one I use after it was recommended by Alton Brown. What makes this scale great is that the display pulls out to make viewing measurements easier when using a large bowl.
Rubber Band: A rubber band is useful for marking the height of your starter so you can keep track of how much it has risen since its last feeding.
For more information, check out my blog post on choosing the best containers for storing sourdough starters.
I also have a sourdough gift guide that lists all of my favorite sourdough products.
How to Feed a Room Temperature Starter
To keep your starter healthy, it should be fed at least once a day. In warmer weather, you may need to feed it twice per day. Here's a simple feeding routine:

Step 1: Remove about half of your starter. Instead of throwing it away, save it for later and find a sourdough discard recipe based on how much you have.
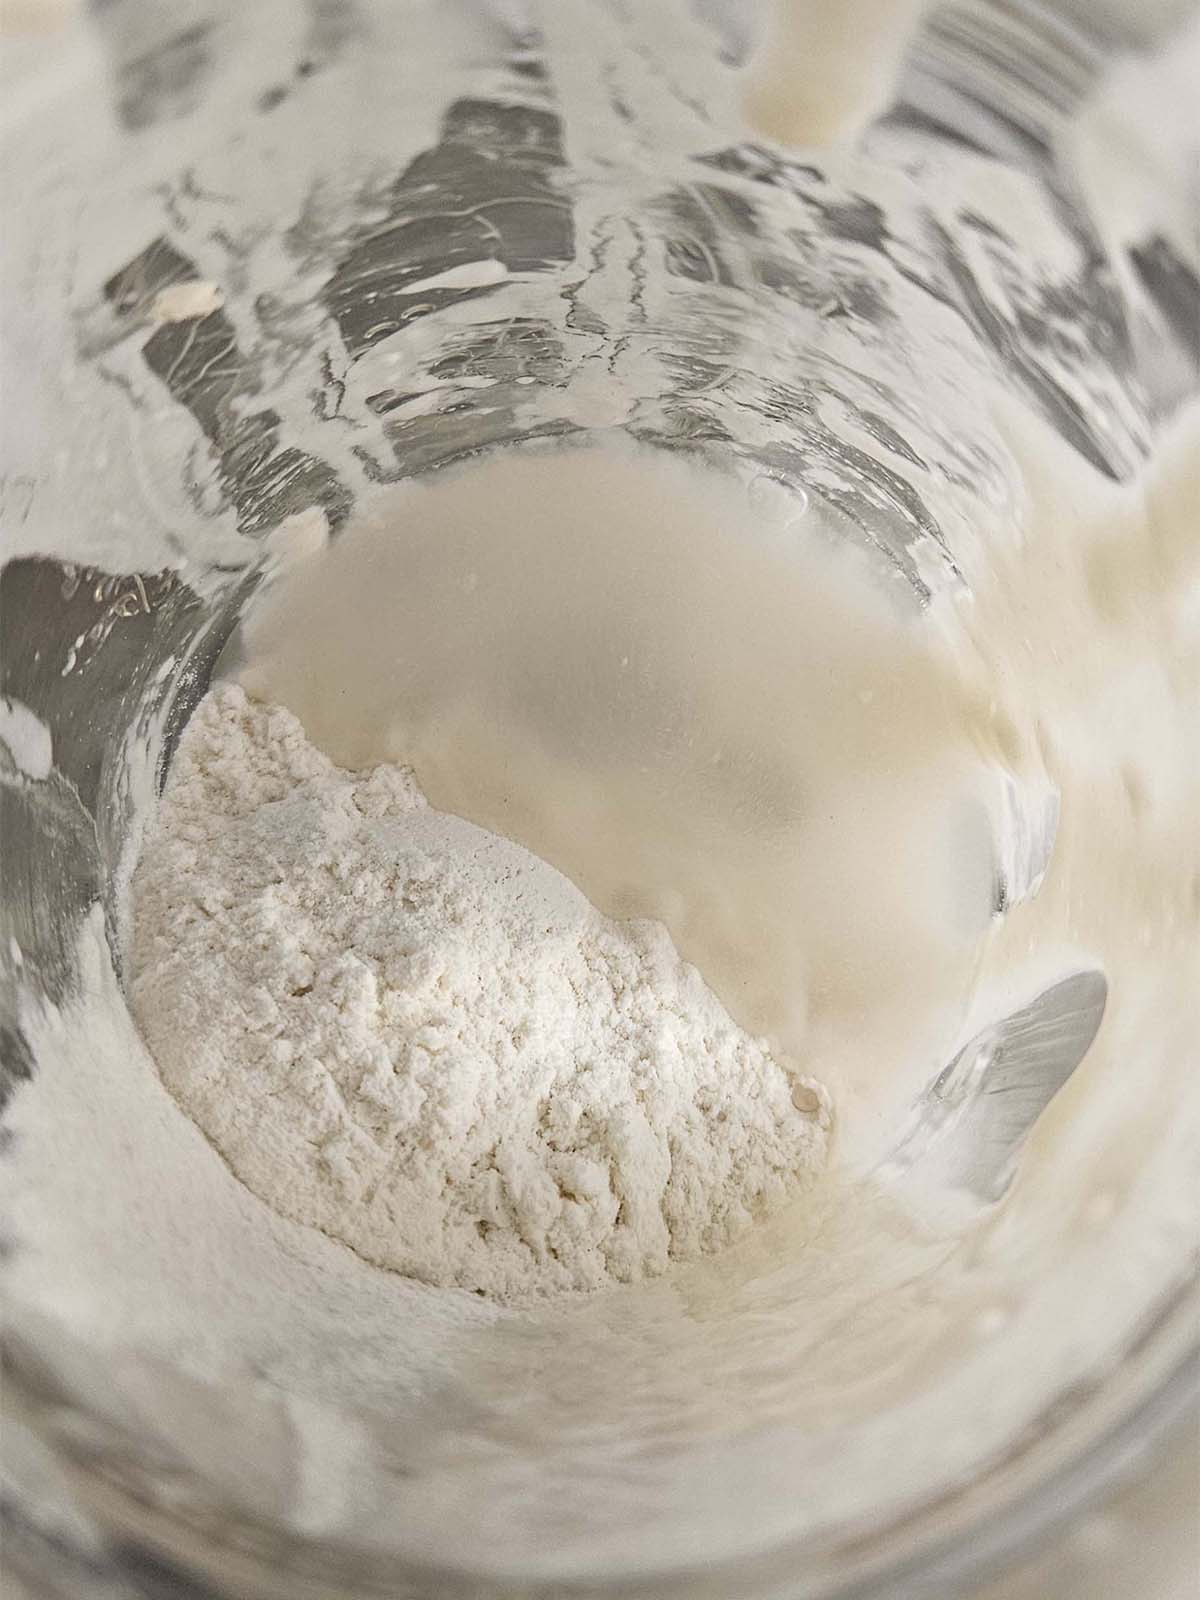
Step 2: Add 20 grams of flour and 20 grams of water.
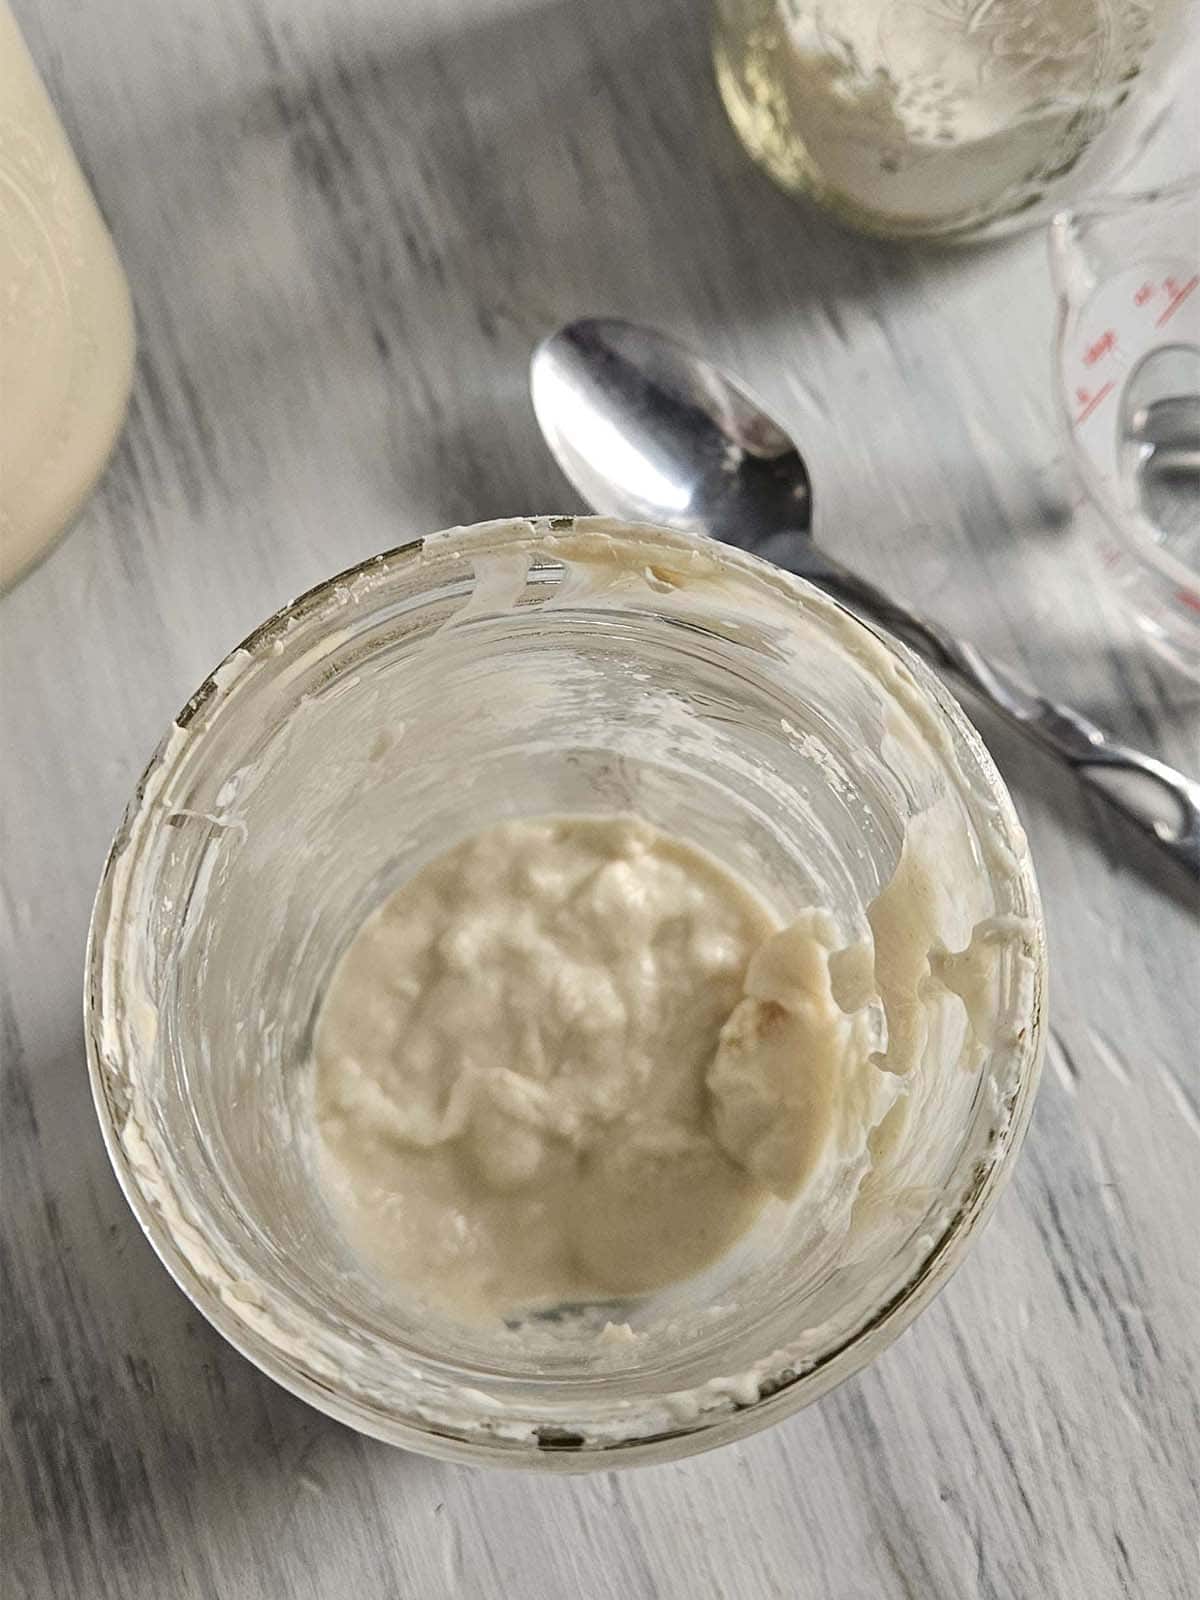
Step 3: Stir until thoroughly combined.
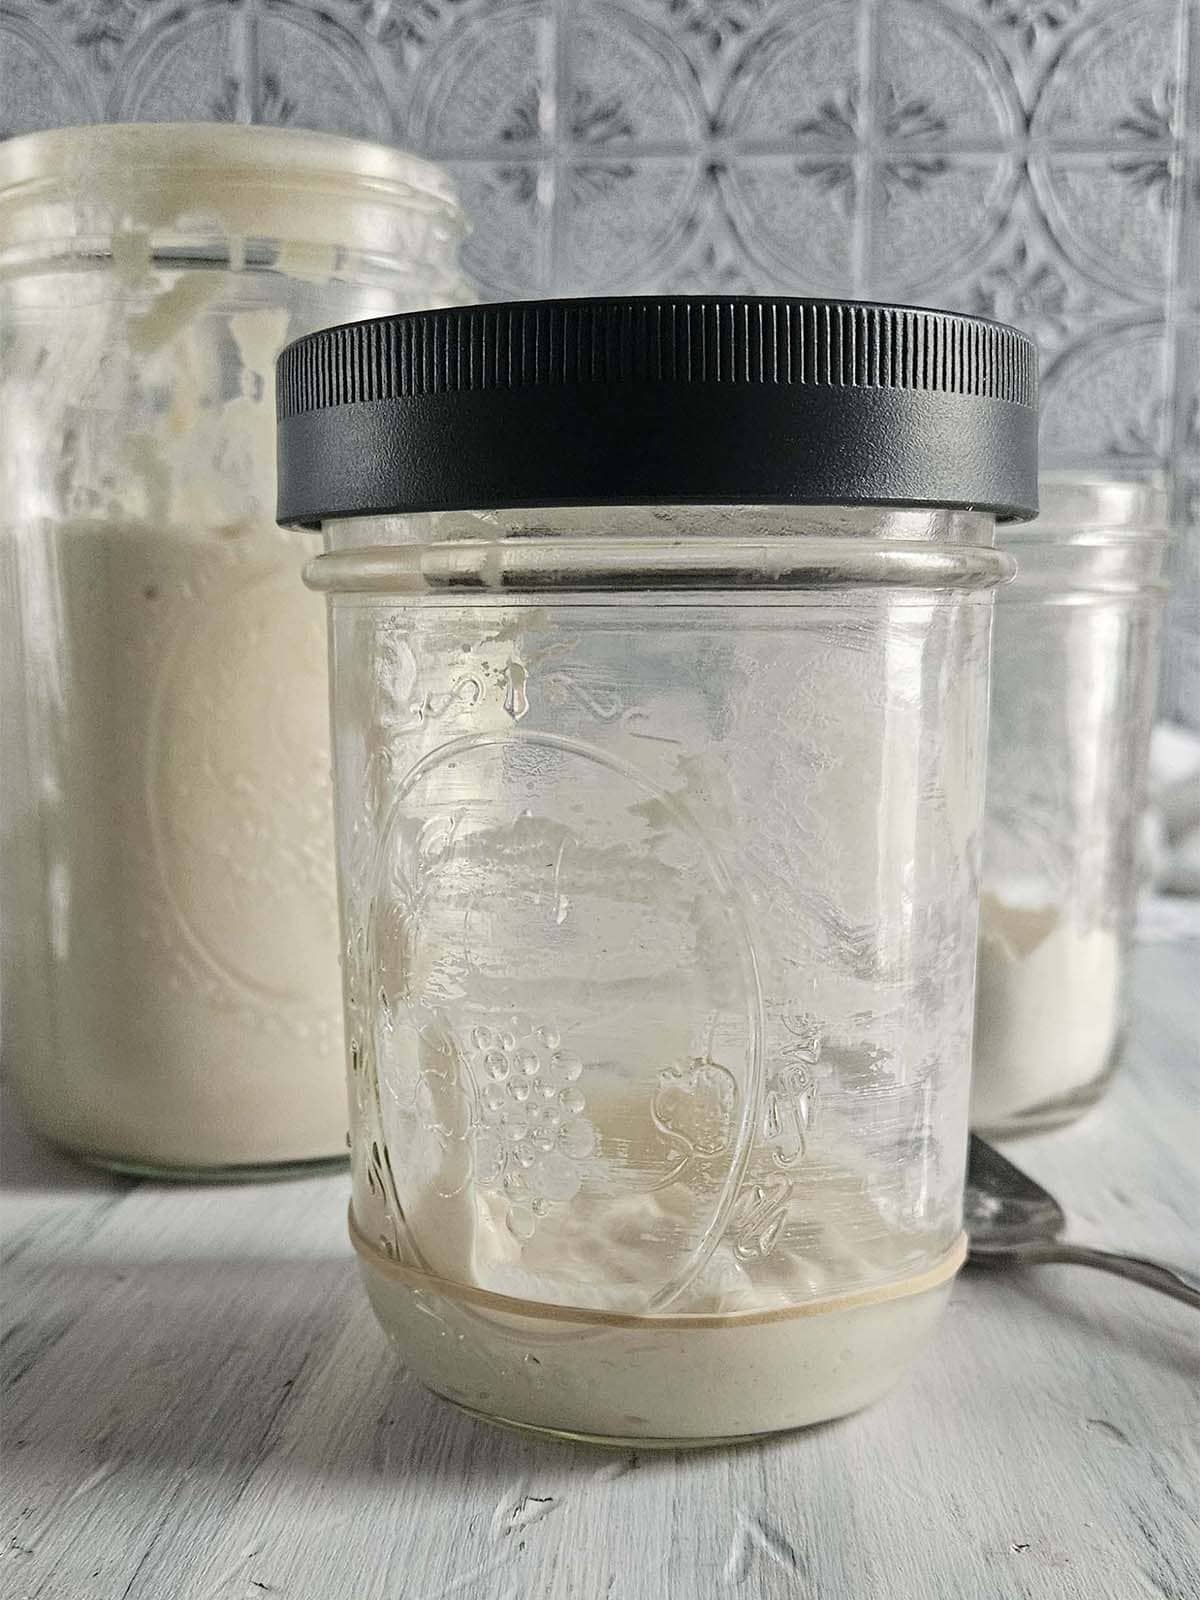
Step 4: Cover the jar with a lid that isn't completely tightened and leave it at room temperature.
Signs of a Healthy Starter
- Bubbly and Active: Your starter should rise and fall predictably after each feeding.
- Mildly Tangy Aroma: A healthy starter smells pleasantly sour, slightly yeasty, and not overly acidic.
- Doubling in Size: A well-maintained starter should double in volume within 4-6 hours after feeding.
Troubleshooting Common Sourdough Starter Issues
- The starter is Too Runny: Add slightly more flour or use bread flour or another high-protein flour to help create structure to maintain a thicker consistency.
- Not Bubbling or Rising: Your starter may be underfed or kept in a too-cold environment. Increase feeding frequency or move it to a warmer spot {70-75°F (21-24°C) is ideal}.
- Overly Sour or Hooch Formation: If liquid (hooch) collects on top, your starter is hungry. Stir it in or pour it off and feed more frequently.
- Mold or Off Smells: If your starter develops mold or smells rotten, discard the entire starter-it's unsafe to use. This is one of the reasons I keep a dehydrated starter on hand as an insurance policy.
Adjusting for Different Baking Schedules
Room-temperature storage works best when you bake frequently enough to benefit from keeping your starter continuously active. If you find yourself regularly skipping feedings or going several days between bakes, refrigeration or another lower-maintenance method may be a better fit.
Not sure which approach works best for your baking schedule? Take my Sourdough Starter Storage Quiz to compare your options.
FAQs
To keep your starter healthy, it should be fed at least once a day. In warmer weather, you may need to feed it twice per day.
The ideal temperature range is between 70-75°F (21-24°C) to keep the yeast and bacteria active.
You can skip a day occasionally, but your starter may become sluggish. Refresh it with extra feedings if needed.
This is due to hooch formation, meaning your starter is hungry. Stir it in or discard it and feed it more frequently.
If you see mold, pink/orange streaks, or smell anything foul (like rotten eggs), discard and start fresh.
Expert Tips
- Always use clean utensils to avoid contamination.
- Maintain a consistent feeding schedule to keep the starter predictable.
- Adding warm water can help speed up the fermentation process if your house is chilly. But use caution. When adding water, make sure it is not hotter than 110°F (43°C). Water temperatures above 110°F (43°C) will kill your starter.
- Mark your container with a rubber band to track how much the starter rises after feeding.
- Adjust the hydration as needed. If your kitchen is very warm, a slightly thicker starter can slow down fermentation and prevent over-acidification.
- Monitor your water source. If you suspect your tap water contains chlorine, switch to filtered or dechlorinated water to avoid harming the microbes.
- Keep a backup starter. Dehydrate a small portion of your starter as insurance against accidental spoilage.
Wondering what to make with your sourdough discard?
Regular starter feedings can leave you with plenty of discard. Find a recipe based on how much sourdough discard you have on hand.
📖 Recipe

How to Maintain a Room-Temperature Sourdough Starter
Equipment
- clean jar with a lid
- rubber band
Ingredients
- sourdough starter recently fed and active
- flour
- water
Instructions
- Remove starter until 20 grams remain in the jar. Save the portion you removed for discard recipes or discard it.
- Add 20 grams of flour and 20 grams of water.
- Stir until thoroughly combined.
- Cover the jar with a lid that isn't completely tightened and leave it at room temperature.
Notes
- Always use clean utensils to avoid contamination.
- Maintain a consistent feeding schedule to keep the starter predictable.
- Adding warm water can help speed up the fermentation process if your house is chilly. But use caution. When adding water make sure it is not hotter than 110°F (43°C). Water temperatures above 110°F (43°C) will kill your starter.
- Mark your container with a rubber band to track how much the starter rises after feeding.
- Adjust the hydration as needed. If your kitchen is very warm, a slightly thicker starter can slow down fermentation and prevent over-acidification.
- Monitor your water source. If you suspect your tap water contains chlorine, switch to filtered or dechlorinated water to avoid harming the microbes.
- Keep a backup starter. Dehydrate a small portion of your starter as insurance against accidental spoilage.




Comments
No Comments