I love my sourdough starter but sourdough starter maintenance can be a labor of love. If you ever want to take a long break from your sourdough, learning How to Dehydrate and Rehydrate Your Sourdough Starter is an important piece of sourdough knowledge.
If you need help creating your own sourdough starter check out this post: How to Create and Maintain a Small Sourdough Starter

A dehydrated starter protects your starter from mold, neglect, and accidents. No matter what happens, you will always have a sourdough backup.
I first started thinking about sourdough starter preservation after I accidentally baked mine. I had placed it in the oven with the light on to encourage it to grow more quickly on a cold winter day. I forgot it was in the oven and started preheating the oven to fix some chicken nuggets for my son.
Luckily, I had some recently discarded sourdough starter in the refrigerator that I was able to revive, but I knew I needed a more reliable backup.
Once dehydrated, all the good bacteria and yeast that give your sourdough lift and flavor are still there, waiting for reactivation.
You can also use the Scrapings Method for Maintaining a Sourdough Starter to minimize your sourdough discard, Store Your Sourdough Starter in the Refrigerator, or Keep Your Starter at Room Temperature.
Jump to:
- Why Should You Dehydrate Your Sourdough Starter?
- How to Dry Sourdough Starter for Storage
- How to Speed Up the Drying Process Without a Dehydrator
- Troubleshooting Dehydrating Sourdough Starter
- How to Rehydrate Dried Sourdough Starter
- Troubleshooting Rehydrating Dried Sourdough Starter
- FAQs
- Expert Tips
- More Sourdough Tips
- 📖 Recipe
- Save This Recipe to Your Email
- 💬 Comments
Why Should You Dehydrate Your Sourdough Starter?
- Dehydrating sourdough starter provides long-term sourdough starter storage with minimal maintenance. Unlike a refrigerated or frozen starter, a dehydrated starter can last indefinitely in an airtight container.
- You don't have to feed it regularly, making it a great option for vacations or life's busy seasons.
- Drying sourdough starter makes it easier to package and mail to friends and family. If you purchase sourdough starter online, it has most likely been dehydrated to make it easier to ship.
- If something happens to your active starter, you have a dehydrated version ready to revive. Creating your own sourdough starter takes time. Dehydrated starter is a shortcut.
Drowning in sourdough discard? Try one of these delicious recipes: Sourdough Cream Cheese Pumpkin Muffins, Sourdough Breakfast Recipes, Sourdough Discard Pancakes, Sourdough Nutella Cookies.
How to Dry Sourdough Starter for Storage
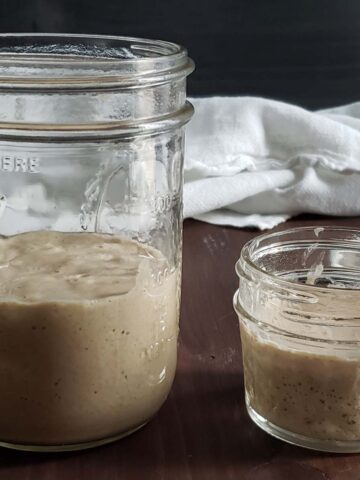
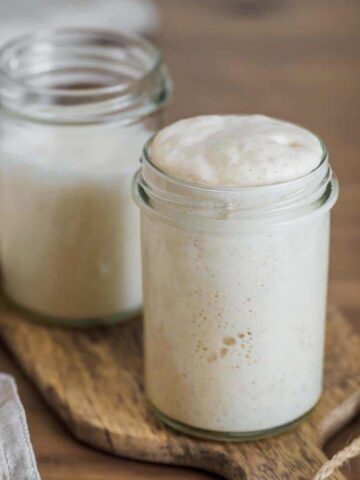
For the best results, start with an active and healthy sourdough starter that was recently fed and is bubbly. I also suggest waiting until your sourdough starter is mature meaning it is at least a few months old.
Tip: A sluggish or unfed starter may not revive as well after dehydration. If needed, feed it a day before dehydrating and allow it to reach peak activity.

Step 1: Line a baking sheet with parchment paper or a silicone baking mat. Pour a thin layer of active starter onto the parchment paper and spread it evenly using an offset spatula. The thinner the layer, the faster it will dry.

Step 2: Let the starter dry completely at room temperature in a dry, well-ventilated area. This can take anywhere from 12 to 24 hours depending on the humidity.
Tip: I leave my sourdough starter on the counter with my kitchen's ceiling fan on to provide some air flow.
Tip: Don't be tempted to place your sourdough starter in a low oven. The lowest setting on my oven is 170°F (76°C). That is too warm and will kill the yeast in your sourdough starter.

Step 3: Once the starter is completely dry, brittle, and easy to break into flakes, break the dried starter into small pieces or grind it into a fine powder using a food processor or blender.

Step 4: Store it in an airtight container, glass jar, or vacuum-sealed bag in a cool, dark place. Label it with the date and contents.
Tip: If any areas are still sticky or soft, allow it to dry longer. Once dry your starter should weigh half as much as it did when it was still wet.
How to Speed Up the Drying Process Without a Dehydrator
The fastest way to dehydrate a sourdough starter is to use a dehydrator.
- Line the tray for your dehydrator with parchment paper. Pour a thin layer of active starter onto the parchment paper and spread it evenly using an offset spatula. The thinner the layer, the faster it will dry.
- Set your dehydrator to 95-100°F (35-38°C).
- Dehydrate for 4-6 hours until the starter is completely dry.
If you want to dry your starter out faster, but don't own a dehydrator I have two suggestions.
- Heat your oven to its lowest temperature and then turn it off. Place an oven thermometer inside of the oven and only add your sourdough starter after the temperature has dropped below 98°F (37°C).
- Or place the sourdough starter that has been thinly spread across a piece of parchment paper in the oven, close the door, and turn on the oven light. The gentle heat from the light bulb will speed the drying process up. Similar to using a 100-watt lightbulb in an Easy Bake Oven.
Tip: If you do decide to use your oven, I suggest placing a post-it note or towel over the oven's on button to prevent someone from accidentally baking your sourdough starter.
Troubleshooting Dehydrating Sourdough Starter
- Starter is not drying properly: Ensure the layer is thin and placed in a dry, ventilated area. If using an oven, keep the temperature below 100°F to avoid killing the yeast.
- Starter develops an off smell while drying: This could be due to contamination. Always use a clean surface and dry it in a low-humidity environment.
- Dried starter is too sticky: If it remains tacky, it has not fully dried. Allow it to air dry longer or use a dehydrator at a low temperature.
How to Rehydrate Dried Sourdough Starter
Reviving your sourdough starter is easy.

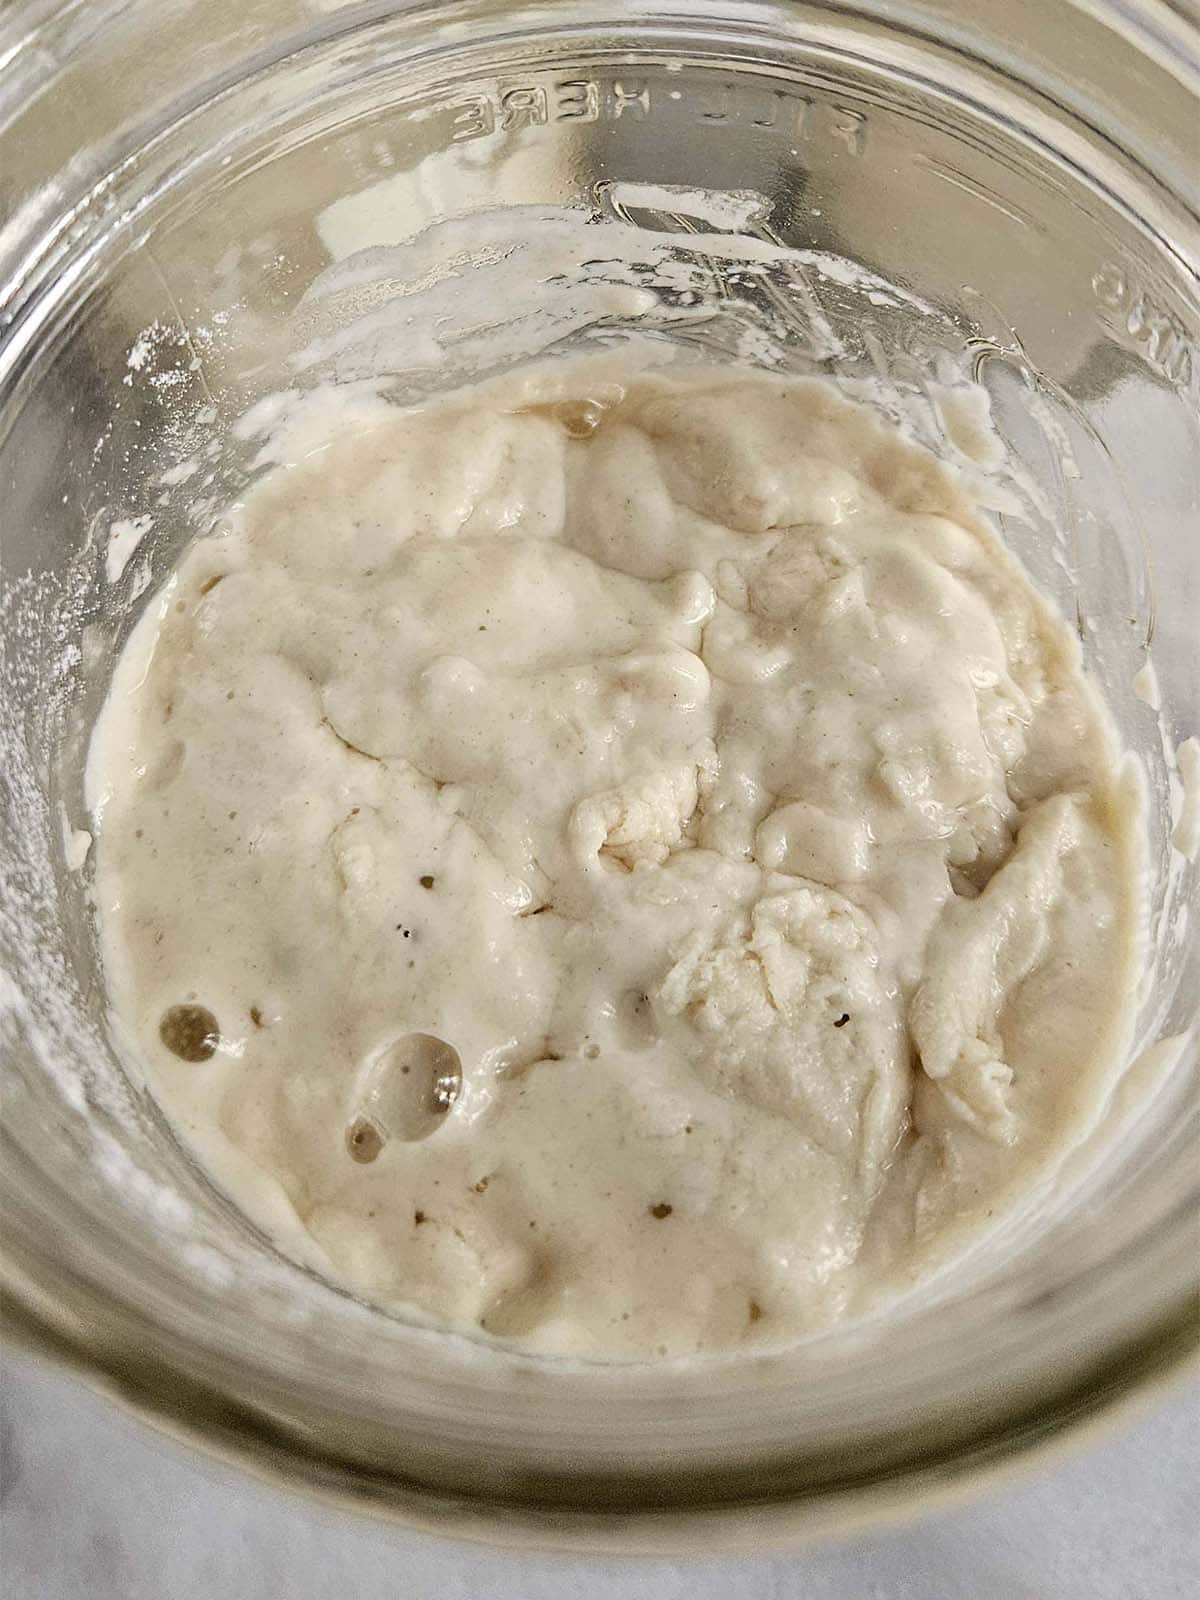
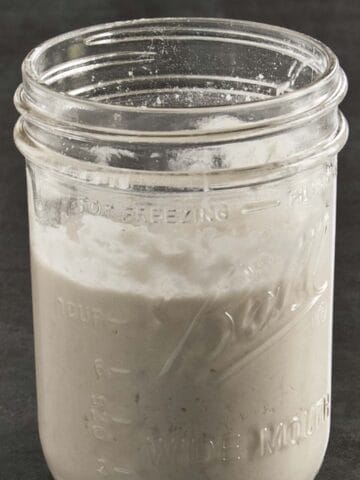
Step 1: Stir together 15 grams of dried starter and 30 grams of water. The sourdough flakes should be completely submerged. Allow the mixture to sit for 1 hour stirring occasionally until the sourdough flakes have completely dissolved.
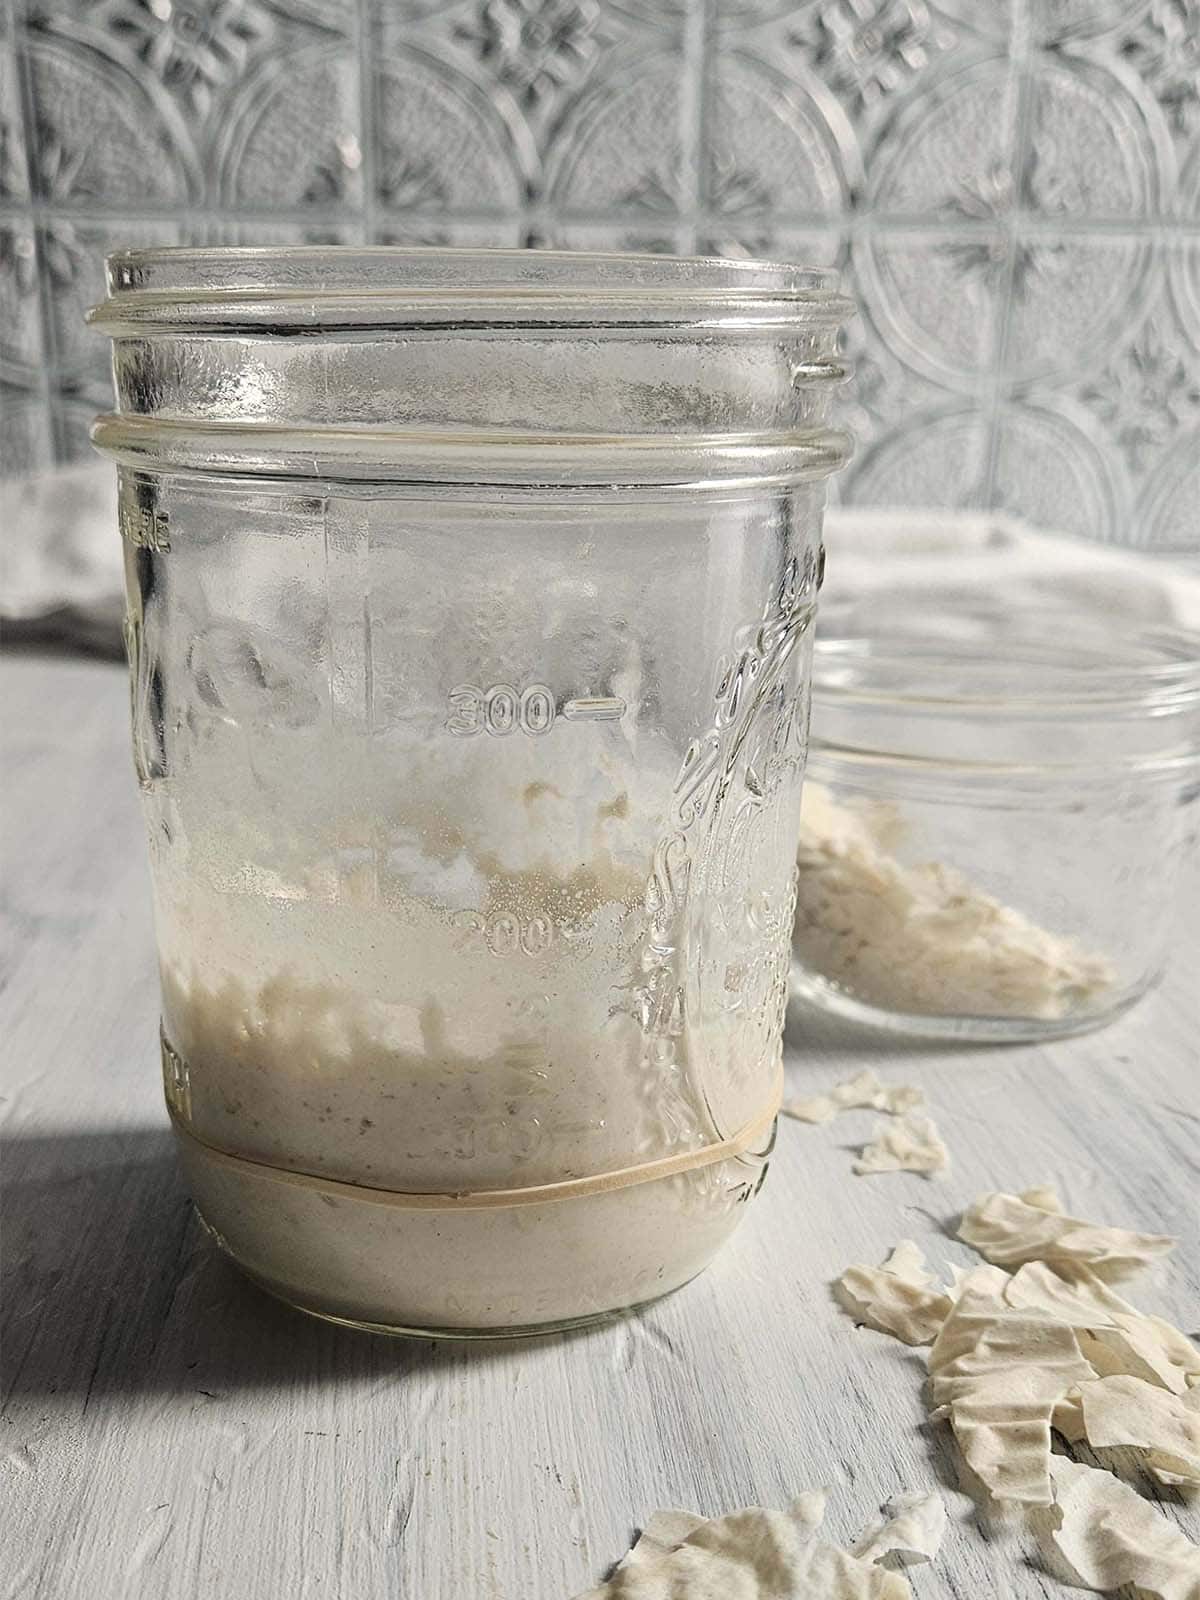
Step 2: Add 15 grams of flour and 15 grams of water. Stir to combine.
Wait until the mixture is nice and bubbly and has doubled in size. The length of time this will take will depend on the temperature of your home.
Tip: If you have ground your dried sourdough into a fine powder you can probably skip the soaking portion of step 1. Go ahead and add 15 grams of dried sourdough, 15 grams of flour, and 45 grams of water to your jar and stir to combine. Wait until the mixture is bubbly and doubled in size and proceed to step 3.
Step 3: Discard all but 20 grams of the starter. Add 20 grams of flour and 20 grams of water. Stir well and let sit at room temperature for twelve hours. It should double in size.
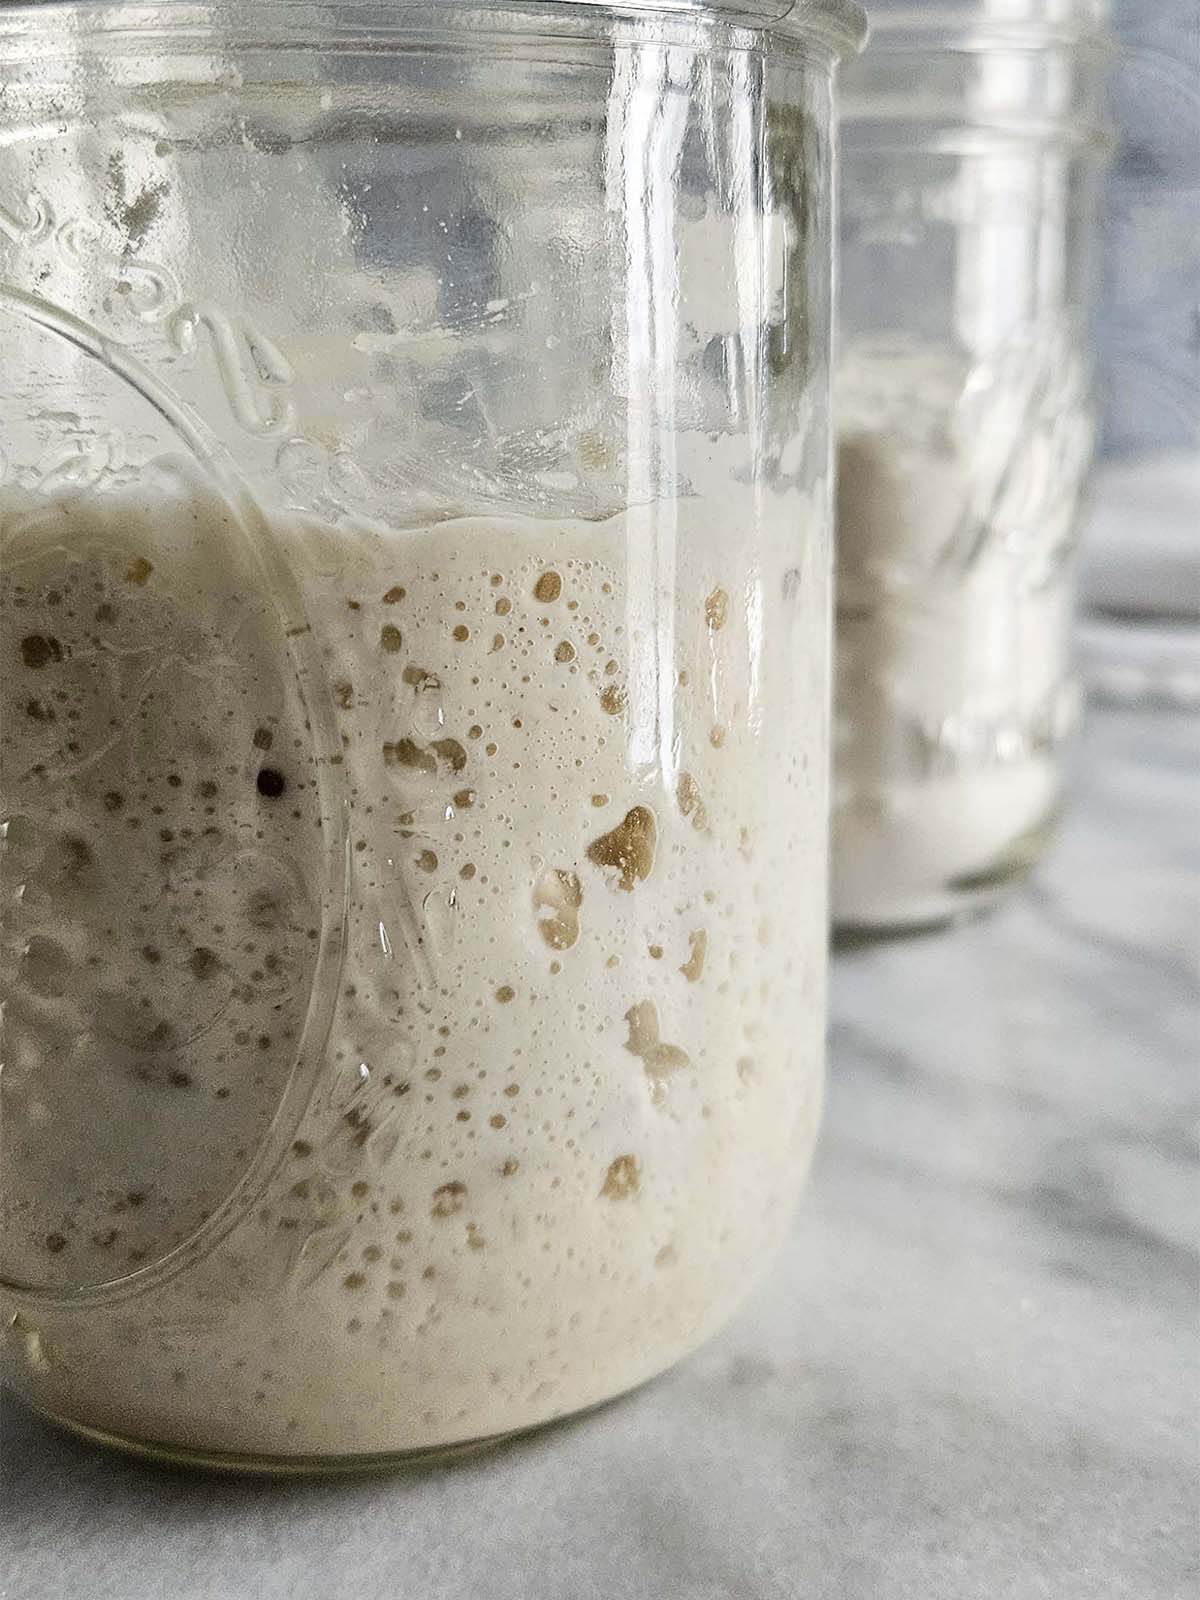
Step 4: To strengthen your starter, feed it twice daily, discarding all but 20 grams and feeding it equal amounts of flour and water each time, until it becomes bubbly and active. This usually takes 3-5 days.
Once your starter is consistently rising and doubling in volume, it's ready for use.
You can then return to your regular storage method and feeding schedule.
Tip: A cold kitchen could slow down the reactivation process. To speed this process up, place the rehydrated starter in your oven with the oven light on. The inside of your oven should heat up to about 85°F (30°C).
Troubleshooting Rehydrating Dried Sourdough Starter
- Starter does not dissolve in water: Try breaking it into smaller flakes or letting it soak longer before adding flour.
- Starter is not bubbling after several feedings: Ensure you are feeding with equal parts flour and water by weight. It may take longer if the original starter was weak before dehydration.
- Starter has a strange smell after rehydration: A slightly sour smell is normal, but if it smells rotten or moldy, discard and start over.
- Starter is not doubling in size: Continue feeding twice a day and keep it in a warm environment (70-75°F) to encourage yeast activity.
FAQs
Yes, it's best to feed your starter a day before dehydrating so it's at peak activity, ensuring a strong culture when rehydrated.
Yes, a dehydrator set to 95-98°F (35-37°C) is a great option for even drying without damaging the starter. Be sure to line the trays with parchment paper before you spread the starter.
Keep it in an airtight container, such as a glass jar, vacuum-sealed bag, or zip-top bag, and store it in a cool, dark place.
A dehydrated sourdough starter can last indefinitely if stored properly in an airtight container in a cool, dark place.
An amateur gastroegyptologist used 4,500-year-old yeast grains to bake a loaf of bread.
Yes, once fully revived, your starter will regain its original characteristics and flavor profile.
Expert Tips
- Always use clean utensils to avoid contamination.
- A well-established, active starter with strong fermentation activity will dehydrate and revive more successfully than a weak or unfed starter.
- Give your starter a fresh feeding 12-24 hours before drying to ensure it is at peak activity.
- The thinner you spread the starter on your parchment paper or silicone mat, the faster and more evenly it will dry.
- Ensure the dried starter is completely dry before storing, as any residual moisture can cause mold.
- Keep dehydrated starter in an airtight container, such as a glass jar, vacuum-sealed bag, or zip-top bag, and store it in a cool, dark place.
- Once fully dried, grinding your starter into a fine powder can help it rehydrate more quickly when you're ready to revive it. Make sure your blender or food processor is completely dry. You do not want to accidentally introduce moisture.
More Sourdough Tips

Thanks for Reading!
If you try this recipe, let me know! Leave a comment and rate it below! You can also snap a picture and post it on Facebook or Instagram be sure to tag me @RaspberriesandKohlrabi.
Subscribe to get more recipes and tips by email.
📖 Recipe

How to Dehydrate and Rehydrate Your Sourdough Starter
Equipment
- parchment paper or silicone baking mat
Ingredients
- sourdough starter recently fed and active
Instructions
Dehydrating Sourdough Starter
- Line a baking sheet with parchment paper or a silicone baking mat. Pour a thin layer of active starter onto the parchment paper and spread it evenly using an offset spatula. The thinner the layer, the faster it will dry.
- Let the starter dry completely at room temperature in a dry, well-ventilated area. This can take anywhere from 12 to 24 hours depending on the humidity.
- Once the starter is completely dry, brittle, and easy to break into flakes, break the dried starter into small pieces or grind it into a fine powder using a food processor or blender.
- Store it in an airtight container, glass jar, or vacuum-sealed bag in a cool, dark place. Label it with the date and contents.
Rehydrating Sourdough Starter
- Stir together 15 grams of dried starter and 30 grams of water. The sourdough flakes should be completely submerged. Allow the mixture to sit for 1 hour stirring occasionally until the sourdough flakes have completely dissolved.
- Add 15 grams of flour and 15 grams of water. Stir to combine.Wait until the mixture is nice and bubbly and has doubled in size. The length of time this will take will depend on the temperature of your home.
- Discard all but 20 grams of the starter. Add 20 grams of flour and 20 grams of water. Stir well and let sit at room temperature for twelve hours. It should double in size.
- To strengthen your starter, feed it twice daily, discarding all but 20 grams and feeding it equal amounts of flour and water each time, until it becomes bubbly and active. This usually takes 3-5 days.Once your starter is consistently rising and doubling in volume, it's ready for use.You can then return to your regular storage method and feeding schedule.
Notes
- Always use clean utensils to avoid contamination.
- A well-established, active starter with strong fermentation activity will dehydrate and revive more successfully than a weak or unfed starter.
- Give your starter a fresh feeding 12-24 hours before drying to ensure it is at peak activity.
- The thinner you spread the starter on your parchment paper or silicone mat, the faster and more evenly it will dry.
- Ensure the dried starter is completely dry before storing, as any residual moisture can cause mold.
- Keep dehydrated starter in an airtight container, such as a glass jar, vacuum-sealed bag, or zip-top bag, and store it in a cool, dark place.
- Once fully dried, grinding your starter into a fine powder can help it rehydrate more quickly when you're ready to revive it. Make sure your blender or food processor is completely dry. You do not want to accidentally introduce moisture.


Comments
No Comments