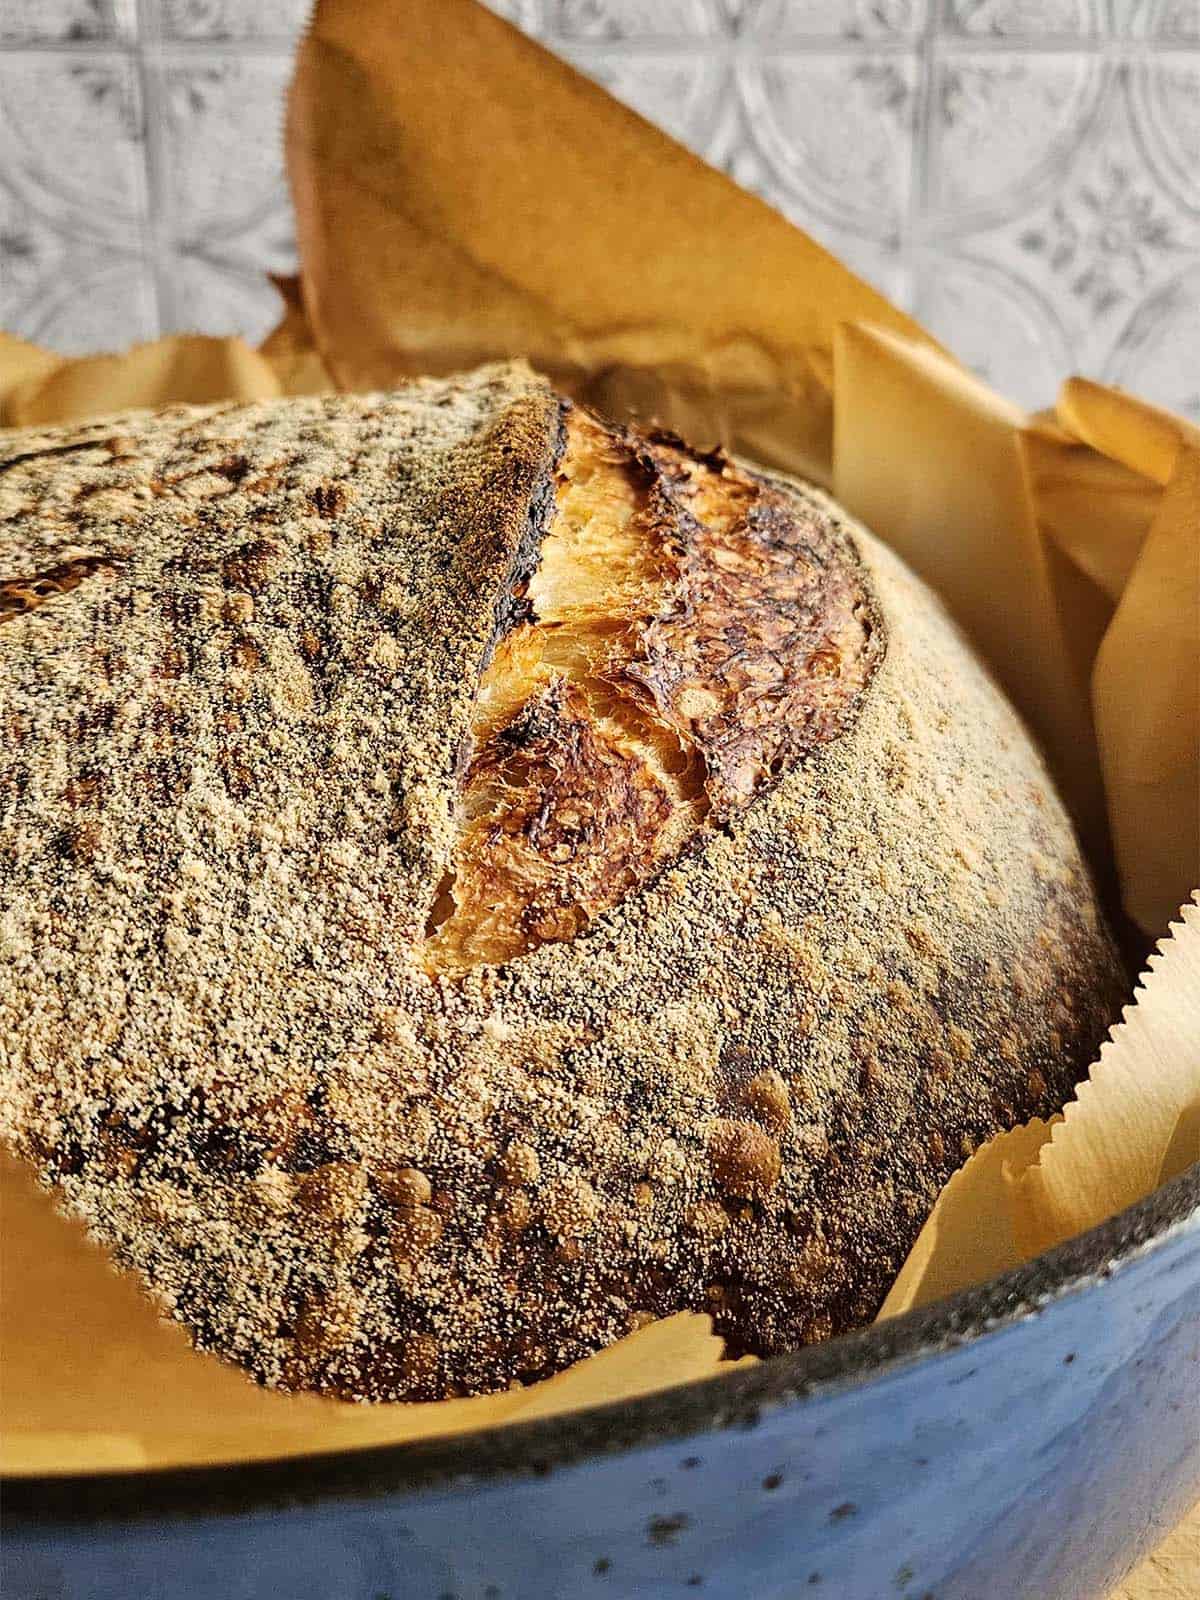
Most of the time, I like to plan ahead-but every now and then, I wake up wanting fresh bread that same day. That's exactly why I created this same-day sourdough bread recipe. It's designed to take you from mixing to baking in just a few hours.
Yes, you can make sourdough bread in just one day with your sourdough starter, without adding commercial yeast. This fast sourdough bread is beginner-friendly with a golden brown, crusty exterior and a soft, fluffy interior.
Jump to:
Why You Will Love This Recipe
- Great for Beginners: Clear, step-by-step instructions guide you through the process, making this a simple and approachable recipe for new sourdough bakers.
- No Kneading Required: Instead of kneading, the dough develops strength through four sets of stretch and folds. No stand mixer or special equipment needed to create this artisan-style sourdough bread.
- Shortened Timeline: This sourdough bread is ready in just one day. If you prefer, you can also place the dough in the refrigerator for a cold ferment and bake it the next day.
Following a sourdough schedule can feel intimidating. This same-day sourdough recipe follows a simple timeline that can easily be adjusted to fit your day, so you don't have to plan your entire schedule around baking.
If you want a quick reference while you bake, you can also use my same-day sourdough baking checklist, which walks you through each step so you can stay on track and still enjoy a fresh homemade loaf by the end of the day.
Are you new to sourdough? I have plenty of information to help you on your sourdough journey.
- How to Create Your Own Micro Sourdough Starter
- Scrapings Method for Sourdough Starter
- How to Dehydrate Sourdough Starter
- Storing Sourdough Starter in the Refrigerator
- Storing Sourdough Starter on the Counter
- Best Containers for Storing Sourdough Starter and Discard
- How Long Does Sourdough Discard Last?
- What is the Difference Between Sourdough Starter and Sourdough Discard?
- Best Gifts for Sourdough Bakers
How can you make sourdough bread in one day?
This recipe for quick sourdough bread (well as quick as sourdough can be) relies heavily on manipulating the temperature of the sourdough starter and the dough. Cold dough rises slowly while warmer dough rises more quickly. The temperature of the dough is influenced by the temperature of the water as well as the temperature of the room. By keeping the dough warm, we can speed up fermentation time.
One trick to keep dough warm as it rises is to place it in an oven with the oven light turned on. Simply turning on the oven light raises the temperature inside my oven to between 80°F and 85°F (27°C and 29°C), depending on where I place the temperature probe.
Another trick to speed up this recipe is to use a higher amount of sourdough starter.
Because of the quicker rise time, this same-day sourdough bread has a milder flavor than bread with a longer fermentation time. You can increase the tangy flavor by moving the dough to the refrigerator for its final proof. For more information, check out my Overnight Sourdough Bread Recipe.
Recipe Ingredients for One-Day Sourdough Bread
To make the same-day sourdough bread with starter, you need just a few basic ingredients.
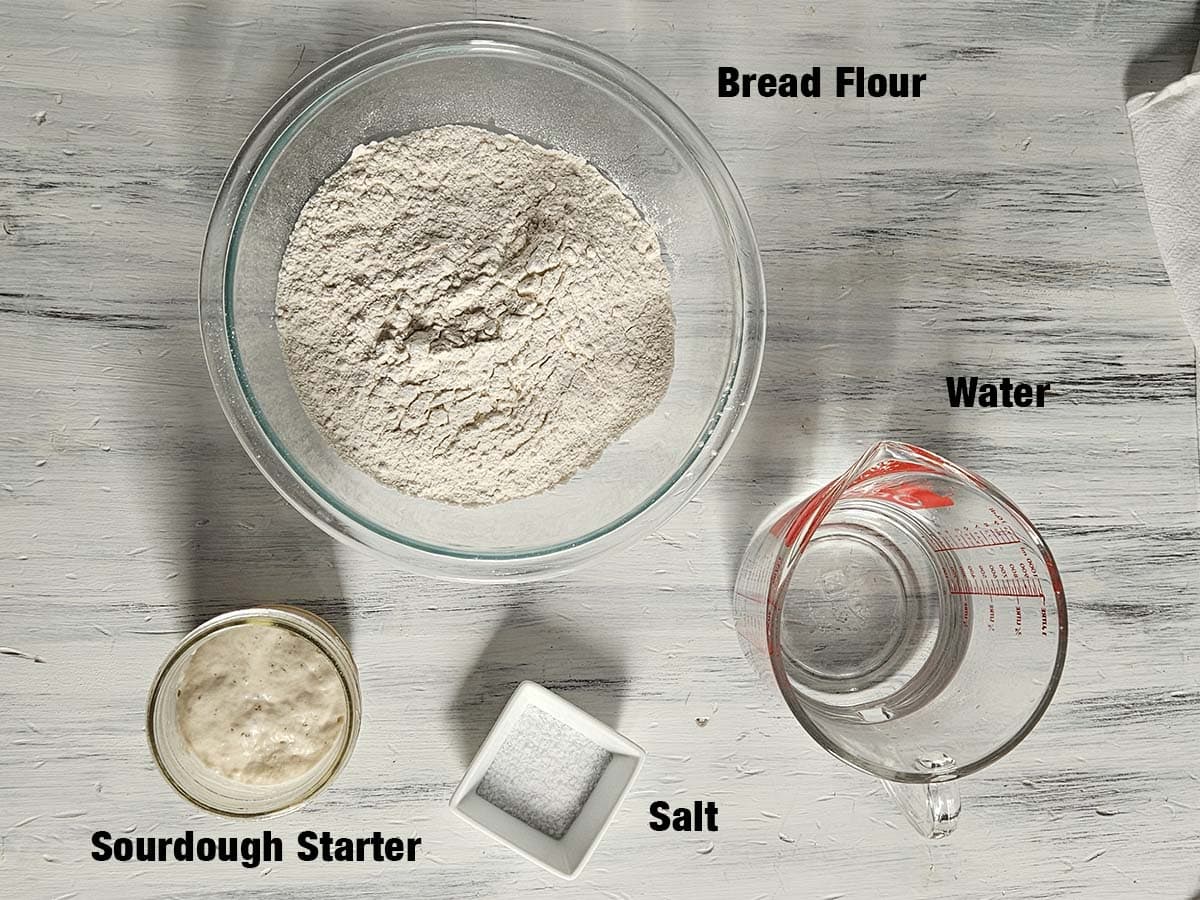
Bread Flour: Bread flour has a higher protein content (usually 12-14%) than all-purpose flour, which will add more structure to the dough.
Tip: If you don't have a digital scale, spoon the flour into the measuring cup and level it with the back of a butter knife. Try not to compress the flour into the measuring cup.
Water: One of my tricks for speeding up this sourdough loaf is to use warm water. Use the table below to help determine what temperature water you should use.
| Room Temperature | Water Temperature |
| 60°F (15°C) | 100 - 110°F (38 - 43°C) |
| 65°F (18°C) | 95 - 105°F (35 - 41°C) |
| 70°F (21°C) | 85 - 95 °F (29 - 35°C) |
| 75°F (24°C) | 75 - 85°F (24 - 29°C) |
Active Sourdough Starter: This recipe uses 150 grams of sourdough starter to help the dough fully rise in just one day.
Pro Sourdough Tip: Keep a glass jar in your refrigerator to store your sourdough discard. Continue adding to it until you have enough to make your chosen sourdough discard recipe.
Salt: I add at least a pinch of salt to all of my recipes. Salt complements and intensifies the other flavors. For all of my recipes, I use Morton Kosher Salt which packs more densely than Diamond Crystal Kosher Salt. If you are using Diamond Crystal Kosher Salt you will want to double the amount of salt you add.
Rice Flour: I use rice flour to flour the banneton and prevent the sourdough from sticking.
See the recipe card for full information on ingredients and quantities.
Step by Step Directions
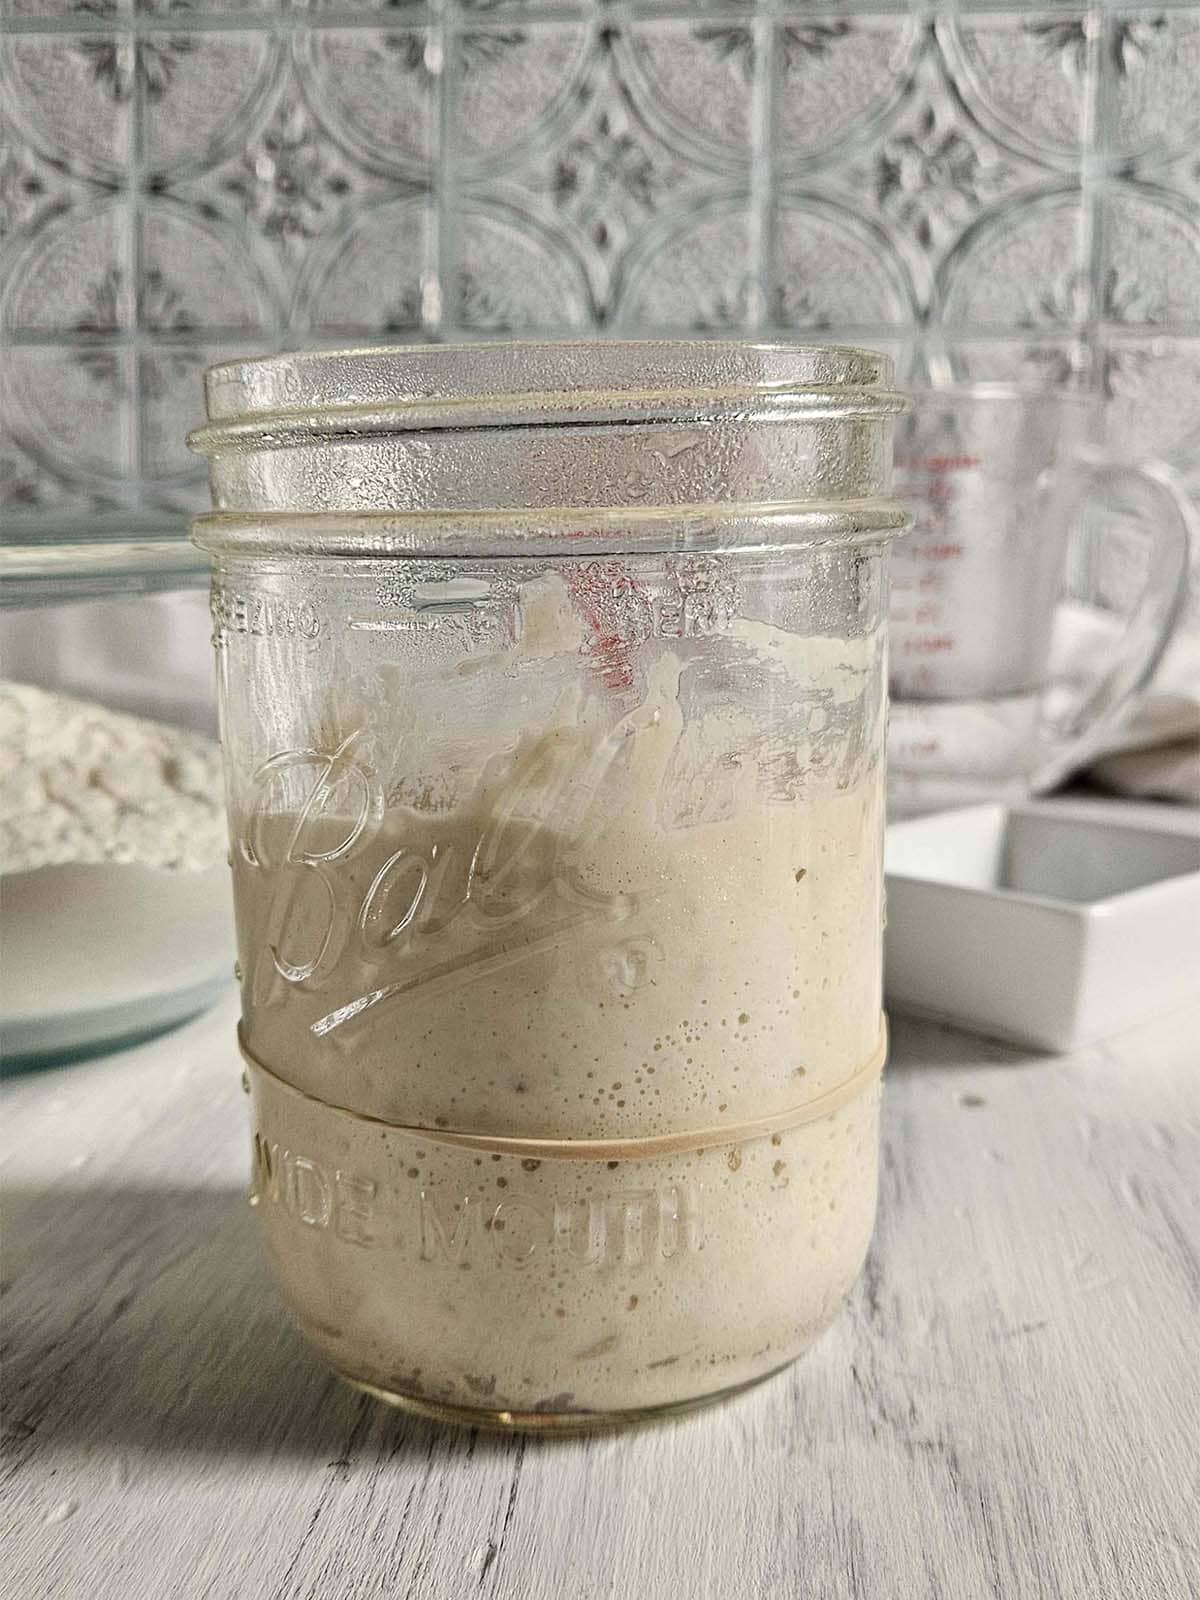
Step 1 Feed Starter: Early in the morning, for me this is usually around 6 am, feed your starter with a 1:1:1 ratio of flour and warm water (50 grams sourdough starter: 50 grams flour: 50 grams water). See the water temperature guide above to figure out what temperature your water should be.
Cover and let it rest at a temperature between 80°F and 85°F (27°C and 29°C) until bubbly and doubled in size. This should take around 4 hours.
Skip this step if your starter is already active and ready to bake with.
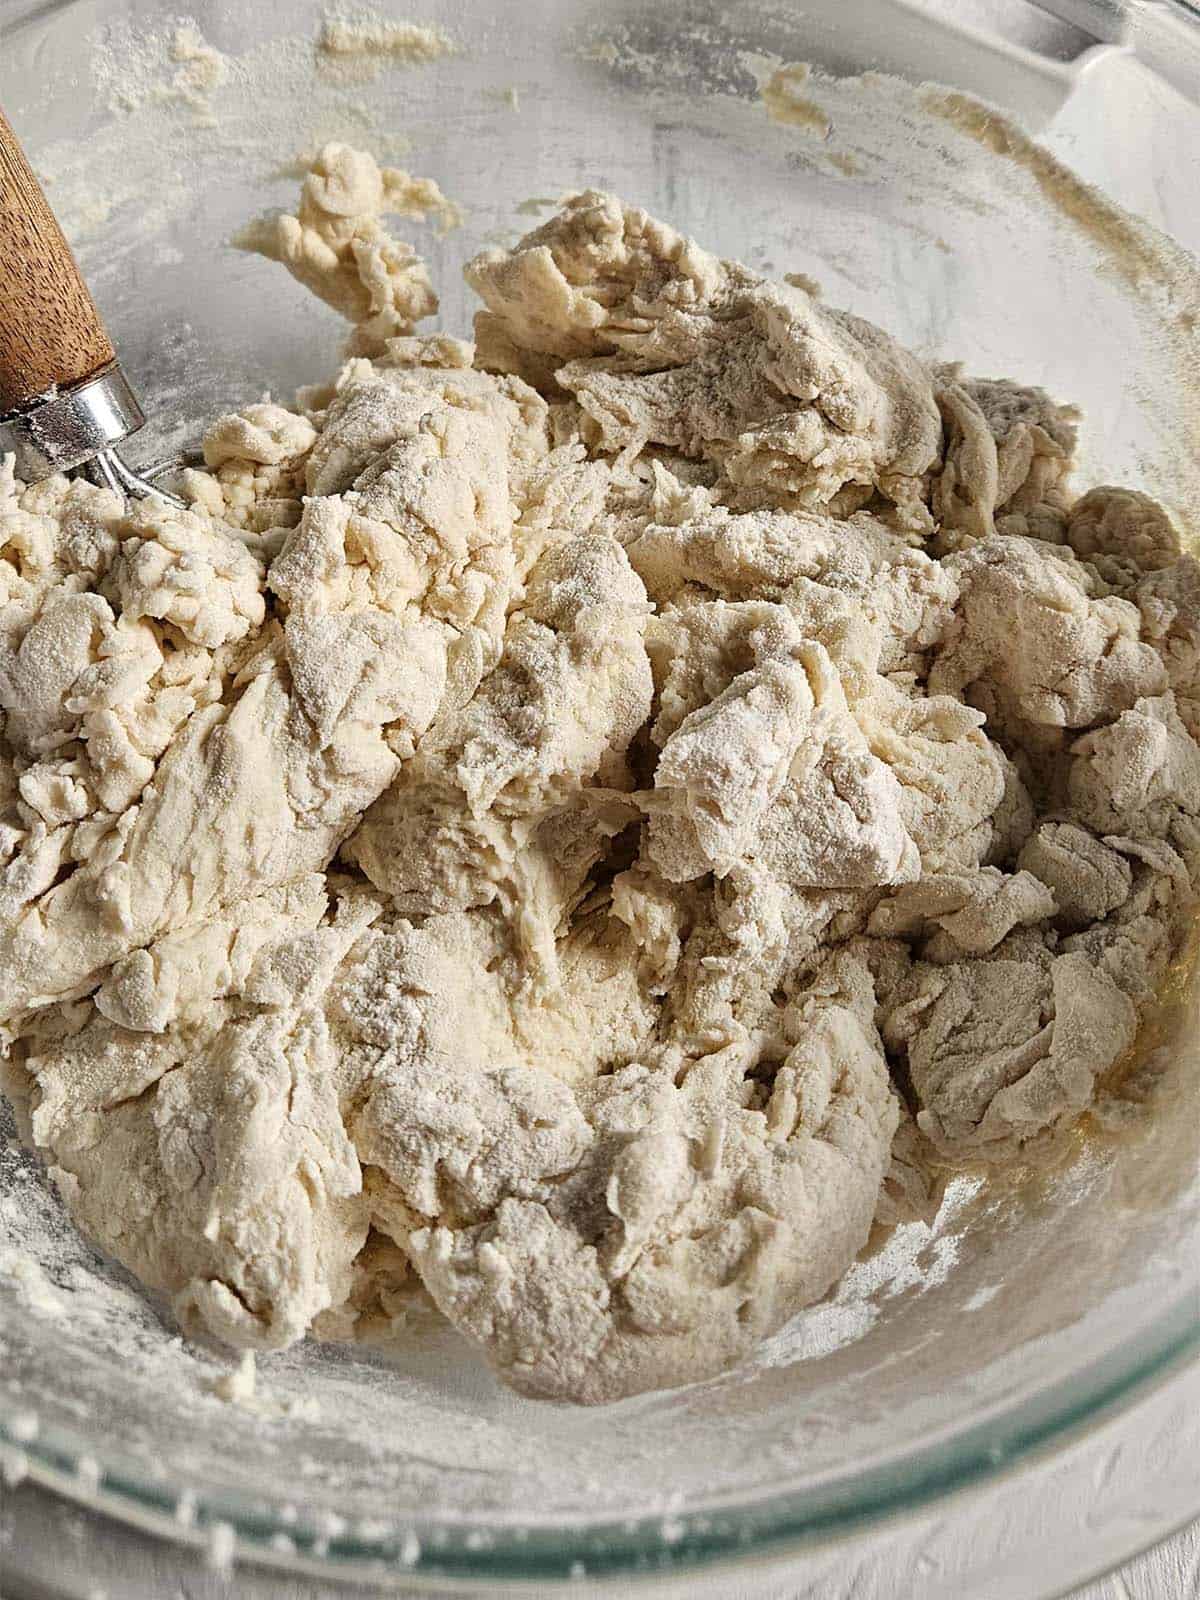
Step 2 Autolyse: About 1 hour before your starter is ready to use, mix the flour and water in a bowl. I find a dough whisk helpful for this step. Cover and let rest for 1 hour.
Step 3 Mix Dough: Add the sourdough starter and salt to the flour and water mixture. Mix with the dough whisk or by using a pinching motion with your hand. Cover and let it rest at a temperature between 80°F and 85°F (27°C and 29°C) for 20 minutes.
Tip: If your starter isn't ready, wait longer, move the starter to a warmer spot, or feed again and delay your bake.
Tip: The sourdough float test determines if your starter is active and ready for baking by checking for gas bubbles. Gently drop a teaspoon of active, fed starter into a glass of room-temperature water. If it floats, it's ready; if it sinks, it needs more fermentation time or a feeding.
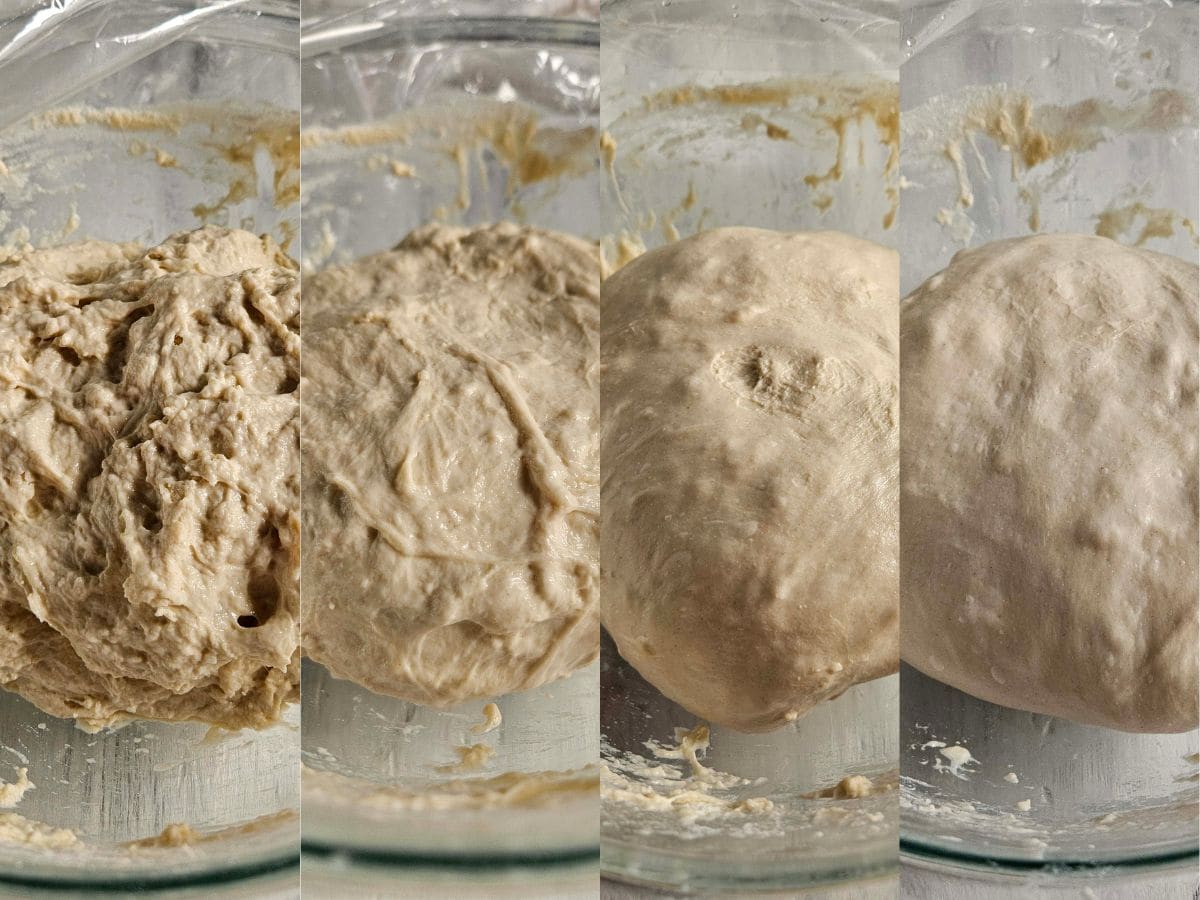
Step 4 Stretch and Folds: Perform stretch and folds every 30 minutes for the first two hours. Cover the dough in between stretch and folds. You will complete four sets of stretch and folds.
Watch this video from The Perfect Loaf to see a demonstration of how to perform stretch and folds.
Tip: Use damp hands when performing the stretch and folds. To keep the dough from sticking to your hands.
Tip: The dough will feel sticky early in bulk fermentation. Avoid adding flour. The dough will smooth out and become easier to handle the more stretch and folds you perform.
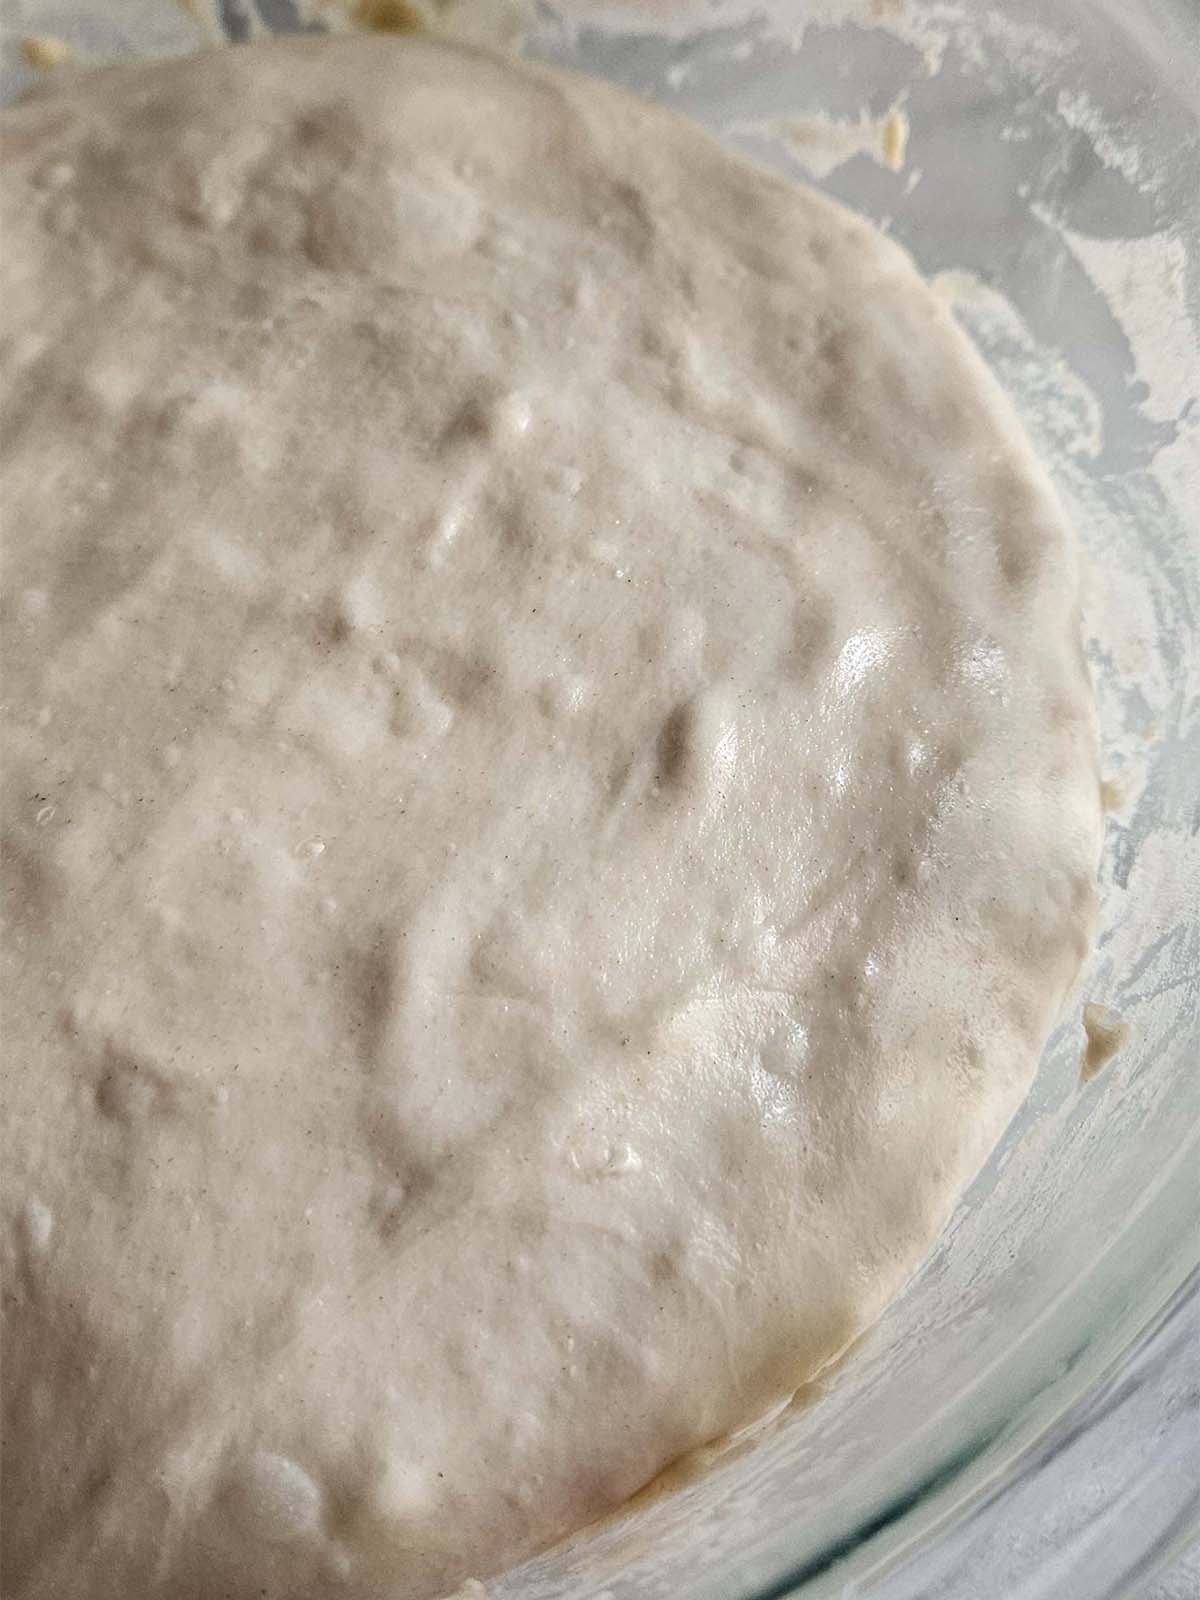
Step 5 Bulk Fermentation: Cover and let it rest at a temperature between 80°F and 85°F (27°C and 29°C) for 1 to 2 hours.
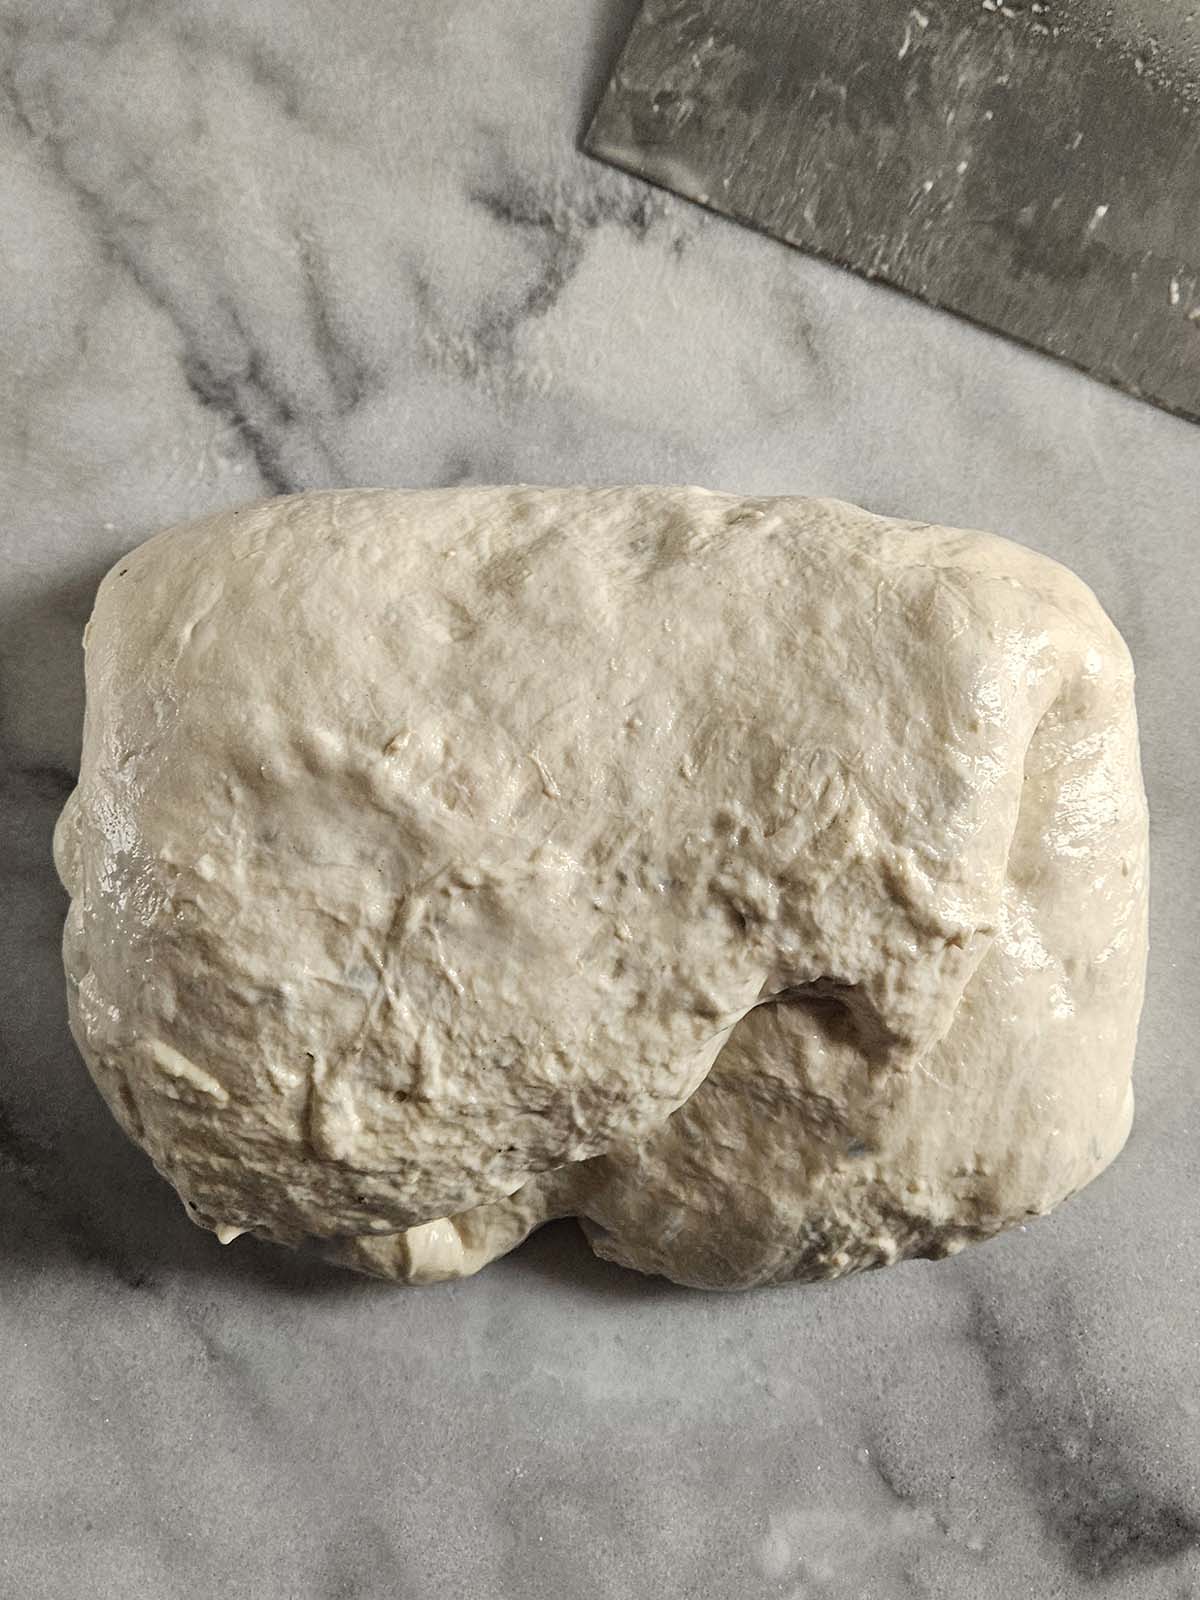
Step 6 Preshape: Turn the dough out onto a lightly floured surface. Fold the sides of the dough onto itself, pressing down gently to seal as you fold each side. Turn the dough over so that it is seam side down.
Cover with a towel and rest the dough for 15 to 10 minutes.
For visual learners, watch this video from King Arthur Banking Company.
Tip: Bulk fermentation is complete once the dough has risen 30-50%, has a slightly domed surface, and jiggles when the bowl is shaken. If at the end of two hours the dough is not showing these readiness signs, allow the dough to ferment for longer.
Tip: Bench rest is a 15-20 minute rest period for sourdough dough on a work surface (the "bench") after pre-shaping and before the final shape. A bench rest relaxes the gluten, reduces tension, and makes the dough easier to handle without tearing.

Step 7 Shape: Flour the banneton evenly with rice flour and set it aside.
Lightly flour your work surface. Flip the dough over so that the seam side is up. Grab opposing points of the dough and fold them towards the center. Continue working your way around the dough, folding opposing points of the dough towards the center until the dough is bundled into a round.
Clear most of the flour from the work surface and flip the dough over so that the seam side is down. Use your hands or a bench scraper to gently pull the dough towards you, tucking the dough under itself. Give the dough a quarter turn and pull the dough towards you again. Repeat this process two more times. This helps create surface tension across the top of the dough.
For visual learners, watch this video from The Perfect Loaf.
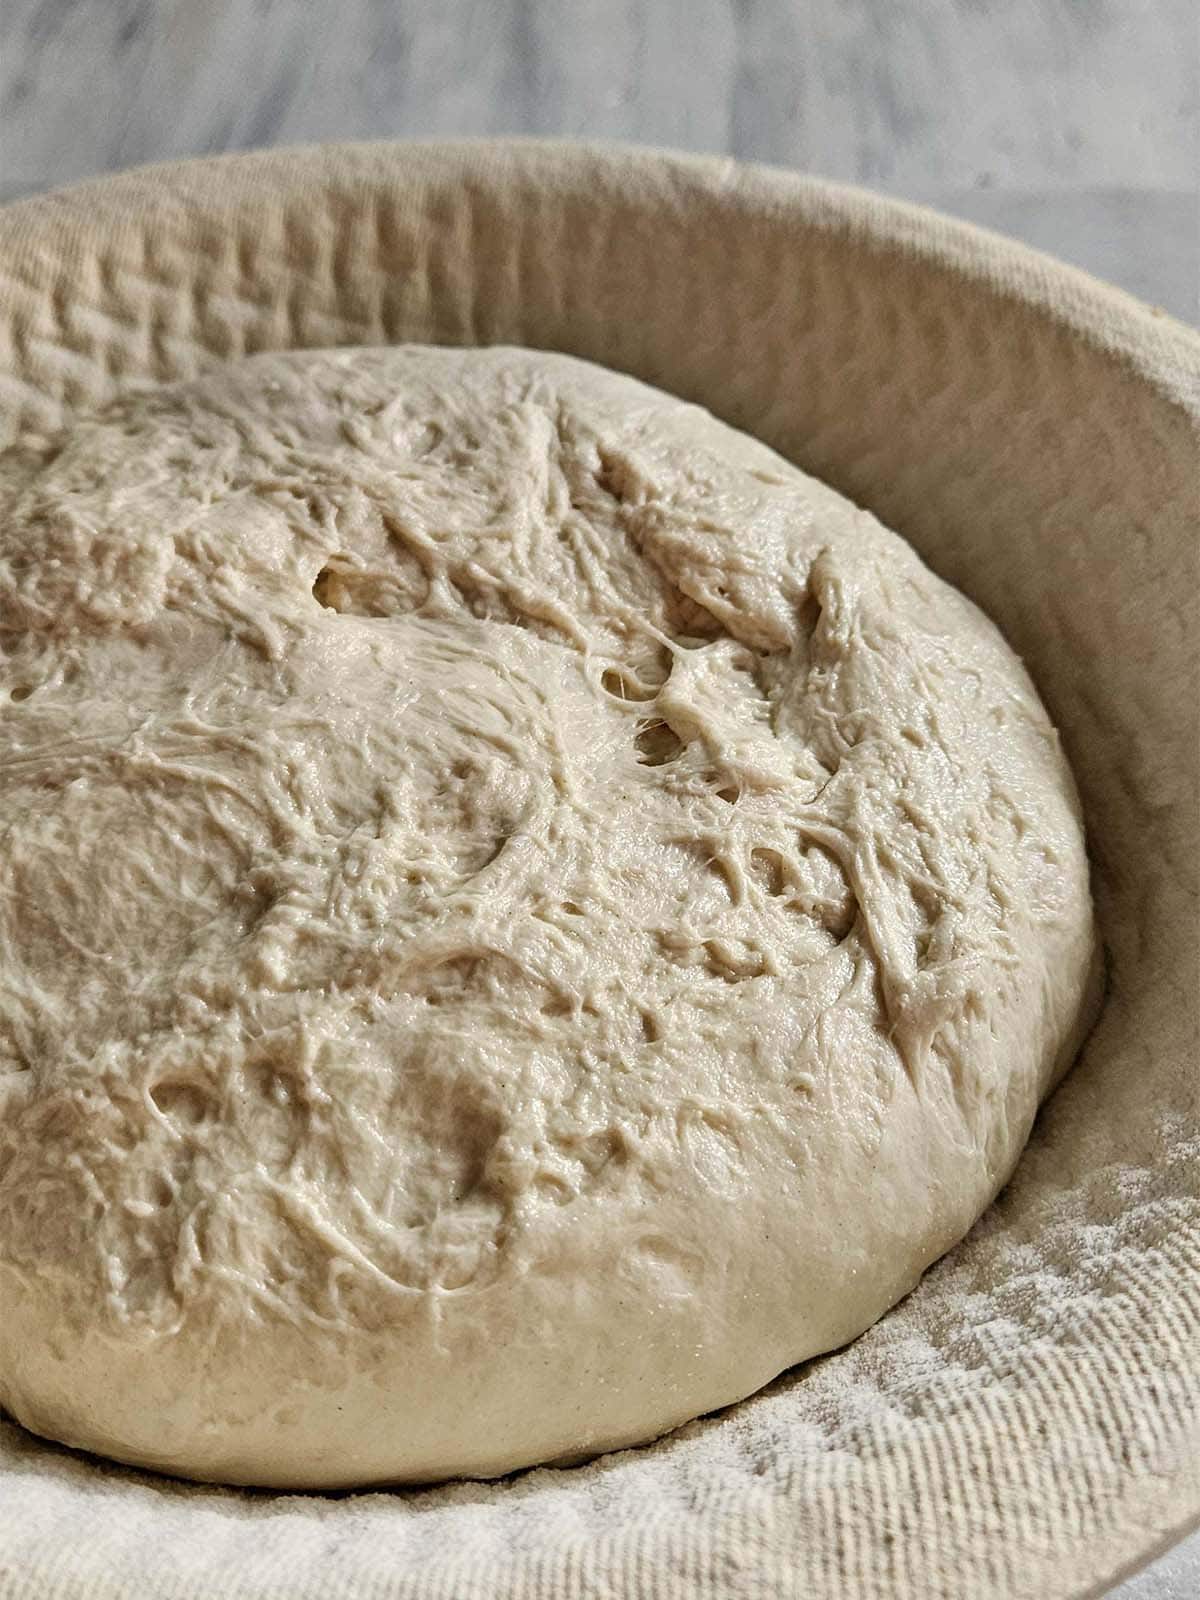
Step 8 Final Proof: Place the shaped dough in the banneton, seam side up.
Cover the dough with plastic and let it rest at a temperature between 80°F and 85°F (27°C and 29°C) for 1 to 2 hours. Use the poke test to determine if your dough is finished proofing.
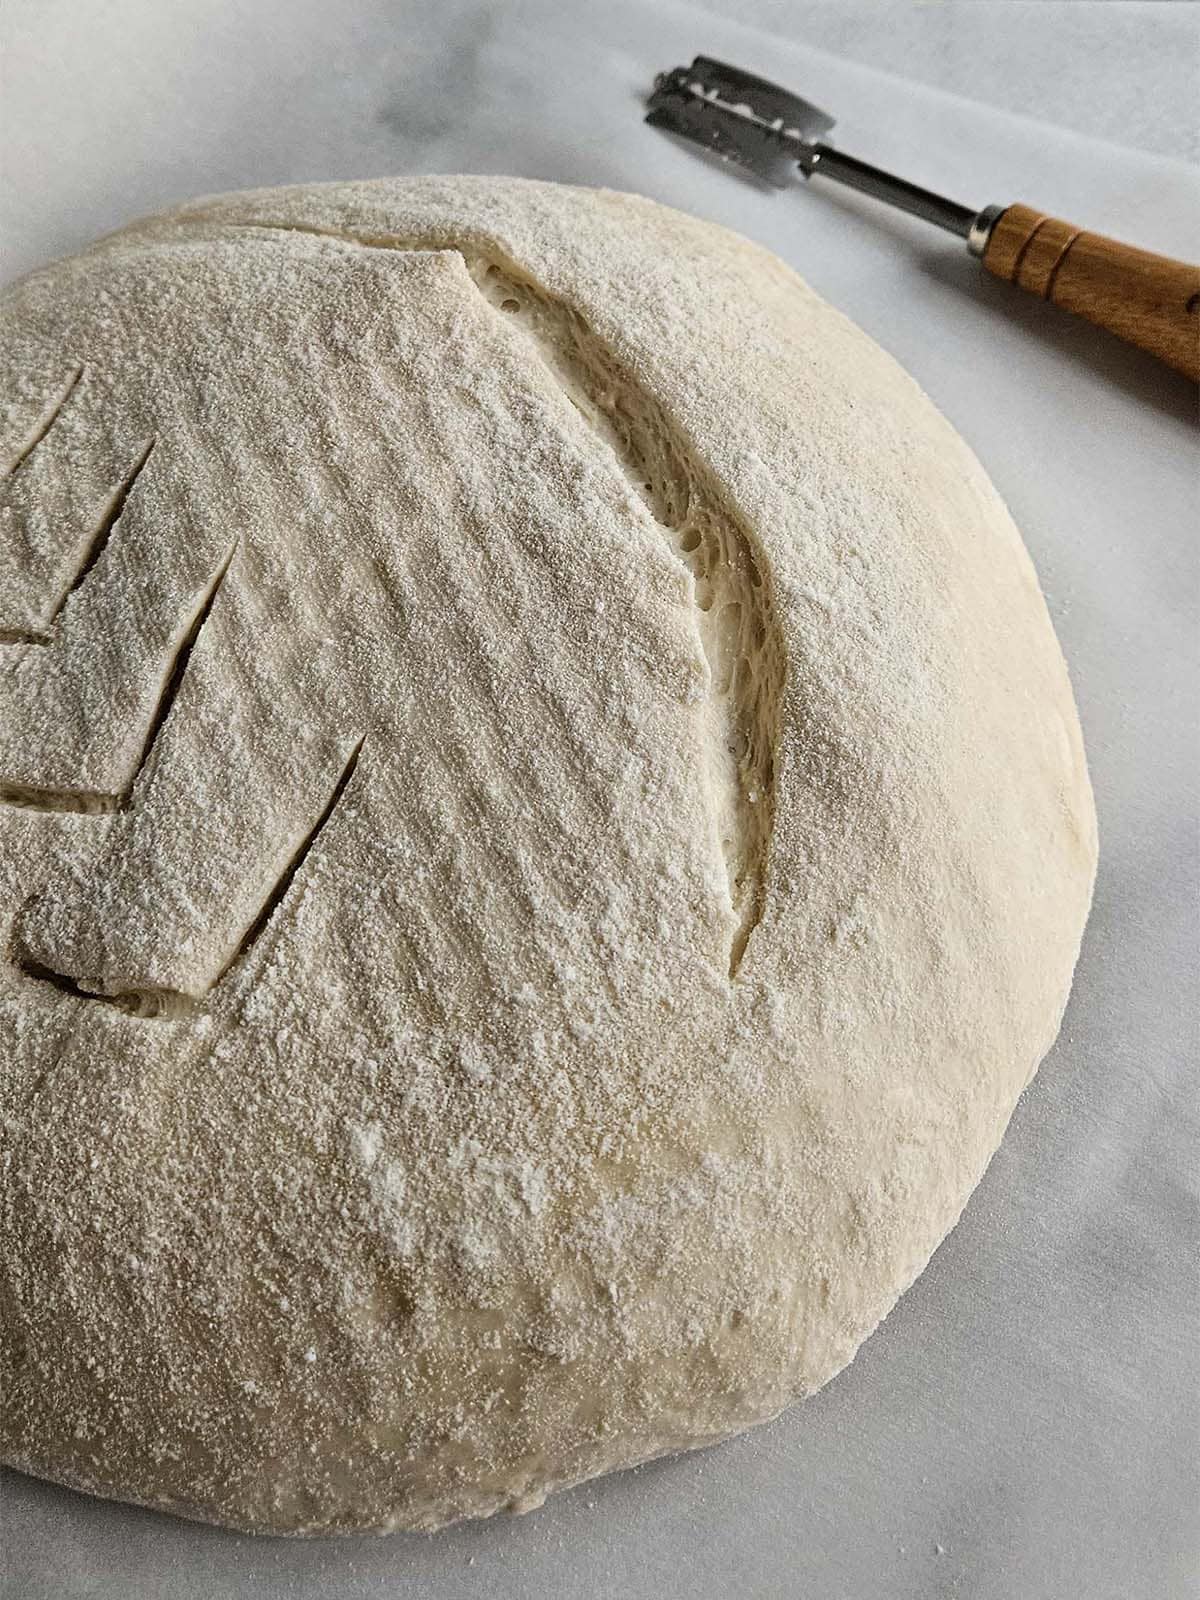
Step 9 Bake: Place a Dutch oven in the oven and preheat to 450°F (245°C) for 30 minutes. Dump the dough out of the banneton and onto a sheet of parchment paper. Score the dough with a bread lame or sharp knife.
Watch this video for more information on scoring bread.
Carefully, transfer the piece of parchment paper with the dough into the hot Dutch oven.
Place the lid back on and bake the bread for 20-25 minutes.
Remove the lid from the Dutch oven and bake uncovered for 20-25 minutes.
The bread should sound hollow when you knock on the bottom, have a dark golden brown color, and an internal temperature of 206-208°F (96-97°C).
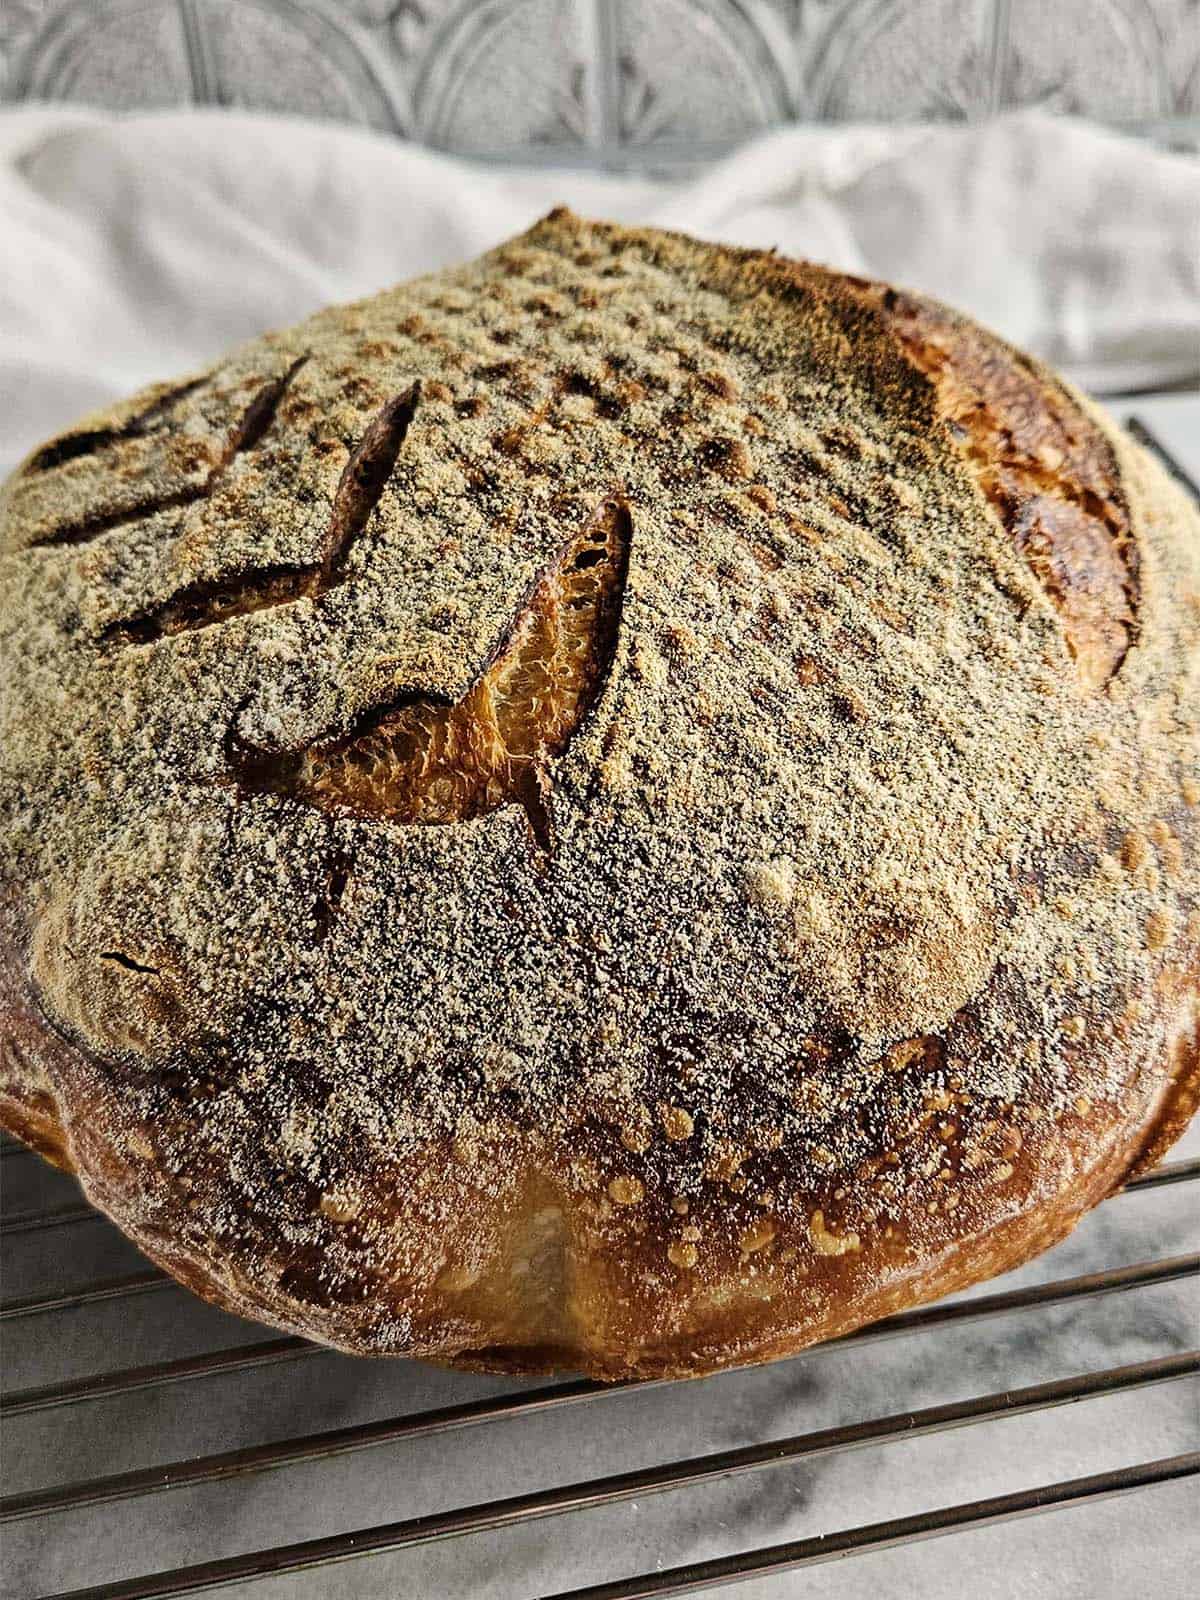
Step 10 Cool: Lift the bread out of the Dutch oven and place on a wire cooling rack. Slide the parchment paper out from under the bread. Cool for at least 1 hour before slicing.
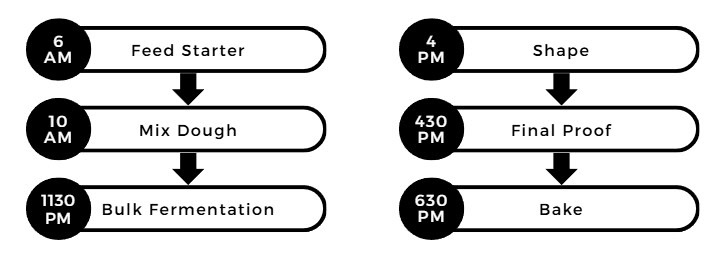
Below is a sample timeline for a loaf of one-day sourdough bread.
Recipe FAQs
To stretch and fold, grab one side of the dough with a damp hand and pull upwards. Fold the dough that is in your hand over the top of the dough in the bowl. Give the bowl a quarter turn and repeat the stretch and fold. Give the bowl a quarter turn and repeat the stretch and fold two more times. This is considered one set of stretch and folds.
The poke test is a method for checking whether the dough is finished proofing. To perform the test, lightly poke the dough in several locations across the top. If the dough springs back quickly, it needs to prove for longer. If the dough springs back slowly without completely filling back in, it is ready to bake. If the dough doesn't spring back, it is overproved.
Dough will proof faster in a warm area. My favorite trick is to place my dough in the oven with the oven light on.
Once the bread has cooled completely, place the bread in an airtight container or bag and store at room-temperature. The bread should remain fresh for up to 5 days.
You can also store sourdough bread in an airtight container or bag in the freezer for up to three months. Bread can be stored as a whole loaf or as slices.
To thaw, place the bread on the counter for several hours.
Expert Tips
- To speed this recipe up, feed your sourdough starter the night before you want to bake. If you are feeding your starter the night before, I suggest changing the ratio to 1:5:5 ratio (15 grams active sourdough starter, 75 grams flour, 75 grams water).
- Use damp hands when performing the stretch and folds. To keep the dough from sticking to your hands.
- Use a kitchen scale to weigh your ingredients rather than the cup measurements. In baking accuracy matters. If you don't have one this is my favorite kitchen scale, because the display pulls out making it easy to see even if you are using a large bowl.
- Baking times for all recipes are only suggestions. The actual baking time will vary depending on your oven. It is helpful to know your oven and worth purchasing an inexpensive oven thermometer. Oven temperatures can vary as much as 50 degrees plus or minus.
- If your sourdough bread tends to burn or get really dark on the bottom when baking, place a baking sheet on the rack directly below the Dutch oven while baking your bread. This will help to deflect some of the heat.
- Use a serrated knife when cutting bread for easier cleaner slices.
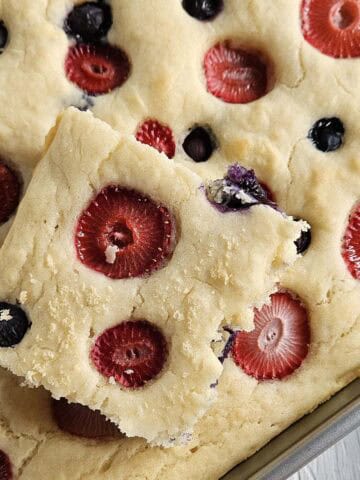
Sourdough Discard Recipes


Thanks for Reading!
If you try this recipe, let me know! Leave a comment and rate it below! You can also snap a picture and post it on Facebook or Instagram be sure to tag me @RaspberriesandKohlrabi.
Subscribe to get more recipes and tips by email.
📖 Recipe

Same Day Sourdough Bread
Equipment
- parchment paper
Ingredients
- ½ cup sourdough starter
- 4 cups bread flour
- 1 ½ cup warm water
- 1 ½ teaspoon kosher salt
- rice flour for dusting
Instructions
- Early in the morning, feed your starter with warm water and flour. Cover and let it rest at 80°F and 85°F (27°C and 29°C) until bubbly and doubled in size. This should take around 4 hours. (Skip this step if your starter is already active and ready to bake with.)
- About 1 hour before your starter is ready to use, mix the flour and water in a bowl. I find a dough whisk helpful for this step. Cover and let rest for 1 hour.
- Add the sourdough starter and salt to the flour and water mixture. Mix with the dough whisk or by using a pinching motion with your hand. Cover and let it rest at 80°F and 85°F (27°C and 29°C) for 20 minutes.
- Perform stretch and folds every 30 minutes for the first two hours. Cover the dough in between stretch and folds. You will complete four sets of stretch and folds.
- Cover and let it rest at 80°F and 85°F (27°C and 29°C) for 1 to 2 hours.
- Turn the dough out onto a lightly floured surface. Fold the sides of the dough onto itself, pressing down gently to seal as you fold each side. Turn the dough over so that it is seam side down. Cover with a towel and rest the dough for 15 to 10 minutes.
- Flour the banneton evenly with rice flour and set it aside.
- Lightly flour your work surface. Flip the dough over so that the seam side is up. Grab opposing points of the dough and fold them towards the center. Continue working your way around the dough, folding opposing points of the dough towards the center until the dough is bundled into a round.Clear most of the flour from the work surface and flip the dough over so that the seam side is down. Use your hands or a bench scraper to gently pull the dough towards you, tucking the dough under itself. Give the dough a quarter turn and pull the dough towards you again. Repeat this process two more times. This helps create surface tension across the top of the dough.
- Place the shaped dough in the banneton, seam side up.Cover the dough with plastic and let it rest at 80°F - 85°F (27°C and 29°C) for 1 to 2 hours. Use the poke test to determine if your dough is finished proofing.
- Place a Dutch oven in the oven and preheat to 450°F (245°C) for 30 minutes. Dump the dough out of the banneton and onto a sheet of parchment paper. Score the dough with a bread lame or sharp knife. Carefully, transfer the piece of parchment paper with the dough into the hot Dutch oven.
- Bake covered for 20-25 minutes. Bake uncovered for 20-25 minutes. The bread should sound hollow when you knock on the bottom, have a dark golden brown color, and an internal temperature of 206-208°F (96-97°C).
- Lift the bread out of the Dutch oven and place on a wire cooling rack. Slide the parchment paper out from under the bread. Cool for at least 1 hour before slicing.
Notes
- To speed this recipe up, feed your sourdough starter the night before you want to bake. If you are feeding your starter the night before, I suggest changing the ratio to 1:5:5 ratio (15 grams active sourdough starter, 75 grams flour, 75 grams water).
- Use damp hands when performing the stretch and folds. To keep the dough from sticking to your hands.
- Use a kitchen scale to weigh your ingredients rather than the cup measurements.
- Baking times for all recipes are only suggestions. The actual baking time will vary depending on your oven. It is helpful to know your oven and worth purchasing an inexpensive oven thermometer. Oven temperatures can vary as much as 50 degrees plus or minus.
- If your sourdough bread tends to burn or get really dark on the bottom when baking, place a baking sheet on the rack directly below the Dutch oven while baking your bread. This will help to deflect some of the heat.
- Use a serrated knife when cutting bread for easier cleaner slices.


Comments
No Comments