
Daily maintenance of a sourdough starter isn't always practical, especially if you don't bake frequently. Storing your sourdough starter in the refrigerator is an easy way to slow down its activity and reduce the need for constant feedings, while keeping it ready for future baking.
IS REFRIGERATOR STORAGE RIGHT FOR YOU?
Keeping your starter in the refrigerator can significantly reduce how often you need to feed it, making it a great option if you don't bake every day. But depending on your baking schedule and how much starter you want to maintain, another method may fit your routine even better.
Take my quick quiz to find the sourdough starter storage method that best fits how often you bake and how much maintenance you want.
Need help creating your first starter? Start with my How to Create and Maintain a Small Sourdough Starter guide.
Jump to:
Why Store Sourdough Starter in the Refrigerator?
- Reduces Feeding Frequency: Cold temperatures slow fermentation, so your starter doesn't need the frequent feedings required by a starter kept at room temperature.
- Saves Time and Flour: Fewer feedings mean less maintenance and can also reduce the amount of discard you produce.
- Convenient for Occasional Bakers: Refrigeration works especially well if you bake weekly or less often and don't need your starter ready every day.
- Makes It Easier to Take a Break: A healthy starter can generally handle longer periods between feedings in the refrigerator, although it may need one or more feedings to become fully active again before baking.
Want to reduce your sourdough discard? I recommend trying this No Waste Sourdough Starter Method.
How to Store Your Sourdough Starter in the Refrigerator
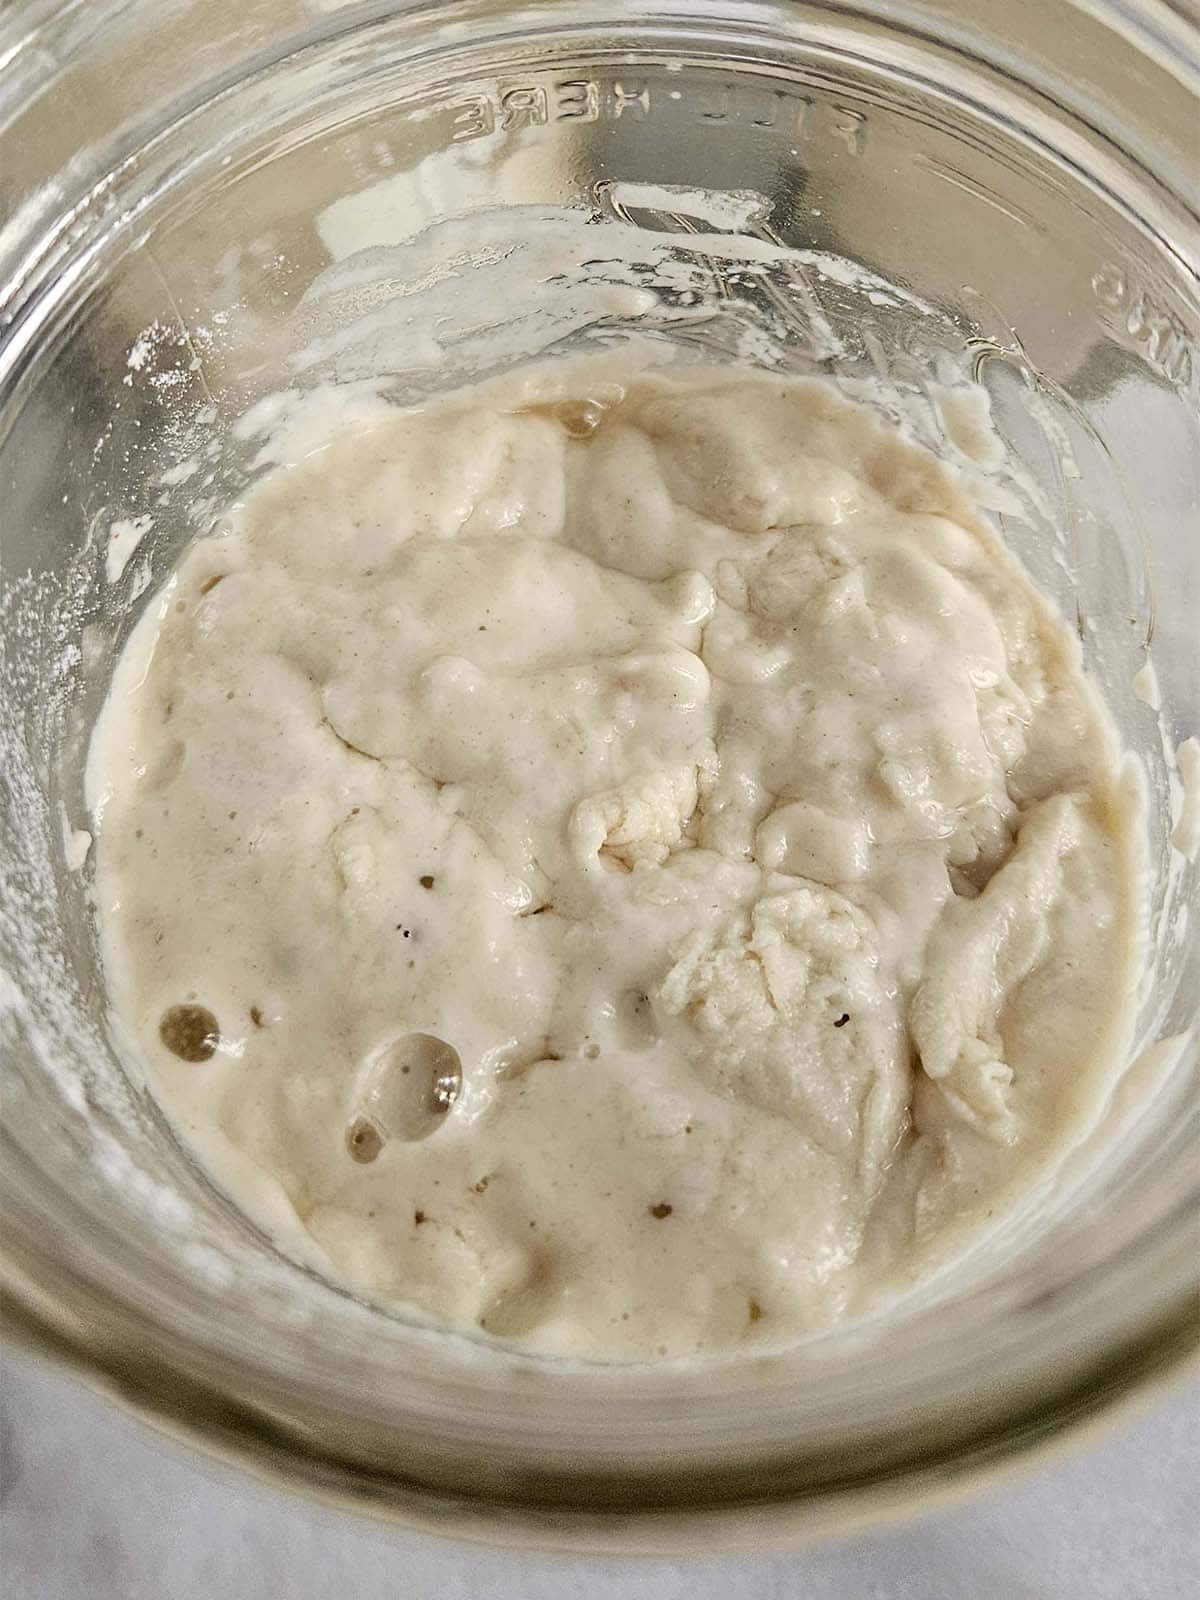
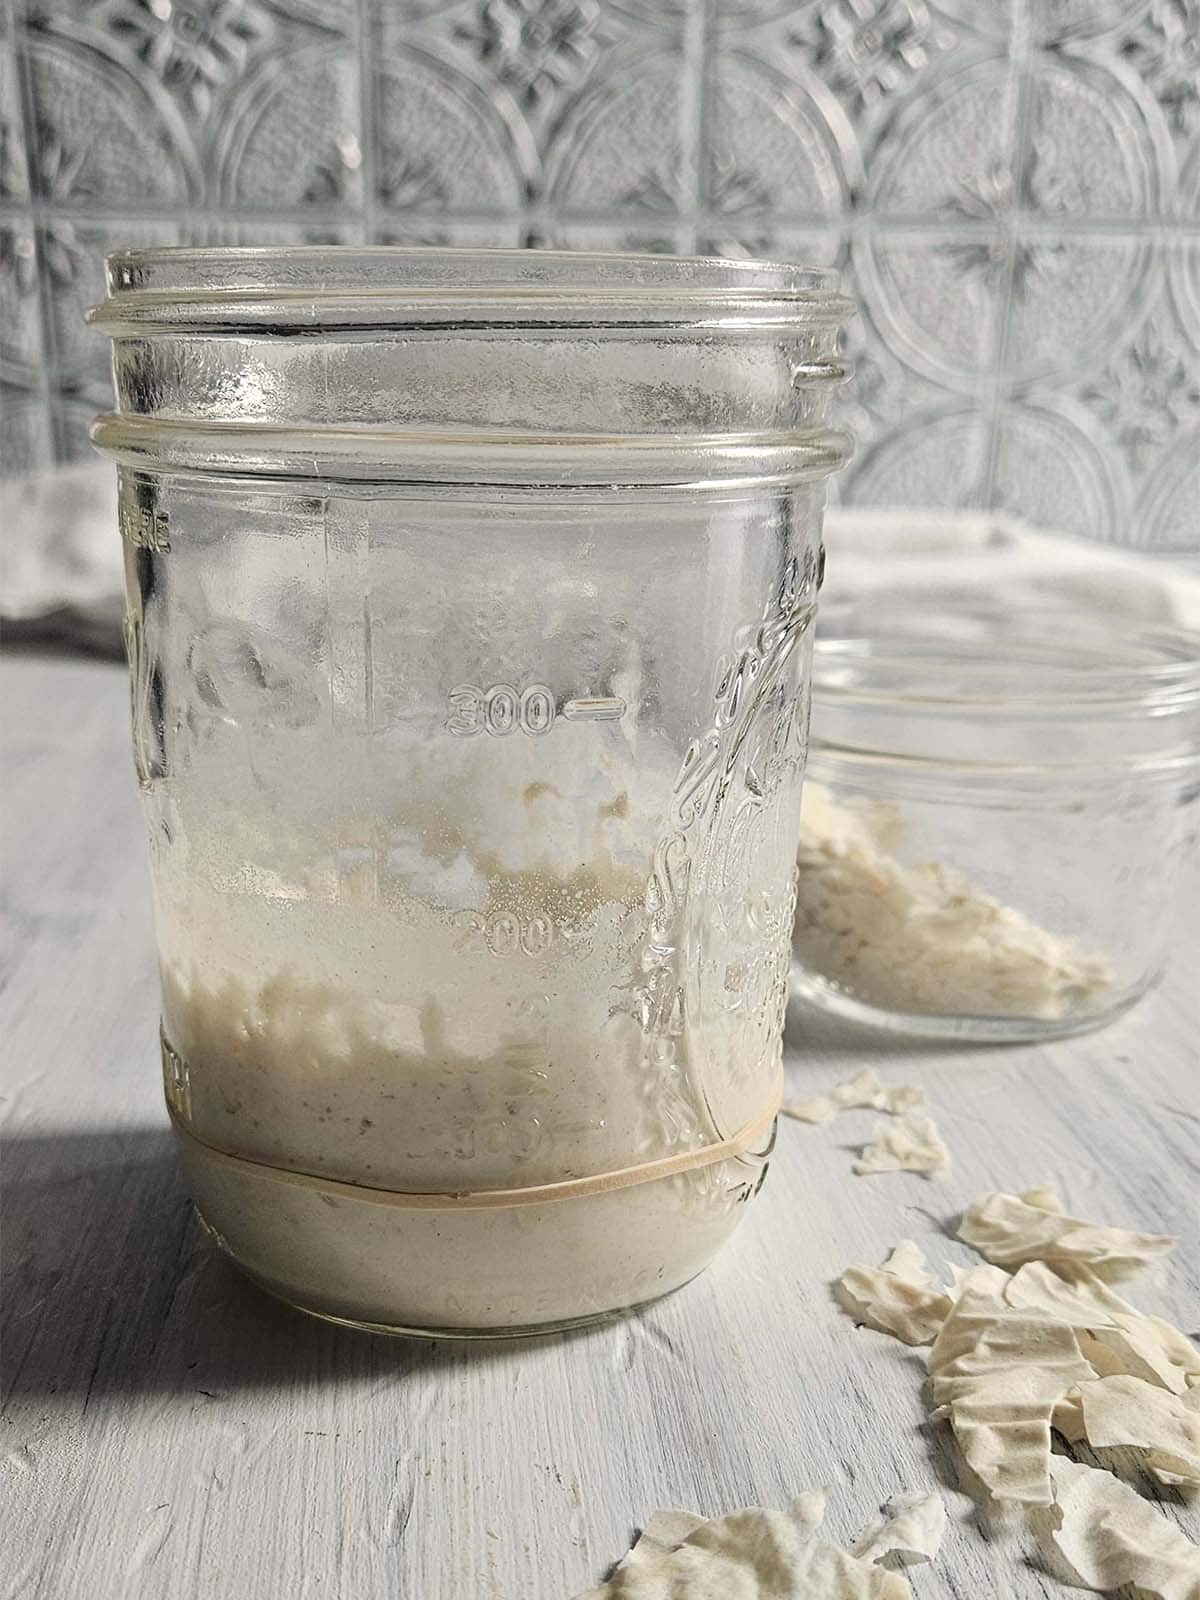
Step 1: Feed your established starter using your normal feeding ratio.
Step 2: Allow the starter to begin showing signs of fermentation before placing it in the refrigerator. This usually takes one to two hours for my starter.
Step 3: Cover the jar and store it in the main compartment of your refrigerator rather than in the door, where temperatures fluctuate more frequently.
How to Maintain a Refrigerated Sourdough Starter
- You bake about once a week: Your baking routine can effectively become your starter-maintenance routine.
- You haven't baked for several weeks: Your starter may still be fine, but give it time and feedings to regain predictable activity before baking.
- You're taking a long break from sourdough: Consider dehydrating some starter as a backup rather than relying exclusively on an indefinitely neglected refrigerator starter.
Tip: If your starter develops a dark liquid (hooch) or a strong alcohol smell, it may need a feeding. Simply stir the hooch back in or pour it off before feeding.
If refrigerator storage still feels like more maintenance than you'd like, you have other options. Take my Sourdough Starter Storage Quiz to find the method that best fits your baking routine.
How to Reactivate Refrigerated Starter
When you're ready to bake, remove your starter from the refrigerator and give it a feeding. You don't need to wait for the starter to come to room temperature before feeding it.
Step 1: Remove the starter from the refrigerator. Remove enough starter so that you are left with the amount you normally maintain.
Step 2: Feed your starter. Add fresh flour and water using your usual feeding ratio and stir until thoroughly combined.
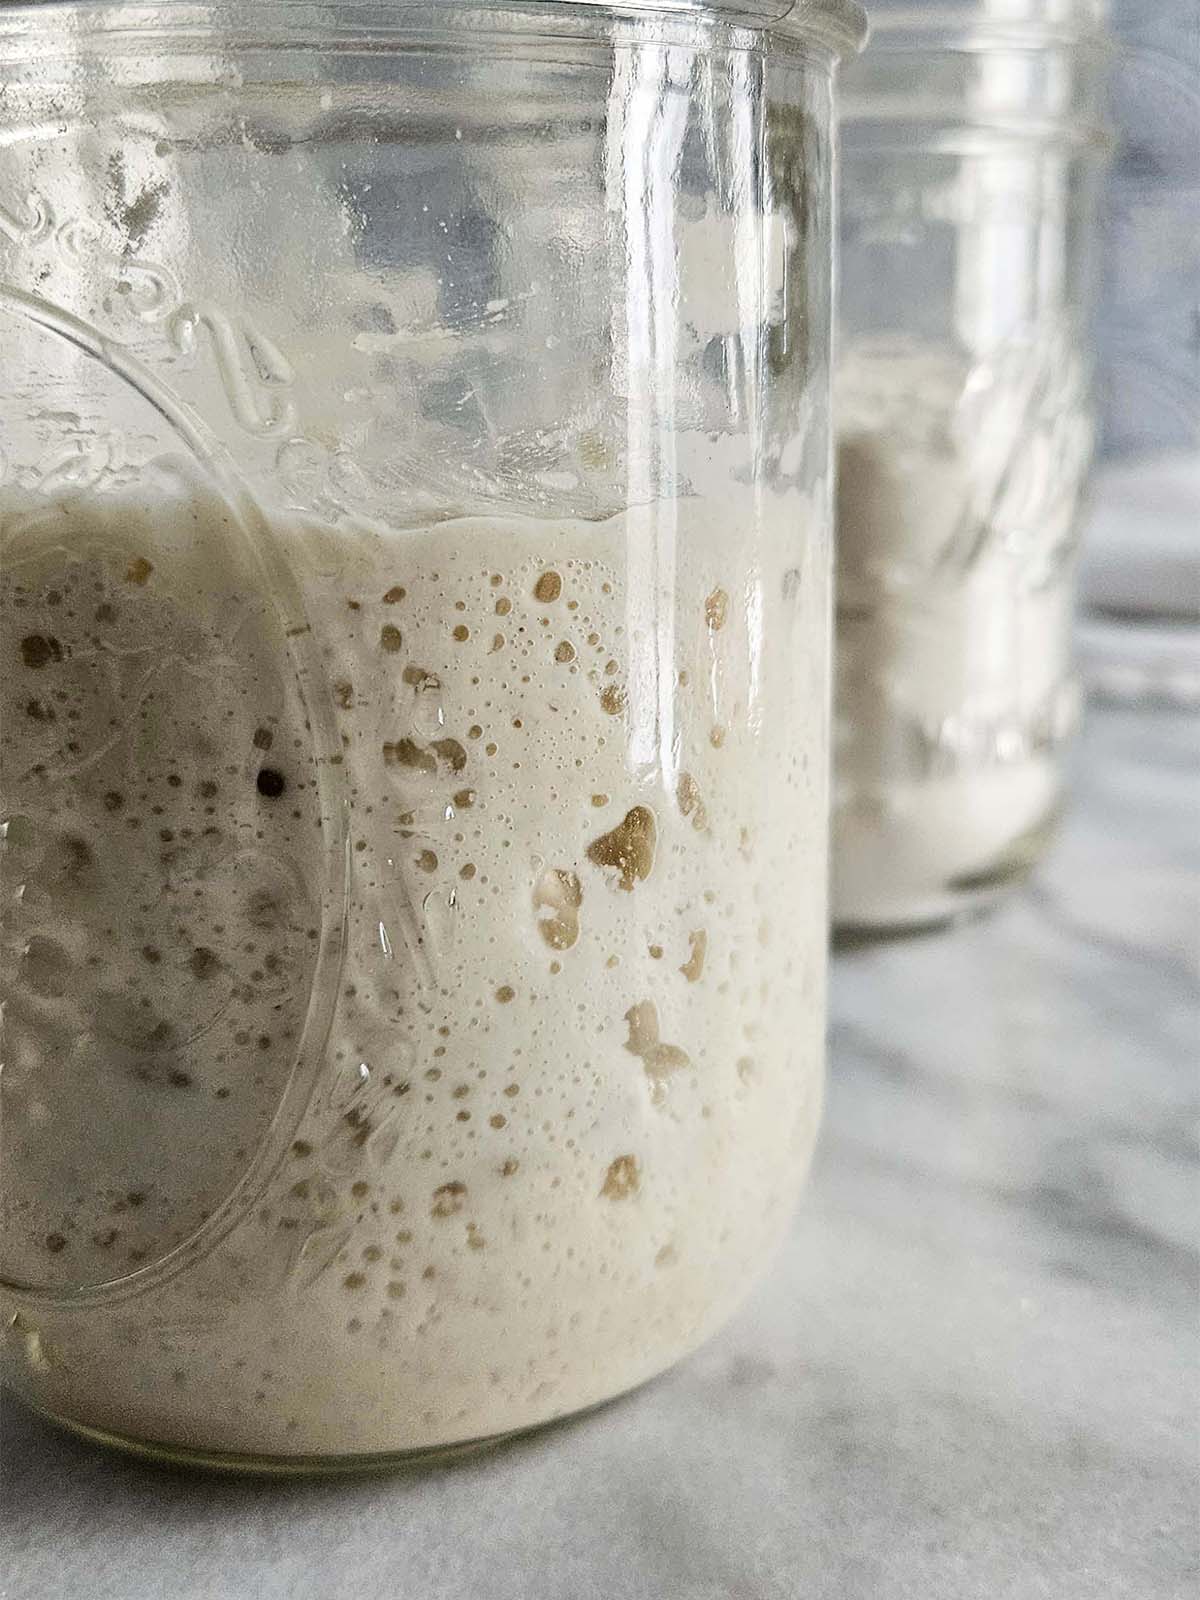
Step 3: Let the starter ferment at room temperature. Keep it in a warm spot and watch for signs of activity, including bubbles and an increase in volume.
Step 4: Feed again if needed. A healthy starter that hasn't been refrigerated for long may become active after a single feeding. A starter that has been stored for a longer period may need additional feedings before it returns to its normal activity.
Step 5: Watch the starter, not the clock. Your starter is ready to bake with when it rises predictably after feeding, has plenty of bubbles throughout and reaches its peak within a consistent timeframe.
Tip: Don't rely on the float test to determine whether your starter is ready to bake with. A starter can be healthy and active even if it doesn't float. How reliably it rises after feeding is a better indication of its strength and activity.
Ready to bake? Once your starter is bubbly, active and reliably rising after feeding, you can use it to make bread. My Same Day Sourdough Bread recipe lets you mix, ferment and bake your loaf in a single day without an overnight rise.
FAQs
A healthy, established sourdough starter can often go several weeks in the refrigerator without being fed. Exactly how long depends on factors like the health of your starter when it was refrigerated, your refrigerator temperature and how it was fed before storage.
If your starter has been refrigerated for an extended period, don't assume it needs to be thrown away simply because you missed a feeding. Check it for signs of spoilage, then give it fresh flour and water and watch how it responds. It may need several feedings at room temperature before returning to its usual activity.
For longer breaks from baking, I recommend dehydrating some of your starter as a backup.
A layer of liquid can sometimes develop on top of a starter that has been stored in the refrigerator for a while. This is commonly called hooch and is a byproduct of fermentation.
Hooch doesn't necessarily mean your starter has spoiled. It often appears when a starter has gone a while between feedings. You can pour the liquid off or stir it back into the starter before feeding it.
However, liquid shouldn't be confused with signs of spoilage. If you see visible mold, pink or orange discoloration or other clear signs of contamination, discard the starter and begin again.
Start by looking for signs of spoilage. If you don't see visible mold, unusual pink or orange discoloration or other clear signs of contamination, try feeding your starter and see how it responds.
A starter that has spent a long time in the refrigerator may be slow to become active again. Give it fresh flour and water, keep it at room temperature and continue feeding it as needed. Look for increasing bubbles, rising after feeding and eventually a predictable rise-and-fall cycle.
Rather than expecting your starter to become bubbly within a specific number of hours, watch for its activity to become stronger and more predictable with each feeding.
If your starter doesn't show any signs of spoilage, give it fresh flour and water and watch how it responds. A starter that has been refrigerated for a long time may be sluggish at first and could need several feedings before returning to its normal activity.
Look for bubbles, an increase in volume and progressively stronger activity after each feeding. Eventually, a healthy starter should return to a predictable rise-and-fall cycle.
If you see visible mold, pink or orange discoloration or other clear signs of contamination, discard the starter and begin again.
Expert Tips
- Use a Clear Container: A clear glass or food-safe plastic container makes it easy to monitor your starter for bubbles, changes in volume and any signs of spoilage.
- Leave Room for Expansion: Even in the refrigerator, your starter may continue fermenting for a while. Choose a container with enough room for the starter to expand without overflowing.
- Mark the Starter Level: Place a rubber band around the jar or mark the starting level with a dry-erase marker. This makes it easier to see how much your starter has risen.
- Label the Jar: Write the date you placed your starter in the refrigerator or last fed it on the container. This gives you a helpful reference when you're ready to use it again.
- Store It Away From the Refrigerator Door: Temperatures fluctuate more frequently in the refrigerator door. Store your starter farther inside the refrigerator where the temperature remains more consistent.
- Don't Worry About Metal Utensils: It's fine to use stainless steel spoons, whisks and other utensils when feeding or stirring your starter. For long-term storage, I prefer glass or food-safe plastic rather than containers made from reactive metals.
- Give It Time to Recover: A starter that has been refrigerated for an extended period may be sluggish after its first feeding. Don't expect it to bounce back on a specific schedule. Continue feeding it as needed and watch for increasingly strong, predictable activity.
- Consider a Backup for Longer Breaks: If you know you won't be baking for an extended period, consider dehydrating some of your starter as a backup. A small amount of dried starter is easy to store and can be rehydrated if something happens to the starter in your refrigerator.
More Sourdough Tips

📖 Recipe

Storing Sourdough Starter in the Refrigerator
Equipment
Ingredients
- sourdough starter recently fed and active
- flour
- water
Instructions
- Feed your starter with equal parts water and flour (by weight) before placing your starter in the refrigerator. A well-fed starter stores better and reactivates more easily when needed.
- Store your starter in the main compartment of the refrigerator, towards the back where temperatures are slightly colder. The cold temperature will slow fermentation significantly, reducing the need for frequent feedings.
Maintaining Refrigerated Sourdough Starter
- Weekly Feedings: If you plan to keep your starter in the fridge for an extended time, feed it once a week to keep it healthy. Discard half, then add equal parts flour and water before returning it to the fridge.
- Long-Term Storage (1+ Months): If leaving your starter for more than a month, consider feeding it a thicker consistency (higher ratio of flour to water) before storing to extend viability.
Reactivating Refrigerated Sourdough Starter
- Take your starter out and let it come to room temperature.
- Remove half of the starter and feed it with equal parts flour and water (by weight). Stir well to incorporate.
- Allow the starter to sit at room temperature for 12-24 hours. If it's been stored for an extended period, it may take longer to show signs of activity.
- A healthy starter should begin to show bubbles and expand within the first 12-24 hours. If it remains inactive, proceed with additional feedings as described in step 2 twice daily until it consistently doubles in size within 4-6 hours. You may need to repeat this process for a couple of days.
- A fully reactivated starter should rise and fall predictably after feedings, have a pleasant tangy aroma, and pass the float test (a spoonful of active starter should float in water).
Notes
- Always use clean utensils to avoid contamination.
- Use a Clear Container: This makes it easier to monitor changes in your starter, such as hooch formation or mold growth.
- Label with Dates: Mark the last feeding date on your jar to keep track of when it needs to be refreshed.
- Mark your container to track how much the starter rises after feeding.
- Store at the Back of the Fridge: The back of the fridge maintains a more stable temperature compared to the door, where frequent opening can cause fluctuations.
- Avoid Metal Containers: Acidic sourdough starter can react with metal, affecting its quality.
- Give It Extra Feedings Before Long Storage: If you know you won't be using your starter for several weeks, give it a double feeding before refrigerating.
- Be Patient When Reviving: A cold starter may take a few feedings to become fully active again.




Comments
No Comments