The Scrapings Method for Sourdough Starter is a low-maintenance technique that is ideal for bakers who bake infrequently or want to conserve flour. I first heard about the scrapings method after watching a video from Bake with Jack.
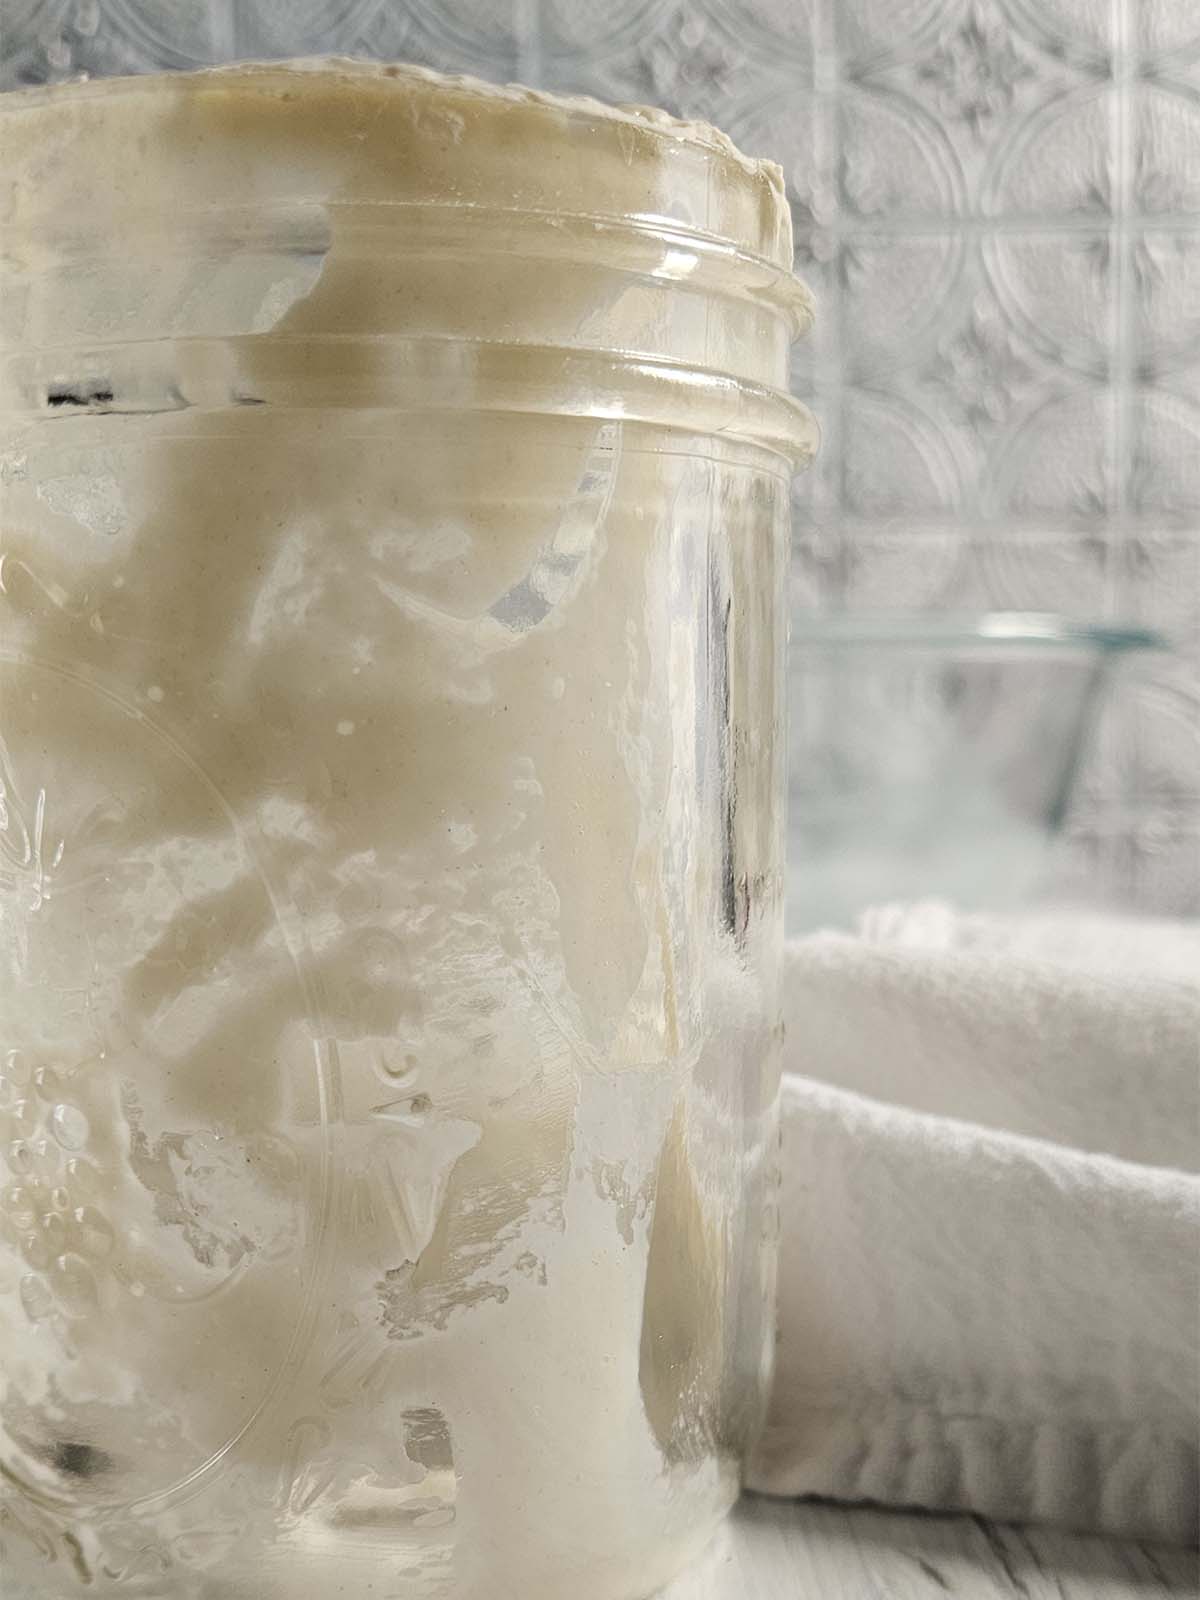
This method involves leaving just a thin layer of sourdough starter in your jar after baking, instead of discarding and feeding it regularly. This small amount of starter can be left unfed in the refrigerator for extended periods and revived when needed, making it a practical alternative to traditional starter maintenance. Welcome to your no-discard sourdough starter.
No matter what method you choose to maintain your sourdough starter it is always a good idea to have some dehydrated sourdough starter as a backup.
If you need help creating your own sourdough starter check out this post: How to Create and Maintain a Small Sourdough Starter
Also, check out my recommendations for The Best Jar For Sourdough Starter and instructions for How to Store Your Sourdough on the Counter.
Jump to:
Why You Will Love This Recipe
- Less Waste: Uses minimal flour, making it a cost-effective option.
- Low Maintenance: No need for frequent feedings; the starter can sit for weeks or even months.
- Easy to Scale Up: You can rebuild the starter to any quantity needed for your recipe.
- Space-Saving: Ideal for small kitchens or when managing multiple starters.
- Backup Starter: This can act as an insurance policy in case your active starter fails.
- Ideal for Infrequent Bakers: Perfect for those who bake occasionally and don't want the hassle of daily upkeep.
Drowning in sourdough discard? Try one of these delicious recipes: Sourdough Breakfast Recipes, Sourdough Apple Cookies, Sourdough Ham and Cheese Scones, and Sourdough Discard Banana Bread.
How to Use the Scrapings Sourdough Method

Step 1: After using your active sourdough starter for baking, instead of feeding it immediately, leave just a thin layer (about a teaspoon) in your jar. No need to add flour or water at this stage.
Step 2: You have two options for storage:
- Room Temperature (Short-Term): If you plan to use your starter within a few days, leave the jar at room temperature with a loose-fitting lid.
- Refrigeration (Long-Term): For longer storage, place the jar in the refrigerator with a loose-fitting lid.
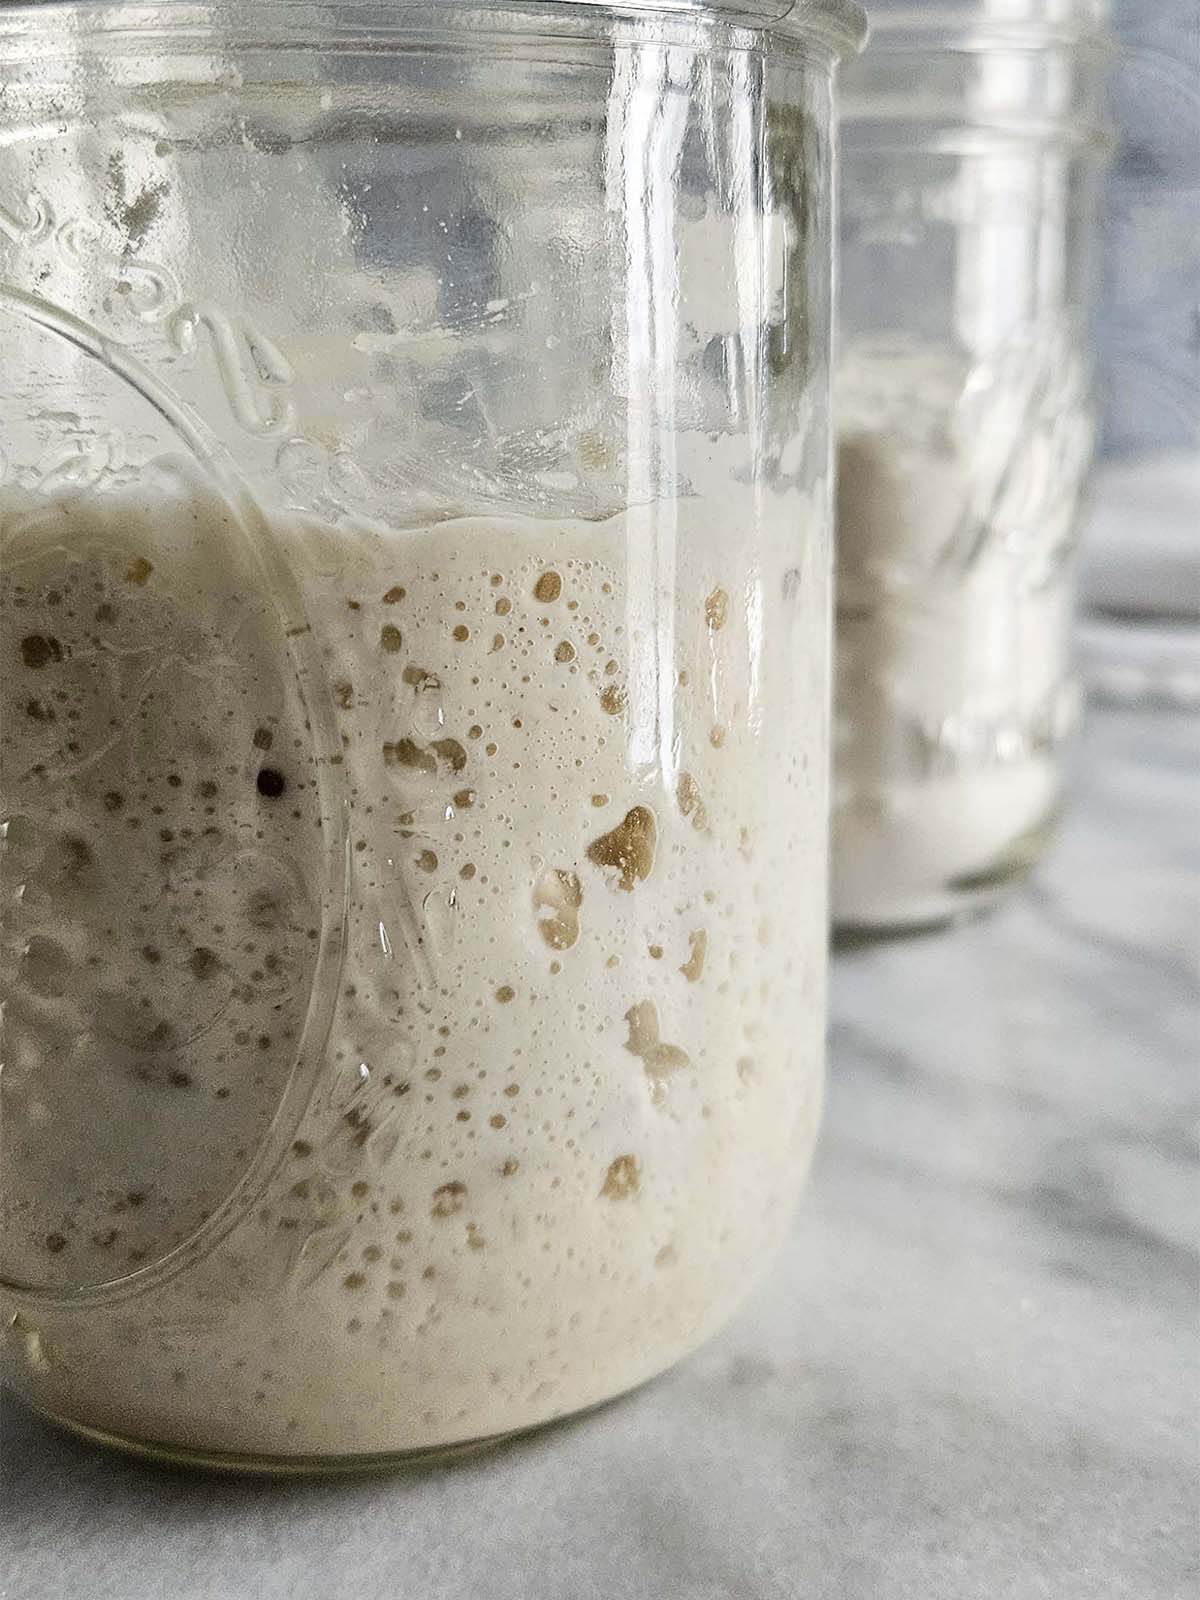
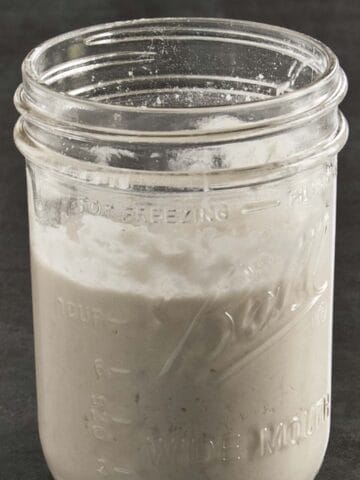
Step 3: When you're ready to bake again, add equal amounts of flour and water. The amounts will depend on how much starter you need for your recipe.
Mix well and let the starter sit at room temperature until it becomes bubbly and active, usually 4-12 hours, depending on your home's temperature and the age of the scrappings.
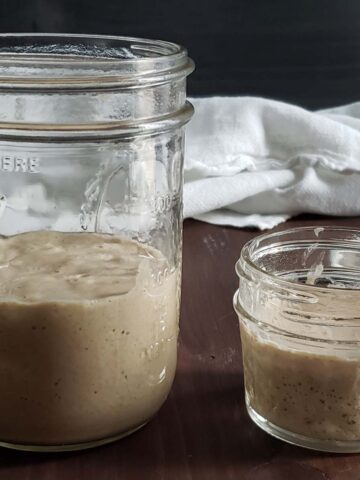
Step 4: Once the starter has doubled in size proceed with your chosen recipe.
Troubleshooting the Scrapings Method
Sourdough Starter Isn't Bubbling or Activating
- Possible Cause: The scrapings have been dormant for too long or are too weak.
- Solution:
- Feed with a small portion of whole wheat or rye flour, which contains more nutrients and can revive a sluggish starter.
- Reduce water slightly to make a thicker starter, this can sometimes enhance fermentation.
- Let it sit longer at a warm room temperature (75-80°F / 24-27°C).
Sourdough Starter Smells Off (Like Acetone or Vinegar)
- Possible Cause: The starter is starving, and the microbes have shifted to producing more acetic acid or alcohol.
- Solution:
- Discard most of the starter (except for scrapings) and feed it multiple times over a day to rebuild the microbial balance.
- Keep feeding at regular intervals until the smell normalizes.
Mold or Discoloration
- Possible Cause: The scrapings dried out or weren't refreshed soon enough.
- Solution:
- If mold is visible, discard the entire starter-it's unsafe to use. This is one of the reasons I keep dehydrated starter on hand as an insurance policy.
- To prevent this, ensure the container lid is slightly ajar to maintain airflow but prevent drying, and don't let the scrapings sit unused for more than 1-2 weeks.
Sourdough Starter Is Too Slow to Reactivate
- Possible Cause: Cold temperatures or dormant yeast.
- Solution:
- Place the starter in a warm spot {70-75°F (21-24°C) is ideal e.g., near a light or in an oven with the light on}.
- Feed smaller amounts more frequently over 2-3 feedings to rebuild strength.
Sourdough Starter is Too Runny or Doesn't Hold Its Shape
- Possible Cause: Flour choice, water content, or an over-hydrated starter.
- Solution:
- Switch to a thicker feeding ratio {e.g., 1:1:0.8 (starter:flour:water)}.
- Use bread flour or another high-protein flour to help create structure.
Sourdough Starter is Watery on Top (Hooch Formation)
- Possible Cause: The starter has been left unfed for too long.
- Solution:
- Pour off the hooch or stir it back in for tangier flavor.
- Feed the starter multiple times to refresh it.
Scrapping Method Baking Schedules
Here are some sample baking schedules to give you an idea of how the scrapings method could work for you.
Weekly Baking
- Store the scrapings in the fridge after your last bake.
- Two days before baking:
- Remove the scrapings from the fridge.
- Feed 1:1:1 (starter:water:flour) and let it sit for 4-12 hours at room temperature.
- Feed again if needed to ensure it's bubbly and active by baking day.
Biweekly or Monthly Baking
- Keep scrapings in the fridge for up to 2 weeks.
- A week before baking: Check the starter for mold or an off smell. If all is well, start refeeding as described above.
Irregular or Infrequent Baking
- Consider freezing a portion of your starter as backup if you don't plan to bake for a long time.
- Dehydrating a portion of your sourdough starter can also ensure you always have some on hand to rebuild from.
Active Baking Weeks
- Keep the starter at room temperature and feed daily. After your baking week, revert to the scrapings method to conserve flour.
FAQs
You can leave the scrapings at room temperature for a few days or in the refrigerator for several weeks to a few months. The longer it sits, the longer it may take to reactivate.
Not necessarily. While it may take a few extra feedings to regain full strength, a well-maintained starter will return to its normal activity level.
Yes, but whole wheat or rye flour can speed up the process because they contain more natural wild yeasts and nutrients.
Expert Tips
- Always use clean utensils to avoid contamination.
- Use Fresh Scrapings: Try not to leave the scrapings unused for more than 1-2 weeks in the fridge to prevent them from becoming too weak or moldy.
- Start Small: Begin with equal parts flour and water, then scale up as needed in subsequent feedings.
- Monitor Activity: The time it takes for the starter to become active depends on how fresh and healthy the scrapings are. If it seems sluggish, try a boost with whole wheat or rye flour.
- Mark your container to track how much the starter rises after feeding.
More Sourdough Tips


Thanks for Reading!
If you try this recipe, let me know! Leave a comment and rate it below! You can also snap a picture and post it on Facebook or Instagram be sure to tag me @RaspberriesandKohlrabi.
Subscribe to get more recipes and tips by email.
📖 Recipe

Scrapings Method for Sourdough Starter
Equipment
Ingredients
- sourdough starter recently fed and active
- flour
- water
Instructions
- After using your active sourdough starter for baking, instead of feeding it immediately, leave just a thin layer (about a teaspoon) in your jar. No need to add flour or water at this stage.
Two Options For Storage
- Room Temperature (Short-Term): If you plan to use your starter within a few days, leave the jar at room temperature with a loose-fitting lid.
- Refrigeration (Long-Term): For longer storage, place the jar in the refrigerator with a loose-fitting lid.
Reactivating Scrapings
- When you're ready to bake again, add equal amounts of flour and water. The amounts will depend on how much starter you need for your recipe.
- Mix well and let the starter sit at room temperature until it becomes bubbly and active, usually 4-12 hours, depending on your home's temperature and the age of the scrappings.
- Once the starter has doubled in size proceed with your chosen recipe.
Notes
- Always use clean utensils to avoid contamination.
- Use Fresh Scrapings: Try not to leave the scrapings unused for more than 1-2 weeks in the fridge to prevent them from becoming too weak or moldy.
- Start Small: Begin with equal parts flour and water, then scale up as needed in subsequent feedings.
- Monitor Activity: The time it takes for the starter to become active depends on how fresh and healthy the scrapings are. If it seems sluggish, try a boost with whole wheat or rye flour.
- Mark your container to track how much the starter rises after feeding.


Comments
No Comments