
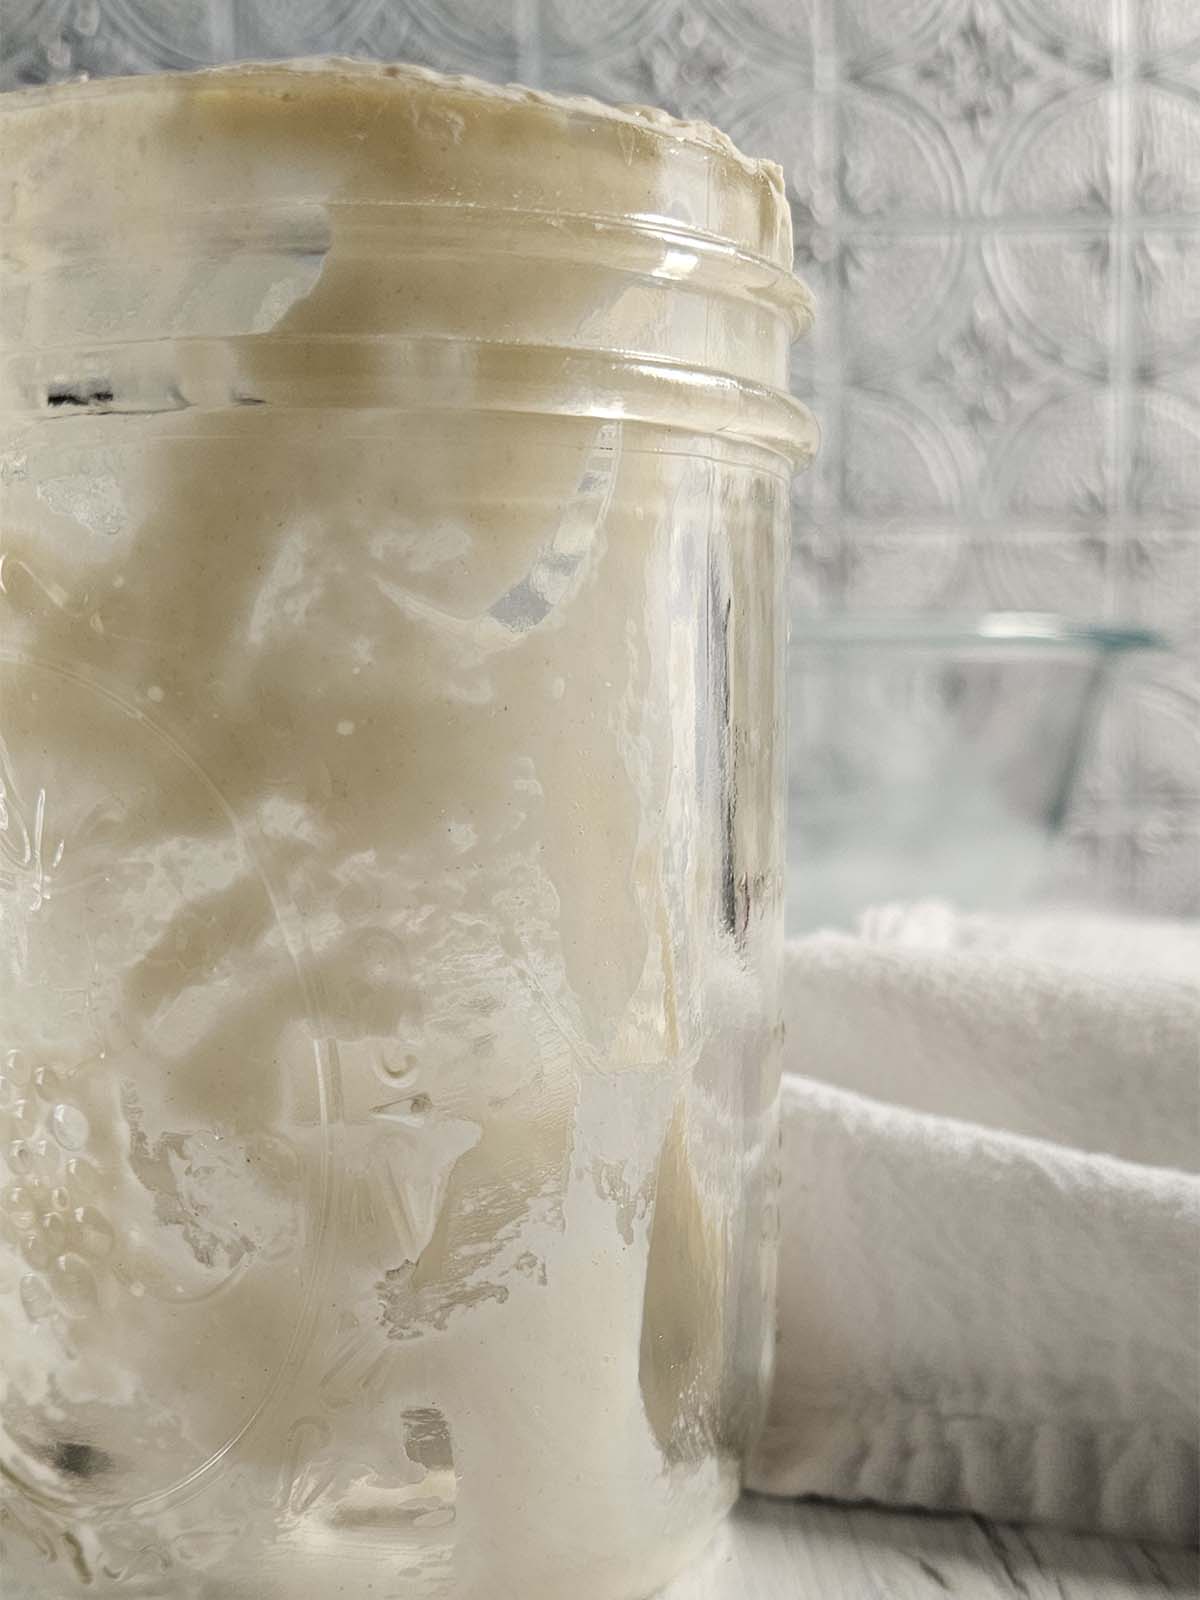
The Scrapings Method for Sourdough Starter is a low-maintenance way to keep your starter alive without regular feedings or creating unnecessary discard. Instead of maintaining a large amount of starter, you save the small amount left in your jar after baking and refrigerate it until you're ready to bake again.
I first learned about the scrapings method after watching a video from Bake with Jack. I loved the idea of keeping just a thin layer of starter in my jar instead of constantly feeding and discarding it.
Those scrapings can be refrigerated for 2-3 weeks and revived when you're ready to bake again. Simply add flour and water to build the amount of active starter your recipe requires.
Welcome to your no-discard sourdough starter.
IS THE SCRAPINGS METHOD RIGHT FOR YOU?
The scrapings method is a simple way to reduce discard and avoid unnecessary feedings, but it isn't the only low-maintenance way to care for your starter. Take my quick quiz to find the sourdough starter storage method that best fits how often you bake and how much maintenance you want.
Jump to:
Why Use the Scrapings Method?
- Less Waste: Uses minimal flour, making it a cost-effective option.
- Low Maintenance: No need for frequent feedings; the starter can sit for 2-3 weeks in the refrigerator.
- Easy to Scale Up: You can rebuild the starter to any quantity needed for your recipe.
- Space-Saving: Ideal for small kitchens or when managing multiple starters.
- Ideal for Infrequent Bakers: Perfect for those who bake occasionally and don't want the hassle of daily upkeep.
How to Use the Scrapings Sourdough Method

Step 1: After using your active starter for baking, instead of feeding it immediately, leave just a thin layer (about a teaspoon) in your jar. No need to add flour or water at this stage.
Step 2: Store the scrapings in the refrigerator for 2-3 weeks.
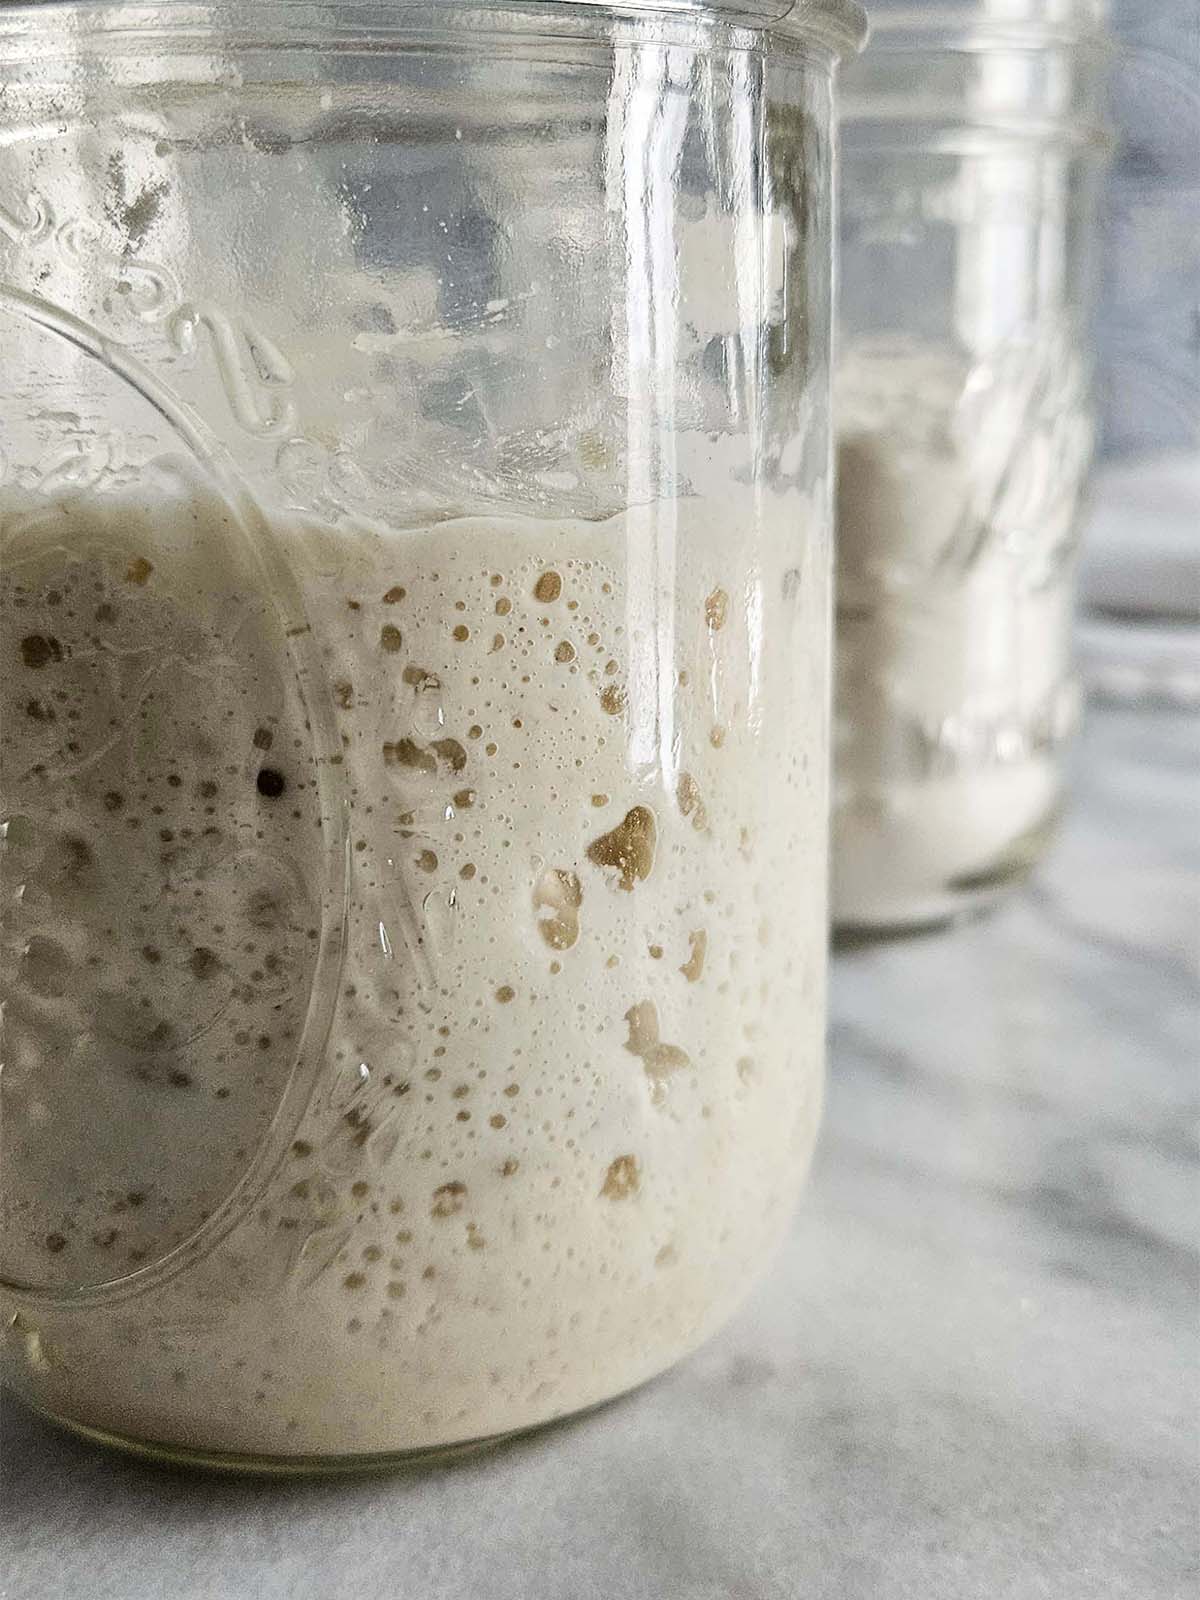
Step 3: When you're ready to bake, add equal amounts of flour and water to the scrapings in your jar. Feed enough to build the amount of starter your recipe requires.
Allow the starter to rise at room temperature until it's bubbly, active and has risen predictably. This may take 4-12 hours or longer, depending on your starter's strength, room temperature and how long it has been refrigerated.
If your starter hasn't become active after feeding, give it another feeding before using it to make bread.
Step 4: Once the starter has doubled in size, proceed with your chosen recipe.
Troubleshooting the Scrapings Method
Sourdough Starter Isn't Bubbling or Activating
- Possible Cause: The scrapings have been dormant for too long or are too weak.
- Solution:
- Feed with a small portion of whole wheat or rye flour, which contains more nutrients and can revive a sluggish starter.
- Reduce water slightly to make a thicker starter this can sometimes enhance fermentation.
- Let it sit longer at a warm room temperature (75-80°F / 24-27°C).
Sourdough Starter Smells Off (Like Acetone or Vinegar)
- Possible Cause: The starter is starving, and the microbes have shifted to producing more acetic acid or alcohol.
- Solution:
- Discard most of the starter (except for scrapings) and feed it multiple times over a day to rebuild the microbial balance.
- Keep feeding at regular intervals until the smell normalizes.
Mold or Discoloration
- Possible Cause: The scrapings dried out or weren't refreshed soon enough.
- Solution:
- If mold is visible, discard the entire starter-it's unsafe to use. This is one of the reasons I keep dehydrated starter on hand as an insurance policy.
- To prevent this, ensure the container lid is slightly ajar to maintain airflow but prevent drying, and don't let the scrapings sit unused for more than 1-2 weeks.
Sourdough Starter Is Too Slow to Reactivate
- Possible Cause: Cold temperatures or dormant yeast.
- Solution:
- Place the starter in a warm spot 70-75°F (21-24°C) is ideal e.g., near a light or in an oven with the light on.
- Feed smaller amounts more frequently over 2-3 feedings to rebuild strength.
Sourdough Starter is Too Runny or Doesn't Hold Its Shape
- Possible Cause: Flour choice, water content, or an over-hydrated starter.
- Solution:
- Switch to a thicker feeding ratio {e.g., 1:1:0.8 (starter:flour:water)}.
- Use bread flour or another high-protein flour to help create structure.
Sourdough Starter is Watery on Top (Hooch Formation)
- Possible Cause: The starter has been left unfed for too long.
- Solution:
- Pour off the hooch or stir it back in for tangier flavor.
- Feed the starter multiple times to refresh it.
Scrapings Method Baking Schedules
One of the best things about the scrapings method is that you can adapt it to how often you bake. Here are a few examples of what your routine might look like depending on your baking schedule.
If You Bake Once a Week
If you typically bake on the weekend, your starter can spend most of the week in the refrigerator.
- Friday evening: Remove the jar of scrapings from the refrigerator. Add enough flour and water to build the amount of starter you need for your recipe, plus a little extra to leave behind.
- Saturday morning: Once the starter is active and bubbly, remove the amount needed for your recipe and mix your dough.
- After removing the starter: Return the jar with the remaining scrapings to the refrigerator until your next bake.ys before baking:
If You Bake Every Few Weeks
The process is essentially the same, but your starter spends more time resting in the refrigerator between bakes.
The day before you plan to bake: Remove the scrapings from the refrigerator and feed them with enough flour and water for your recipe plus a little extra.
When the starter is active: Remove what you need and mix your dough.
After removing the starter: Return the remaining scrapings to the refrigerator until you're ready to bake again.
If the starter has been refrigerated for a longer period and seems sluggish after the first feeding, give it another feeding before using it in your dough.
If You Bake Irregularly
If you don't have a predictable baking schedule, you don't need a complicated starter-maintenance calendar.
Keep the scrapings in the refrigerator between bakes. When you decide you want to bake, remove the jar and feed the starter. Depending on how long it has been refrigerated and how active it is after feeding, you may need one or more feedings before it's ready to use.
Once you've removed the starter for your recipe, return the remaining scrapings to the refrigerator.
Not sure the scrapings method fits the way you bake? Take my Sourdough Starter Storage Quiz to compare it with room-temperature storage, refrigeration, a microstarter and dehydration.
During Weeks When You Bake Frequently
If you're baking several times in a short period, you may not need to refrigerate the starter between every bake.
Build the amount of starter you need, use most of it in your recipe and leave the scrapings behind. If you'll be baking again soon, you can feed those scrapings for your next bake. Once your stretch of frequent baking is over, return the jar of scrapings to the refrigerator.
FAQs
Store scrapings in the refrigerator for 2-3 weeks. The longer it sits, the longer it may take to reactivate.
Not necessarily. While it may take a few extra feedings to regain full strength, a well-maintained starter will return to its normal activity level.
Yes, but whole wheat or rye flour can speed up the process because they contain more natural wild yeasts and nutrients.
Expert Tips
- Always use clean utensils to avoid contamination.
- Use Fresh Scrapings: Try not to leave the scrapings unused for more than 2-3 weeks in the fridge to prevent them from becoming too weak or moldy.
- Start Small: Begin with equal parts flour and water, then scale up as needed in subsequent feedings.
- Monitor Activity: The time it takes for the starter to become active depends on how fresh and healthy the scrapings are. If it seems sluggish, try a boost with whole wheat or rye flour.
- Mark your container to track how much the starter rises after feeding.
More Sourdough Tips


Thanks for Reading!
If you try this recipe, let me know! Leave a comment and rate it below! You can also snap a picture and post it on Facebook or Instagram be sure to tag me @RaspberriesandKohlrabi.
Subscribe to get more recipes and tips by email.
📖 Recipe

Scrapings Method for Sourdough Starter
Equipment
Ingredients
- sourdough starter recently fed and active
- flour
- water
Instructions
- After using your active sourdough starter for baking, instead of feeding it immediately, leave just a thin layer (about a teaspoon) in your jar. No need to add flour or water at this stage.
- Place the jar in the refrigerator with a loose-fitting lid for up to 2-3 weeks.
Reactivating Scrapings
- When you're ready to bake again, add equal amounts of flour and water. The amounts will depend on how much starter you need for your recipe.
- Mix well and let the starter sit at room temperature until it becomes bubbly and active, usually 4-12 hours, depending on your home's temperature and the age of the scrapings.
- Once the starter has doubled in size proceed with your chosen recipe.
Notes
- The reactivation time may vary. The starter should be consistently active before baking.
- Always use clean utensils to avoid contamination.
- Use Fresh Scrapings: Try not to leave the scrapings unused for more than 1-2 weeks in the fridge to prevent them from becoming too weak or moldy.
- Start Small: Begin with equal parts flour and water, then scale up as needed in subsequent feedings.
- Monitor Activity: The time it takes for the starter to become active depends on how fresh and healthy the scrapings are. If it seems sluggish, try a boost with whole wheat or rye flour.
- Mark your container to track how much the starter rises after feeding.




Comments
No Comments