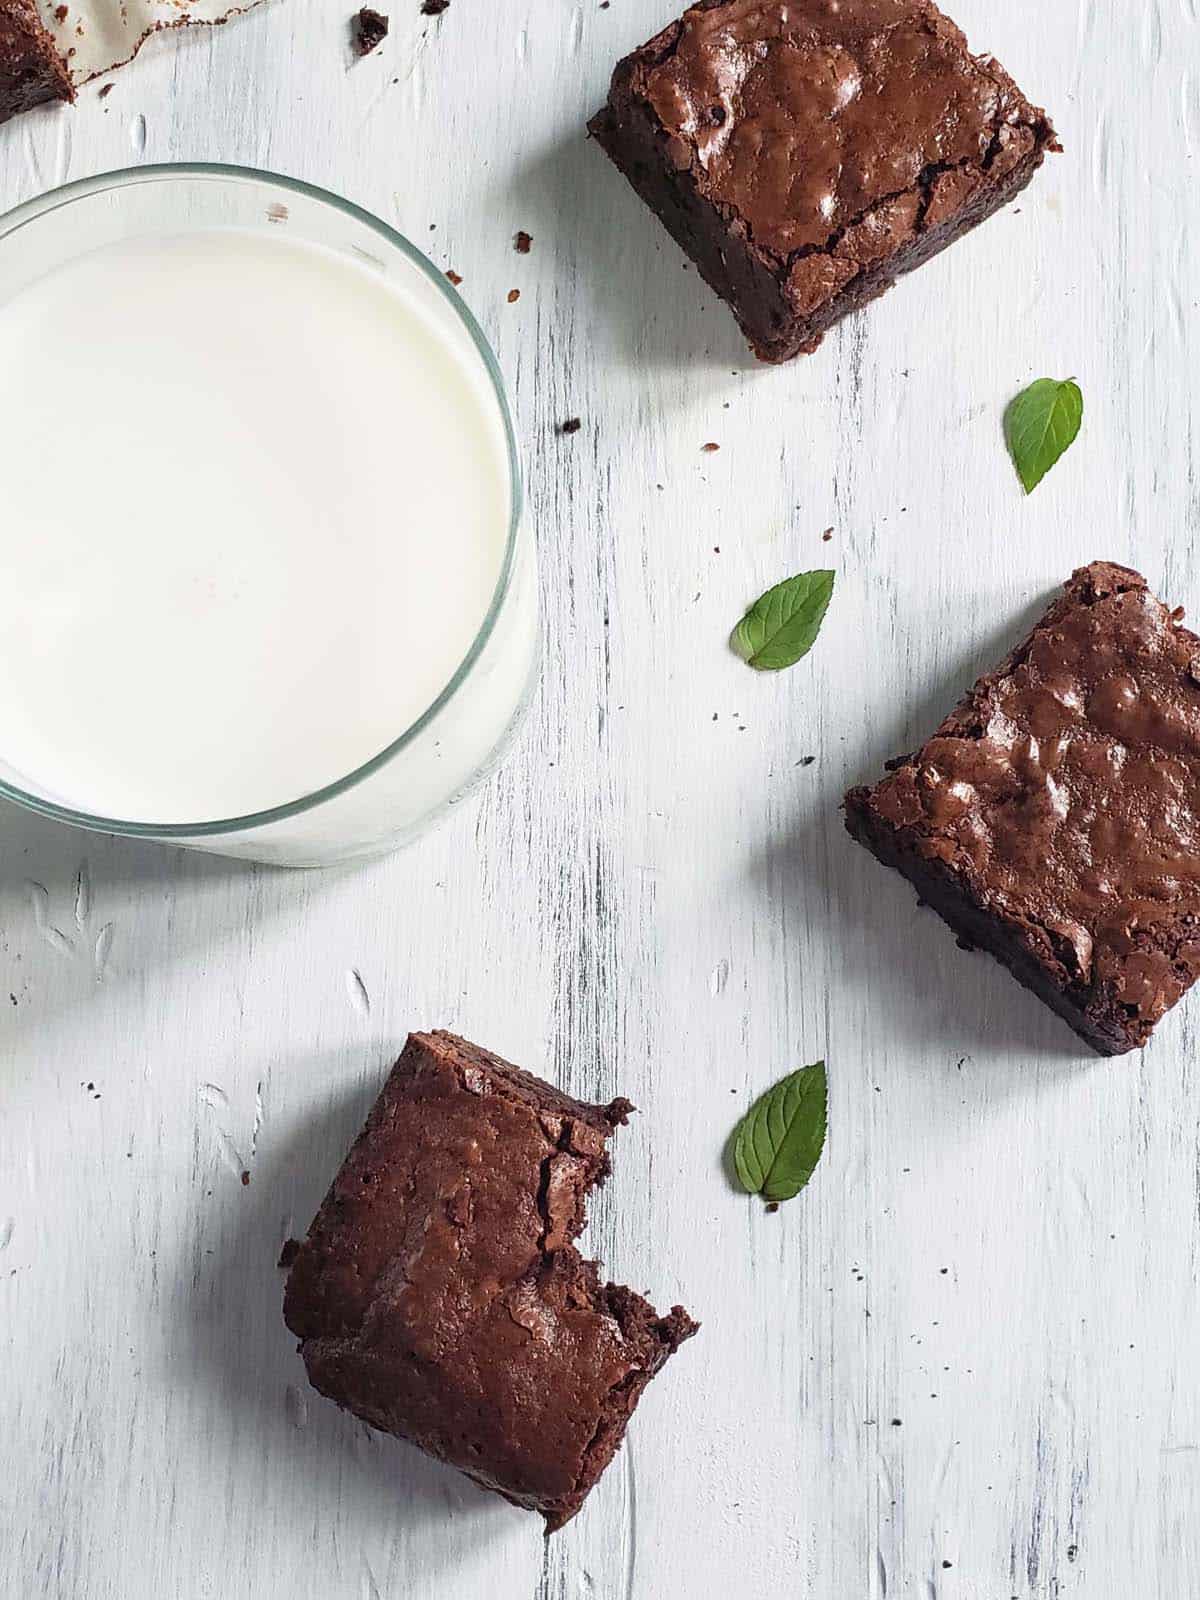
These Fresh Mint Brownies are made in one bowl, with creamy melted chocolate and bright freshly chopped mint leaves.
These brownies are filled with lots of rich chocolate and a burst of fresh mint flavor.

Fresh mint is steeped in butter and then blended until smooth.
If you really love brownies you will want to try these Sweetened Condensed Milk Brownies, Nutella Hazelnut Brownies, Creme Brulee Brownies, Brownies with Raspberry Preserves, or these Nutella Cheesecake Brownies.
Jump to:
Why You Will Love This Recipe
- You can mix this brownie batter by hand in a single bowl. No need to get out an electric mixer.
- These chocolate mint brownies have a perfect chewy texture with a thin crackled crust.
- The combo of mint and chocolate in this brownie recipe is light and refreshing.
Recipe Ingredients
You will need the following ingredients to make these refreshing Fresh Mint Brownies.

Unsalted Butter: Using butter instead of oil adds a rich buttery flavor.
Fresh Mint Leaves: Use only the leaves, not the stems. When baked in the brownies the stems can create an unappealing fibrous texture.
You can use any variety of mint: peppermint, spearmint, chocolate mint, etc.
You may also want to try these Fresh Mint Chocolate Chip Cookies, Sourdough Mint Chocolate Chip Cookies, or any of these Fresh Mint Recipes.
Semi-Sweet Chocolate Chips: Semi-sweet chocolate gives the best balance between bitter chocolate flavor and sweetness.
Brown and White Sugar: Both brown and white sugar are used. Brown sugar adds moisture along with some delicious caramel notes. White sugar ensures a crunchy shiny crust on top.
Whole Large Eggs + an Extra Egg Yolk: Eggs act as a binding agent and also add structure and leavening. There are no chemical leaveners in these brownies ensuring that they remain thick and fudgy rather than cakey. The extra fat from the additional egg yolk adds extra richness to the brownie.
Save the extra egg white to make this Lemon Swiss Meringue.
All-Purpose Flour: There isn't much flour in these brownies and all-purpose flour adds just enough structure. For accuracy, the best way to measure the flour is by using a digital kitchen scale.
Tip: If you don't have a digital scale, spoon the flour into the measuring cup and level it with the back of a butter knife. Try not to compress the flour into the measuring cup. Too much flour creates dense cookies.
Dutch Process Cocoa Powder: Cocoa powder has more cocoa solids and therefore more chocolate flavor than any other type of chocolate. By adding just a little cocoa powder we are able to bump up the chocolate flavor without drying out the brownies. You could use regular cocoa powder but I prefer the smooth flavor and dark color of Dutch process cocoa powder. This is my favorite Dutch process cocoa powder.
Salt: I add at least a pinch of salt to all of my recipes. Salt complements and intensifies the other flavors. For all of my recipes, I use Morton Kosher Salt which packs more densely than Diamond Crystal Kosher Salt. If you are using Diamond Crystal Kosher Salt you will want to double the amount of salt you add.
See the recipe card for full information on ingredients and quantities.
Substitutions and Variations
- For a sweeter brownie use milk chocolate chips instead of semi-sweet chocolate chips.
- If you don't have Dutch-processed cocoa powder you can use regular cocoa powder but the brownies coloring won't be as dark and rich.
- If you don't have a 9x9 pan you can bake these brownies in an 8x8 pan. The brownies will be thicker so the bake time will be a bit longer.
- Add a sprinkle of flaky sea salt to the top of these brownies to bring out the chocolate flavor!
Step by Step Directions
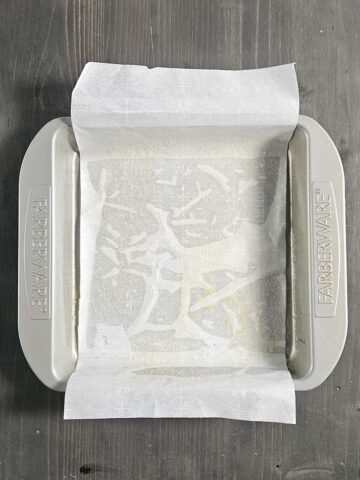
Step 1: Preheat the oven to 350°F (180°C) and position an oven rack in the middle of the oven. Line a 9 x 9-inch baking pan with parchment paper allowing the ends to extend over two of the sides to create a sling.

Step 2: Cut the butter into 1-inch pieces. Place the butter in a large microwave-safe bowl. Place the bowl in the microwave and cover. Heat the butter at 50 percent power until melted. This should take 30 to 60 seconds.
Pour the melted butter and mint leaves into a blender and process until smooth. About 1 minute.
In the same large microwave-safe bowl, combine the mint butter and chocolate chips. Melt in 30-second increments at 50% power, whisking in between each increment until completely smooth.

Step 3: Whisk in the white and brown sugar until completely combined.

Step 4: Whisk in the eggs, egg yolk, and vanilla.
Tip: Allow the chocolate mixture to cool slightly to avoid scrambling the eggs.
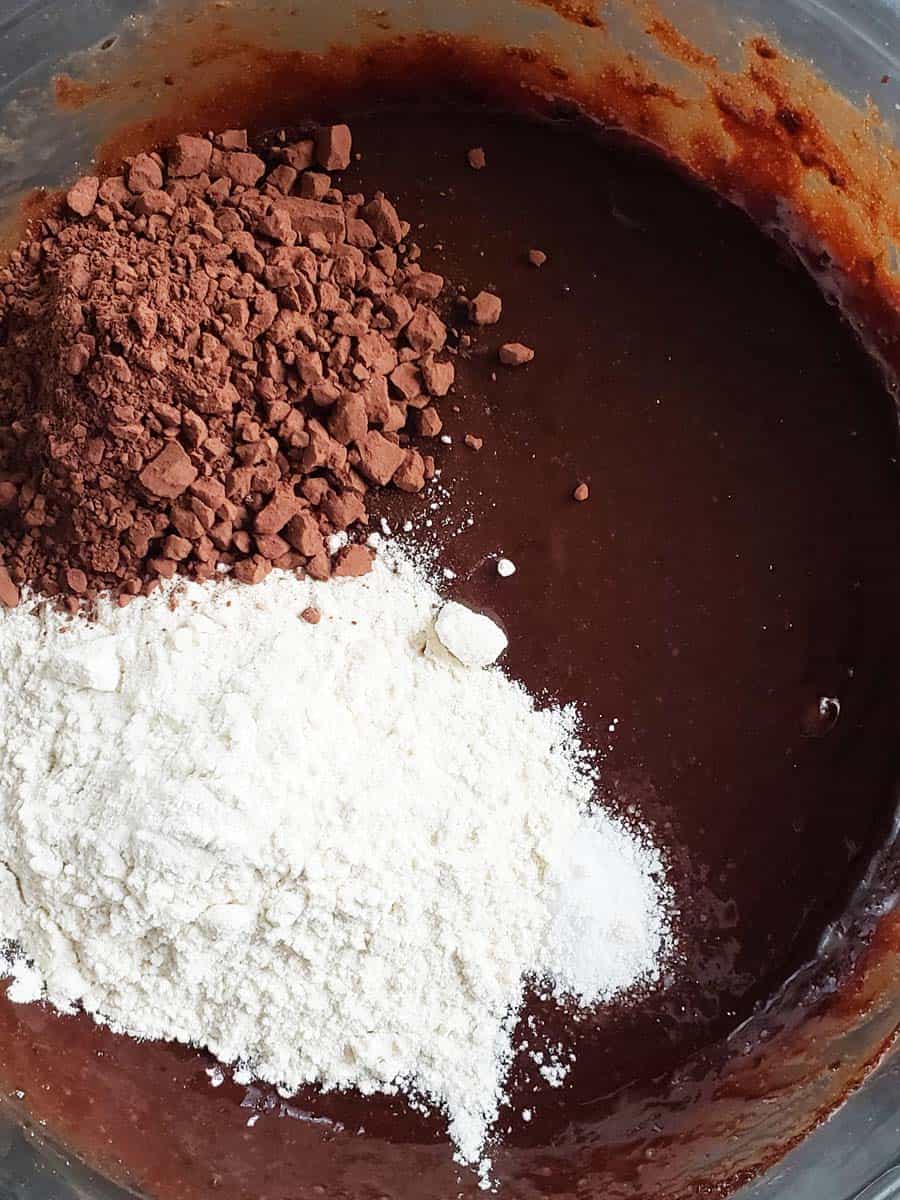
Step 5: Add the flour, cocoa powder, and salt.
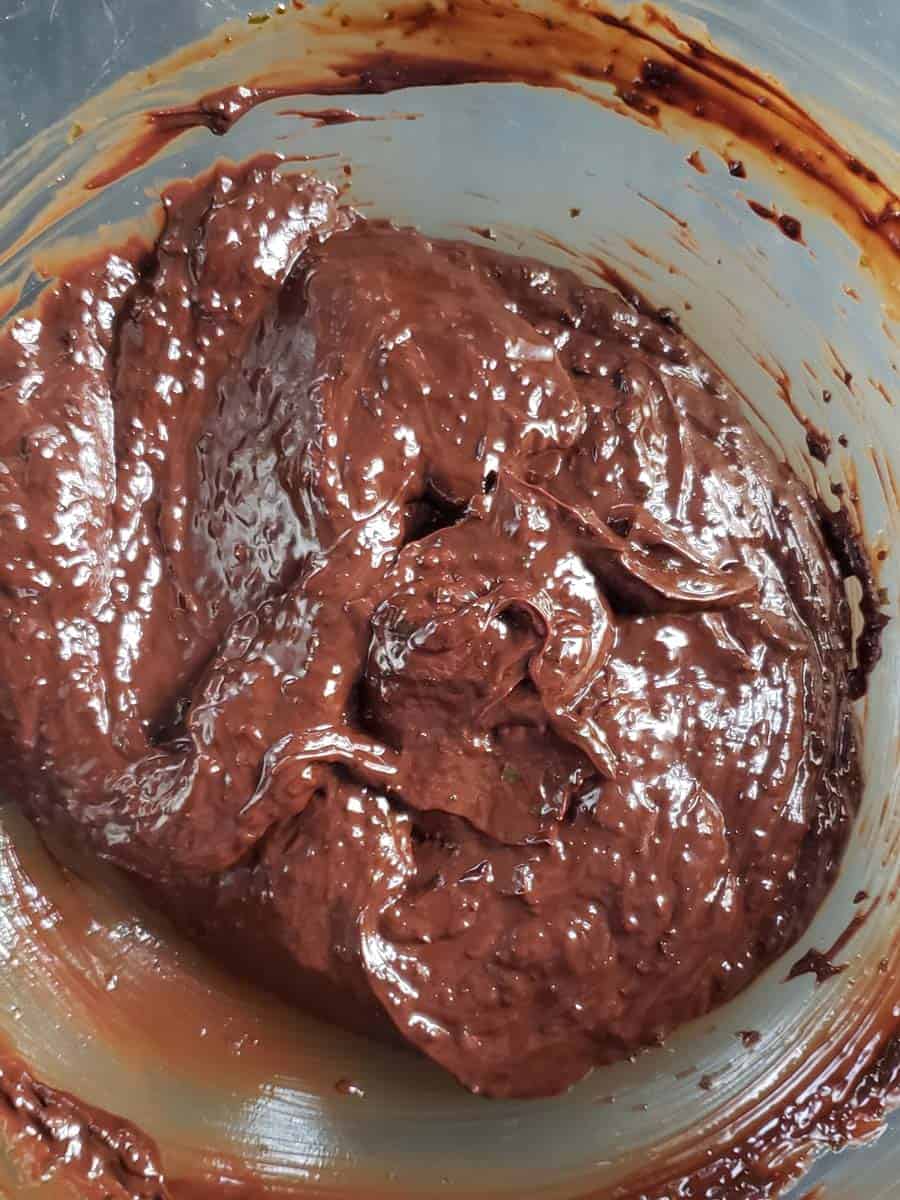
Step 6: Fold together with a rubber spatula or wooden spoon until just combined.

Step 7: Fold in the Andes Mint pieces.
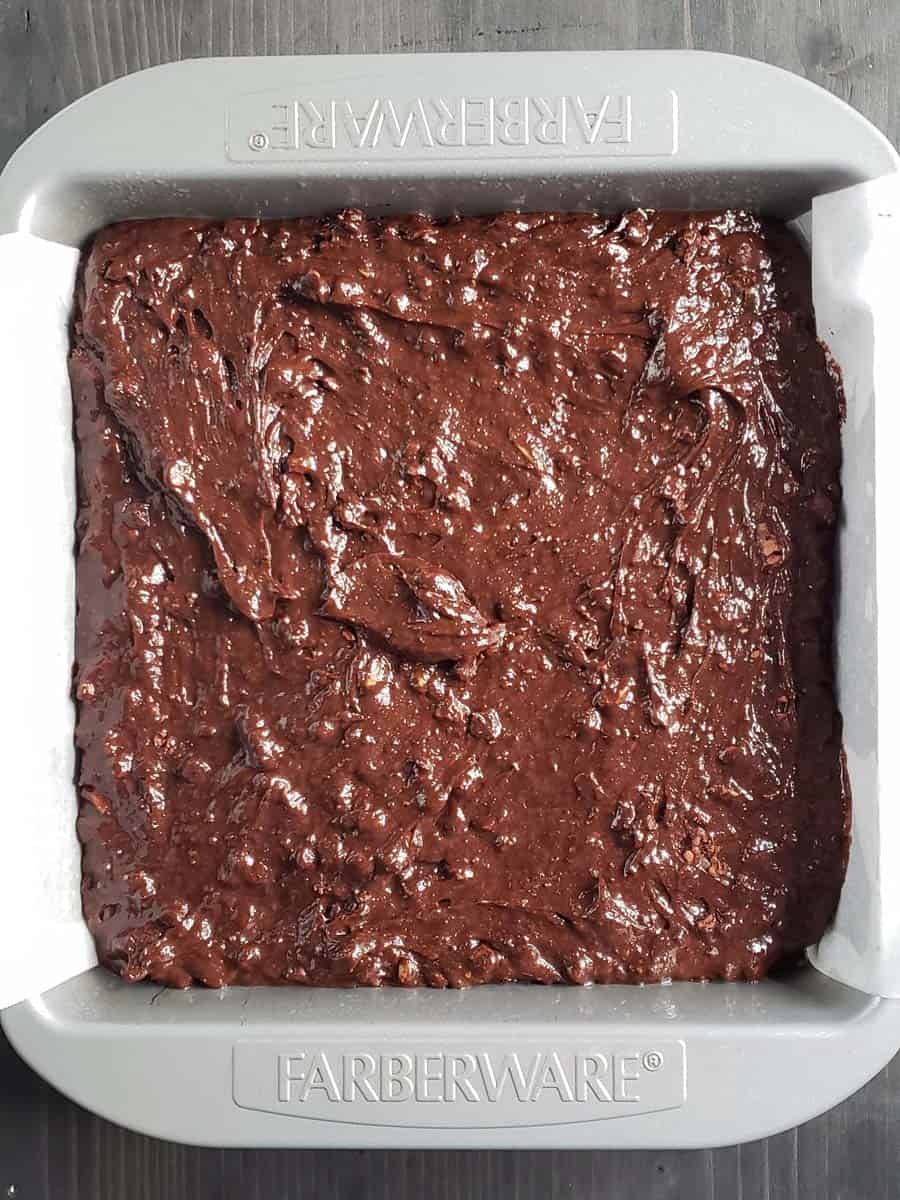
Step 8: Pour the batter into the prepared baking dish. Bake for 30-40 minutes or until a toothpick inserted in the center comes out with very moist crumbs clinging to it. Remember the brownies will continue to bake as they cool.
Cool completely before using the parchment paper to lift the brownies from the pan.
Make-Ahead, Storage, and Freezing Instructions
If you are planning to store the brownies rather than eating them right away it is best to wait to cut them until you are ready to eat them. Cutting the brownies exposes them to air causing them to dry out more quickly.
Tightly wrap the brownies in plastic wrap or place them in an airtight container.
Brownies should be stored at room temperature and will stay fresh for at least 3-4 days. If you must store them for longer place them in the refrigerator for up to two weeks.
Tip: The brownie will have a better flavor if you allow it to return to room temperature before eating it.
To freeze brownies: Wrap the brownies tightly in plastic wrap and then place them in a zip-top bag. Label the bag with the date and contents. Frozen brownies will stay fresh for up to three months.
Allow the brownies to thaw at room temperature before eating.
Recipe FAQs
Light-colored metal pans make the best brownies. Glass or dark-colored metal pans heat unevenly and can cause the edges to overbake or even burn.
If a glass or dark pan is all you have, reduce the oven temperature by 25°F (4°C) and keep an eye on the brownies as they bake.
Always grease the pan thoroughly with shortening, softened butter, or cooking spray. To make brownie removal easy, after greasing the pan, line it with parchment paper or aluminum foil. Cut the pieces longer than the pan so that the sides hang over the edge of the pan creating a sling. Grease the lining to make sure it will easily peel away from the brownies.
When fully baked the brownies will puff slightly, and have a shiny slightly cracked top. Insert a toothpick into the center of the brownies. When you remove the toothpick there should only be a few crumbs clinging to the toothpick.
If you have an instant-read thermometer the center of the brownies should be cooked to 165°F (74°C).
For neater slices, allow the brownies to cool for at least an hour before cutting. This will allow the chocolate and fat to set. Use a large serrated knife to easily cut even pieces. Clean the knife between each cut to minimize sticking.
Expert Tips
- Use good quality chocolate. It will make a big difference in the flavor of these brownies.
- For accuracy, use a kitchen scale and measure ingredients in grams. Weight measurements are more accurate than volume and will give you the most consistent results. This is my favorite kitchen scale because the display pulls out so that is easy to view when measuring in large bowls.
- Do not overbeat the batter once the flour and cocoa powder has been added. Over mixing traps more air creating a lighter less fudgy brownie.
- Line the baking pan with parchment paper, leaving an overhang on two opposite sides. This makes lifting the brownies out of the pan to cut them super easy. I like to spray the pan with non-stick spray first, which helps to hold the parchment paper in place.
- Err on the side of underbaked brownies rather than overbaked brownies. Brownies will continue to bake even after they have been pulled out of the oven. After they have cooled for about 15 minutes use the ends of the parchment paper to lift them out of the pan and place them on a cooling rack to continue cooling down.
- Be patient! Don't start slicing into the brownie the second it comes out of the oven. It won't be set just yet, and you will end up with a chocolatey mess.
- Double the recipe and bake in a 13 x 9-inch pan. The baking time may need to be adjusted. Start by baking the brownies for 35 minutes before checking for doneness.
More Dessert Recipes


Thanks for Reading!
If you try this recipe, let me know! Leave a comment and rate it below! You can also snap a picture and post it on Facebook or Instagram be sure to tag me @RaspberriesandKohlrabi.
Subscribe to get more recipes and tips by email.
📖 Recipe

Fresh Mint Brownies
Equipment
- Microwave-Safe Mixing Bowl
Ingredients
Brownies
- ½ cup unsalted butter
- 1 cup fresh mint leaves
- 1 bag semi-sweet chocolate chips
- ¾ cup white granulated sugar
- ¼ cup brown sugar
- 3 large eggs
- 1 egg yolk
- 1 tablespoon vanilla extract
- ½ cup all-purpose flour
- ¼ cup dutch process cocoa powder
- ½ teaspoon kosher salt
- 1 cup Andes Mint pieces
Instructions
- Preheat the oven to 350°F (180°C) and position an oven rack in the middle of the oven. Line a 9 x 9-inch baking pan with parchment paper allowing the ends to extend over two of the sides to create a sling.
- Cut the ½ cup unsalted butter into 1-inch pieces. Place the butter in a large microwave-safe bowl. Place the bowl in the microwave and cover. Heat the butter at 50 percent power until melted. This should take 30 to 60 seconds.
- Pour the melted butter and 1 cup fresh mint leaves into a blender and process until smooth. About 1 minute.
- In the same large microwave-safe bowl, combine the mint butter and 1 bag semi-sweet chocolate chips. Melt in 30-second increments at 50% power, whisking in between each increment until completely smooth.
- Whisk in the ¾ cup white granulated sugar and ¼ cup brown sugar until completely combined. Whisk in the 3 large eggs, 1 egg yolk, and 1 tablespoon vanilla extract.
- Add the ½ cup all-purpose flour, ¼ cup dutch process cocoa powder, and ½ teaspoon kosher salt. Fold together with a rubber spatula or wooden spoon until just combined.
- Fold in the 1 cup Andes Mint pieces.
- Pour the batter into the prepared baking dish. Bake for 30-40 minutes or until a toothpick inserted in the center comes out with very moist crumbs clinging to it. Remember the brownies will continue to bake as they cool.
- Cool completely before using the parchment paper to lift the brownies from the pan.


Comments
No Comments