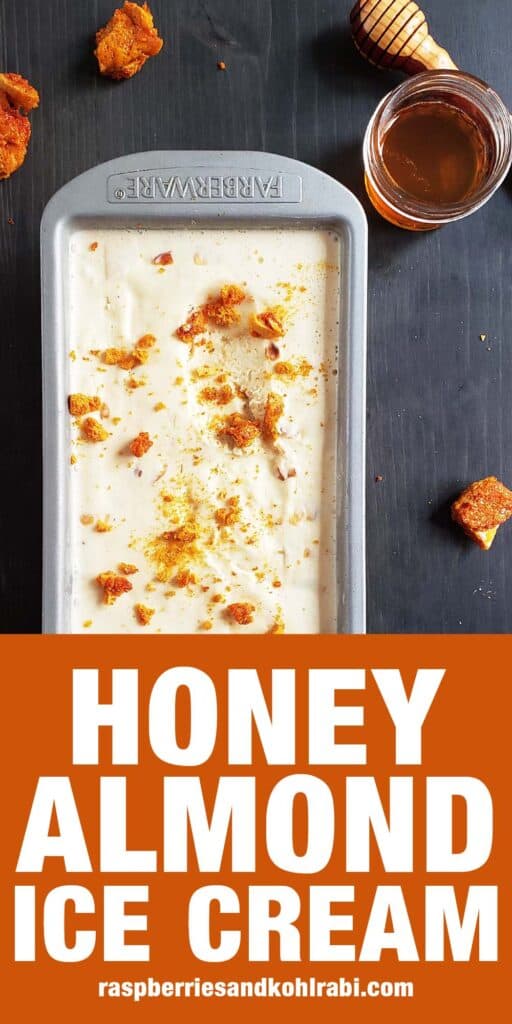
This almond and honey ice cream is filled with toasted almonds and has a sweet honey swirl.
For added crunch serve it topped with honeycomb brittle.
Why You Will Love This Ice Cream
- It is smooth and ultra-creamy.
- Made with just a few basic ingredients.
- It is filled with delicious almond and honey flavors
- It smells amazing! Really I wish I could turn the smell of the cooking custard into a candle.
Have you ever made homemade ice cream before? It is one of my favorite desserts. The hardest part about making homemade ice cream is waiting for the custard base to cool completely before churning.
A completely cooled base will give you the best results. It usually takes at least 4 hours in the refrigerator to get it sufficiently cold before pouring the base into your ice cream maker.

Jump to:
Ingredients

There are several different types of ice creams. This recipe uses a custard base meaning the egg yolks are cooked together with the dairy and sugar. Custard-style ice cream has a smooth texture and rich flavor.
Toasted Almonds: Toasting the almonds before mixing them into the ice cream intensifies their nutty flavor.
Heavy Cream: At 36% butterfat heavy cream has the highest butterfat content of all dairy products. When it is whipped it traps air in tiny pockets which increases its volume. It creates a smooth very rich ice cream.
Almond Milk: Almond milk has only 1% butterfat making it similar to skim milk. It comes in both sweetened and unsweetened varieties. I prefer to purchase the unsweetened kind. There is plenty of honey in this recipe to make the ice cream sweet. You can also make your own almond milk.
Honey: Not all kinds of honey are the same. In fact, they each have distinctive flavors depending upon the types of flowers the bees collected pollen from.
Egg Yolks: Egg yolks help to give this ice cream a smooth rich custardy texture.
Vanilla Extract: Wait to add the vanilla until the ice cream base is off the heat. Vanilla extract is alcohol-based and evaporates as it cooks. By waiting to add the vanilla until the ice cream base is off the heat you will maximize the vanilla flavor.
Equipment
Baking Sheet: Use a small rimmed baking sheet to toast the almonds.
![]() Kitchen scale: A kitchen scale makes this recipe faster and neater, by reducing the number of dishes you will need to wash because you are measuring each ingredient directly from the container into the mixing bowl without the use of measuring cups.
Kitchen scale: A kitchen scale makes this recipe faster and neater, by reducing the number of dishes you will need to wash because you are measuring each ingredient directly from the container into the mixing bowl without the use of measuring cups.
This scale from OXO is the one I use after it was recommended by Alton Brown. What makes this scale great is the display pulls out to make viewing measurements easier when using a large bowl.
Saucepan: Use a heavy-bottomed saucepan to cook the custard and avoid scorching the custard base.
Mixing Bowls: These are some of my favorite mixing bowls. They come in a huge range of sizes, nest together for easy storage, and are easy to clean.
Whisk: You will need a whisk to quickly whisk in the heated dairy to temper the egg yolks and avoid curdling.
Storage Container: Any airtight storage container will work. But they do sell specialized ice cream containers that are sized for typical homemade ice cream batches.
Ice Cream Maker: This ice cream maker from Cuisinart is one of the most popular, easy-to-use, and economical ice cream makers on the market.
Directions
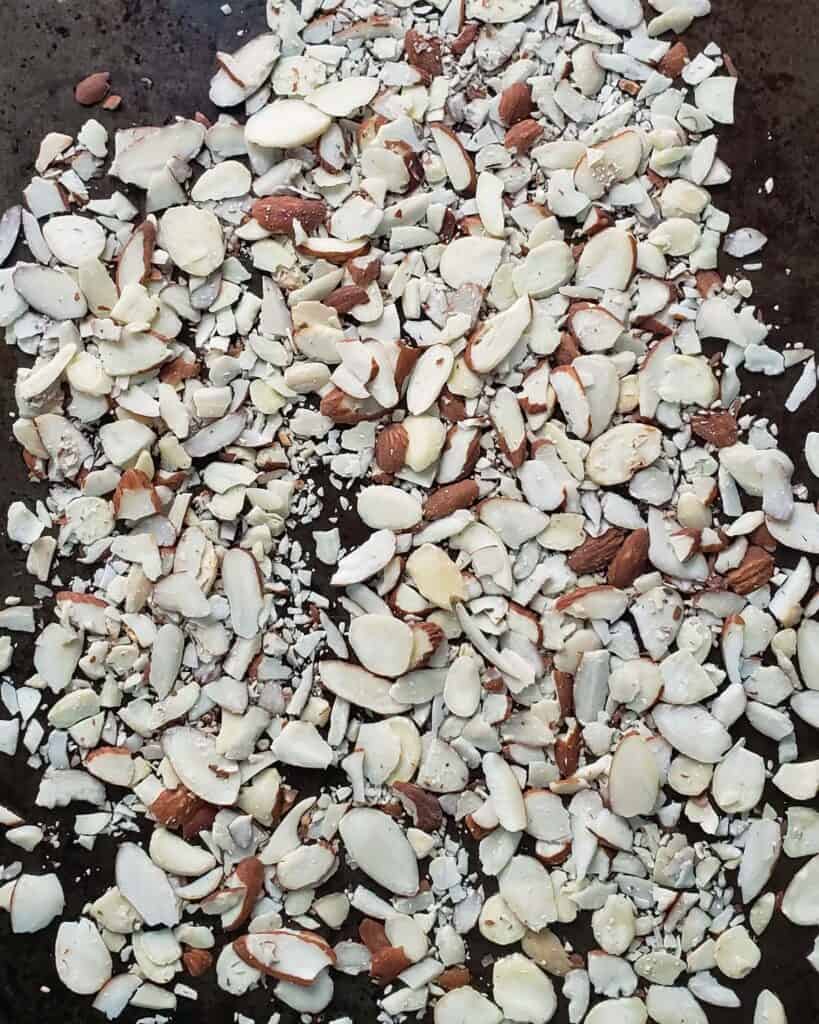
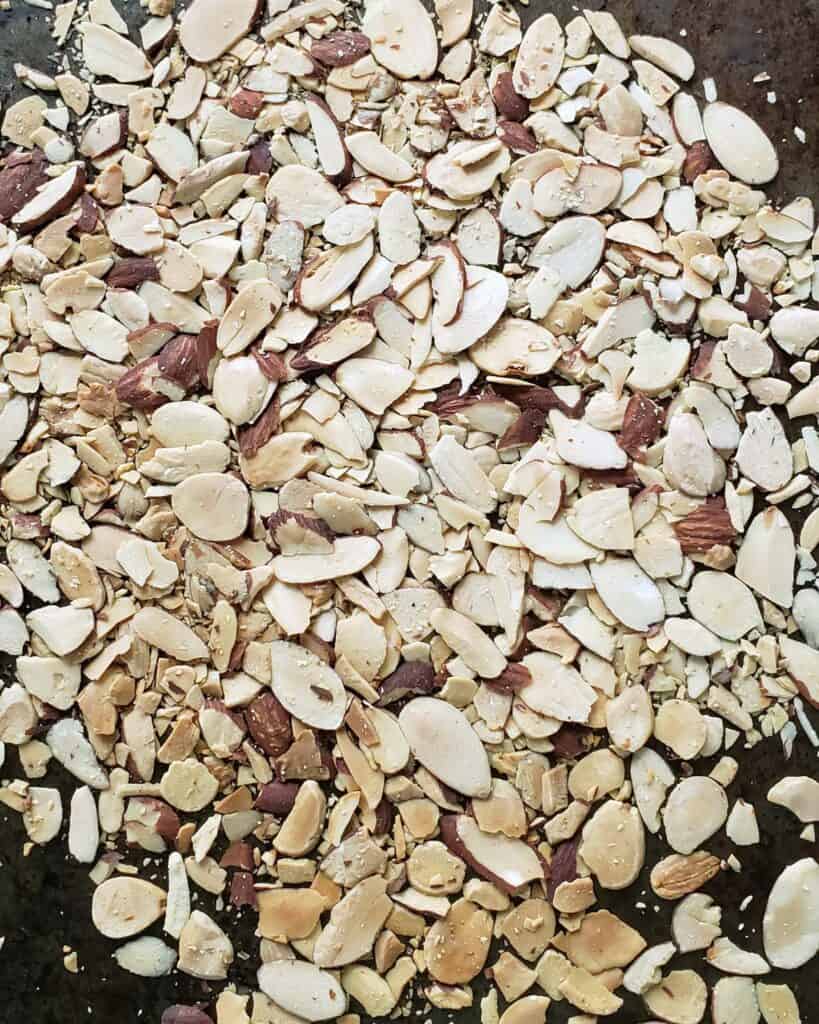
Preheat oven to 350 degrees Farenheight. Spread almonds in a single layer on a baking sheet and roast for 5-10 minutes. They will color slightly and smell nutty. Watch closely to avoid burning them. Let cool and set aside.
Combine the almond milk, heavy cream, honey, and salt in a medium saucepan and bring to a simmer over medium heat, stirring occasionally. Remove from the heat and set aside.
Whisk the egg yolks in a large mixing bowl until they lighten in color. Temper the egg yolks with the hot dairy mixture. Slowly ladle one-third of the hot dairy mixture into the yolk mixture while whisking constantly.

Return this mixture to the pot containing the rest of the dairy. Cook over low heat, stirring frequently, until the custard thickens slightly, enough to coat the back of a spoon. The mixture will be approximately 170 to 175 degrees Farenheight. Use an instant-read thermometer to verify the temperature.
Pour the dairy mixture into an airtight container and stir in the vanilla. Allow the mixture to cool at room temperature for 30 minutes. Cover and refrigerate for at least 4 hours. (the cooler the mixture is the quicker it will freeze the smaller the ice crystals will be resulting in smoother ice cream). The temperature of the dairy mixture should be below 40 degrees Farenheight.


Pour into a prepared ice cream maker and churn according to the manufacturer's directions. During the last few minutes sprinkle in the toasted almonds. This should take approximately 25 to 35 minutes.
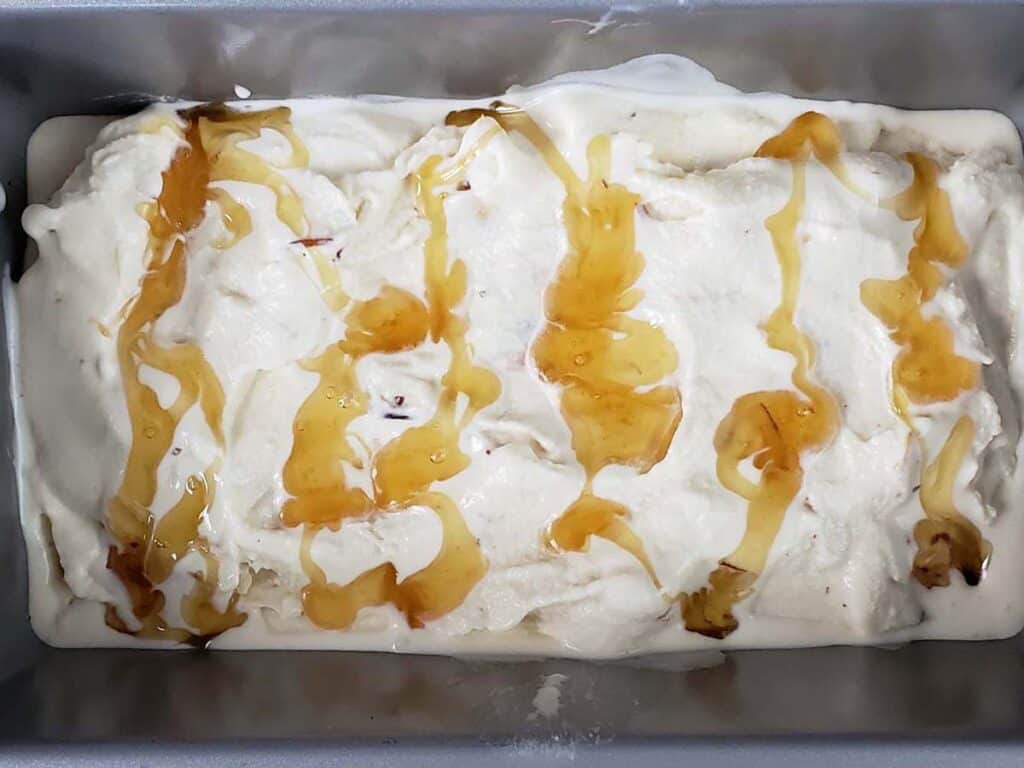
Transfer the ice cream to a storage container, and alternate layers of the ice cream with drizzles of honey. Once the ice cream is in the container, use a butter knife to gently swirl the mixture. Freeze for another 3 to 4 hours to allow the ice cream to harden.
Serving Suggestions
- Drizzle each serving with a little extra honey;
- Sprinkle with crushed honeycomb candy before serving;
- Lightly layer crushed honeycomb candy into the mixture before freezing. Some of the candy will melt, but this is a good thing. Remember, honeycomb candy is sweet so you don't need a lot.
- Plum bars
- Grilled fruit
Storage
Homemade almond milk needs to be stored in the freezer at all times. Have you ever eaten icy ice cream? This happens when ice cream begins to melt and then refreezes creating large ice crystals. Homemade ice cream can be stored in the freezer for up to 1 month.
Frequently Asked Questions
Yep. I've added heavy cream to make this recipe really creamy. But you could substitute more almond milk for the heavy cream. The egg yolks will still do a great job of creating creamy rich ice cream.
Yes, although an ice cream maker does make the job a bit easier. There are several types of DIY ice cream makers that you could create. In Girl Scouts, we made ice cream using two coffee cans and rolling them back and forth. This is a fun activity especially if you have little kids at home. You will most likely need to reduce this recipe by half or use multiple DIY ice cream makers.
You can also try making ice cream using two zip-top bags.
Yes in fact it's best to cook the base in advance in order to give it plenty of time to cool in the refrigerator. You can cook and refrigerate the ice cream base 3-4 days before churning.

Tips
- Thoroughly chill the ice cream base before churning. The ice cream base should be refrigerated for at least 4 hours but preferably overnight.
- If you are using an ice cream maker that uses a frozen bowl make sure it is completely frozen. If you hear sloshing when you shake it put it back in the freezer for longer. Most ice cream manufacturers recommend freezing the bowls for at least 24 hours. Typically I store the bowl in the freezer so that it is ready anytime I want to make ice cream.
- Speaking of ice cream maker bowls, DO NOT wash it in your dishwasher. You will ruin it and be forced to buy a new bowl for your ice cream maker.
- This ice cream typically stays pretty soft. If your ice cream happens to freeze a bit firmer, run your ice cream scoop under warm water for easier scooping.
📖 Recipe

Honey Almond Ice Cream
Equipment
- saucepan
- mixing bowl
- storage container
Ingredients
- ⅓ cup sliced almonds
- 2 cups almond milk
- 2 cups heavy cream
- ½ cup honey
- ¼ teaspoon kosher salt
- 4 egg yolks
- 2 teaspoons vanilla
- honey for honey swirl
Instructions
- Preheat oven to 350°F (180°C). Spread ⅓ cup sliced almonds in a single layer on a baking sheet and roast for 5-10 minutes. They will color slightly and smell nutty. Watch closely to avoid burning them. Let cool and set aside.
- Combine the 2 cups almond milk, 2 cups heavy cream, ½ cup honey, and ¼ teaspoon kosher saltin a medium saucepan and bring to a simmer over medium heat, stirring occasionally. Remove from the heat and set aside.
- Whisk the 4 egg yolks in a large mixing bowl until they lighten in color.
- Temper the egg yolks with the hot dairy mixture. Slowly ladle one-third of the hot dairy mixture into the yolk mixture while whisking constantly. Return this mixture to the pot containing the rest of the dairy. Cook over low heat, stirring frequently, until the custard thickens slightly, enough to coat the back of a spoon. The mixture will be approximately 170-175°F (77-79°C).
- Pour the dairy mixture into an airtight container and stir in the 2 teaspoons vanilla. Allow the mixture to cool at room temperature for 30 minutes. Cover and refrigerate for at least 4 hours. The temperature of the dairy mixture should be below 40°F (4°C).
- Pour into a prepared ice cream maker and churn according to the manufacturer's directions. During the last few minutes sprinkle in the toasted almonds. This should take approximately 25 to 35 minutes.
- Transfer the ice cream to a storage container, alternate layers of the ice cream with drizzles of honey. Once all of the ice cream is in the container, use a butter knife to gently swirl the mixture. Freeze for another 3 to 4 hours to allow the ice cream to harden.
Notes
- Thoroughly chill the ice cream base before churning. The ice cream base should be refrigerated for at least 4 hours but preferably overnight.
- If you are using an ice cream maker that uses a frozen bowl make sure it is completely frozen. If you hear sloshing when you shake it put it back in the freezer for longer. Most ice cream manufacturers recommend freezing the bowls for at least 24 hours. Typically I store the bowl in the freezer so that it is ready anytime I want to make ice cream.
- Speaking of ice cream maker bowls, DO NOT wash it in your dishwasher. You will ruin it and be forced to buy a new bowl for your ice cream maker.
- This ice cream typically stays pretty soft. If your ice cream happens to freeze a bit firmer, run your ice cream scoop under warm water for easier scooping.
- Always store ice cream in an airtight container to help prevent freezer burn. You can also place a bit of wax paper or plastic wrap across the surface of the ice cream to add additional protection.
- Do not store any ice cream on the door of the freezer. If you do, every time you open the freezer door the ice cream will melt just a little. The constant melting and refreezing will give the ice cream an icy texture.
Nutrition
Looking For More Ice Cream Recipes?
Thanks for Reading!
If you try this recipe, let me know! Leave a comment and rate it below! You can also snap a picture and post it on Facebook or Instagram be sure to tag me @RaspberriesandKohlrabi.
Subscribe to get more recipes and tips by email.


Comments
No Comments