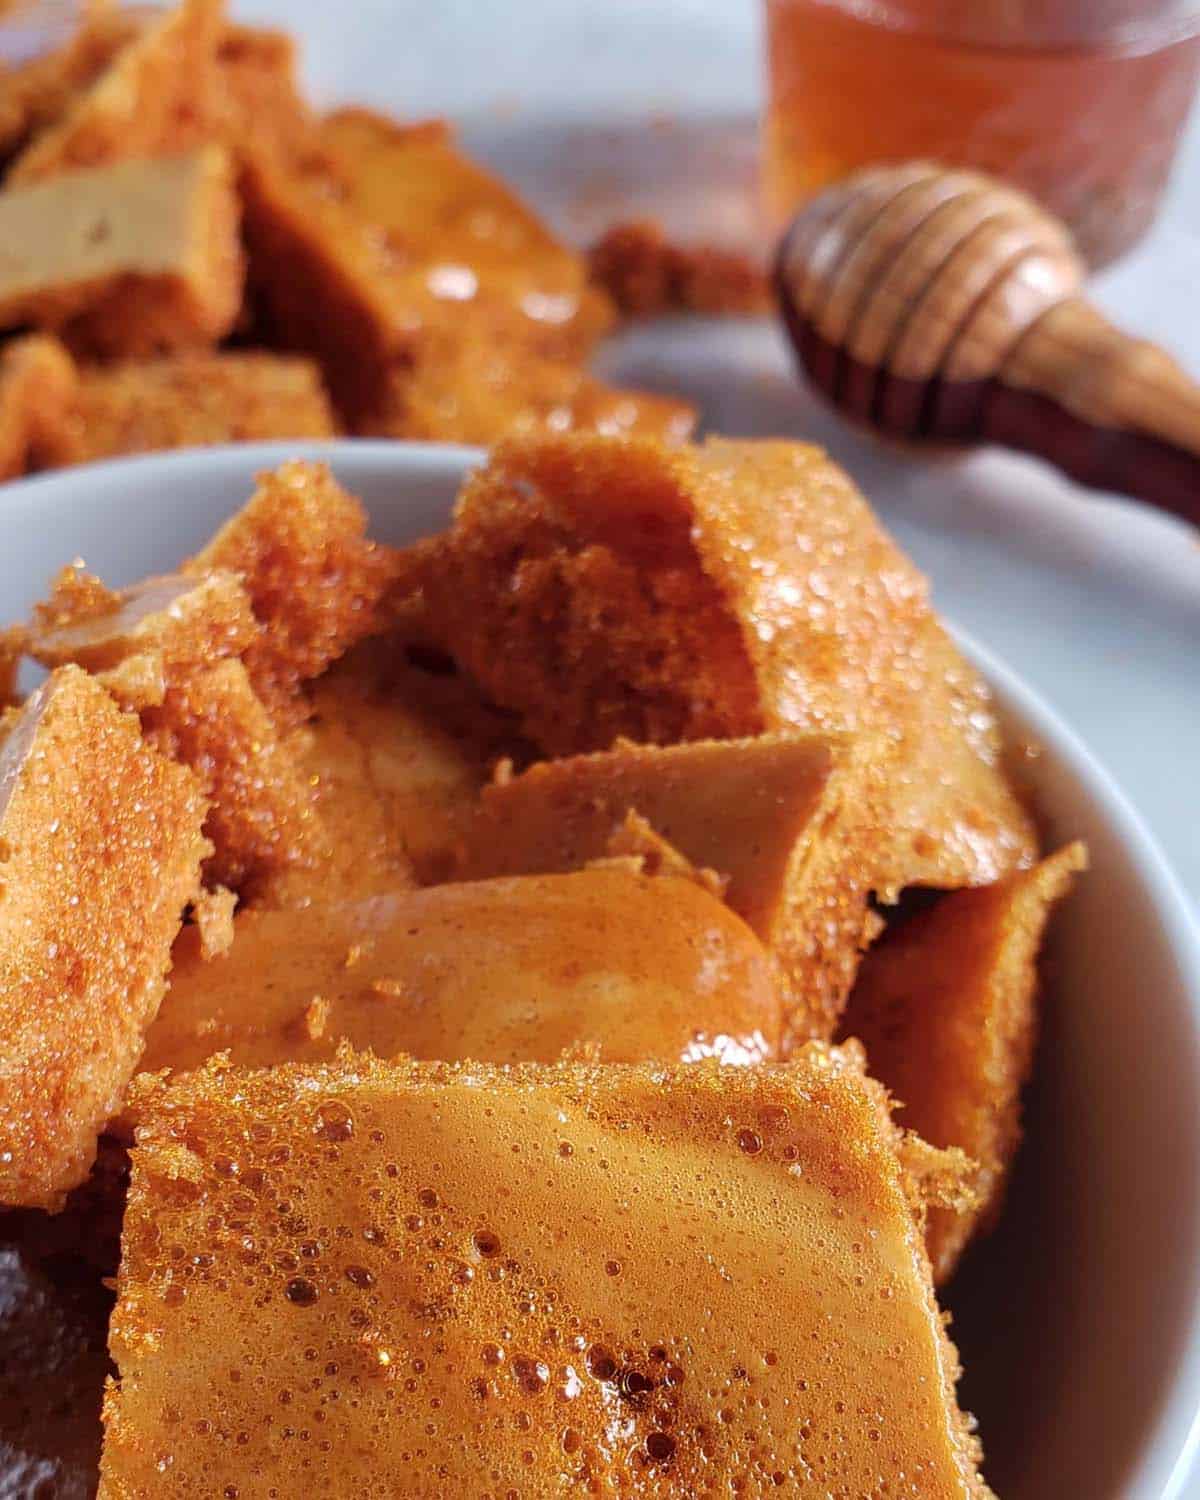
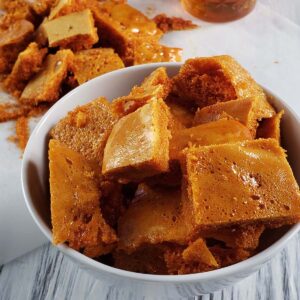
Crunchy, sweet Honeycomb Brittle Candy gets its name from the reaction between baking soda and acidic caramelized sugar, creating light aerated candy with a bubbly structure that looks similar to a honeycomb.
I have never seen a candy that goes by so many names honeycomb brittle, honeycomb candy, honeycomb toffee, hokey pokey, sponge candy, sponge toffee, seafoam candy, fairy food, and cinder toffee were just a few of the names I found while doing my research for this honeycomb recipe.
Jump to:
Why You Will Love This Recipe
- This recipe uses just a few simple ingredients and a couple of easy steps. Plus the results are delicious.
- Made on the stovetop, this recipe is super quick to make too. Just 15 minutes from start to finish. Making it a great last minute treat.
What Does Honeycomb Candy Taste Like?
This light and airy treat tastes just like honey. I recommend using high-quality honey because the flavor of the honey will directly influence the flavor of the candy. One of my favorites is orange blossom honey.
Ingredients
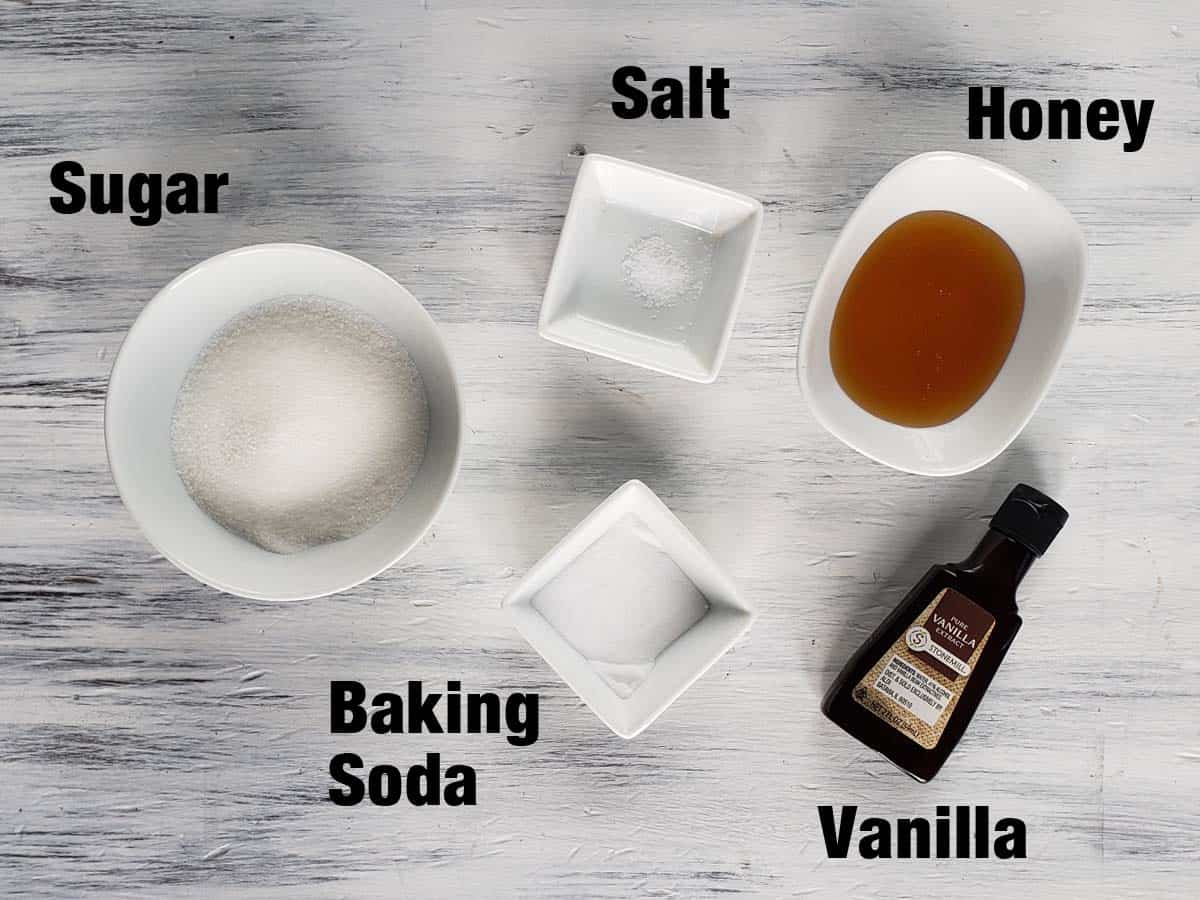
Sugar: Like most candy recipes this one starts out with white granulated sugar.
Honey: Honey is what gives this candy its unique honey flavor. Different varieties of honey have different flavors because they are influenced by which flowers the bees are gathering pollen from. My personal favorite is orange blossom honey. If you don't like honey you could substitute corn syrup.
Kosher Salt: I include salt in all of my sweet recipes. It enhances and balances the other flavors in the candy.
Vanilla Extract: Wait to add the vanilla until the candy is off the heat. Vanilla extract is alcohol-based and evaporates as it cooks. By waiting to add the vanilla until the candy is off the heat you will maximize the vanilla flavor.
Baking Soda: Baking soda or bicarbonate of soda is what gives this crunchy candy its light and airy texture.
Make sure your baking soda is fresh and active. Active baking soda is necessary to react with the acidic caramelized sugar. Once opened baking soda has a shelf life of about 6 months. To test your baking soda add a teaspoon of baking soda to a small amount of vinegar. If it starts to fizz it is still good.
You will also want to break up any clumps in the baking soda. Once added to the sugar mixture it will begin to react immediately. You don't want to worry about breaking up baking soda clumps as you are whisking volcanic molten sugar.
Equipment
This homemade candy is really quick and easy to make. It is made on the stovetop in about 15 minutes.
Thermometer: A thermometer is the easiest way to be sure you have heated the sugar to the correct temperature. You can purchase a candy thermometer that clips to the side of your saucepan or use an instant-read thermometer like the Thermopen from Thermoworks. The Thermopen is handy because it can also be used to check the temperature of baked goods and meat.
Large Heavy-Bottomed Sauce Pan: A heavy-bottomed saucepan evenly distributes the heat reducing the likelihood that portions of the sugar will burn. I prefer to use a light-colored saucepan which allows me to easily monitor the color of the sugar.
Pastry Brush: A pastry brush is useful to brush any stray sugar crystals from the sides of the saucepan. I am partial to silicone pastry brushes because I don’t have to worry about leaving stray bristles behind.
Baking Sheet: The honey/sugar mixture is poured onto a rimmed baking sheet to cool. If you want thicker pieces of honeycomb try using a 9x9 square pan instead.
Parchment Paper: Parchment paper is great for lining your baking sheet ensuring that the brittle does not stick making cleaning up really easy. I like these pre-cut parchment paper sheets that are available from Amazon.
Pam: Pam is the easiest way I have found to quickly grease the parchment paper.
Directions
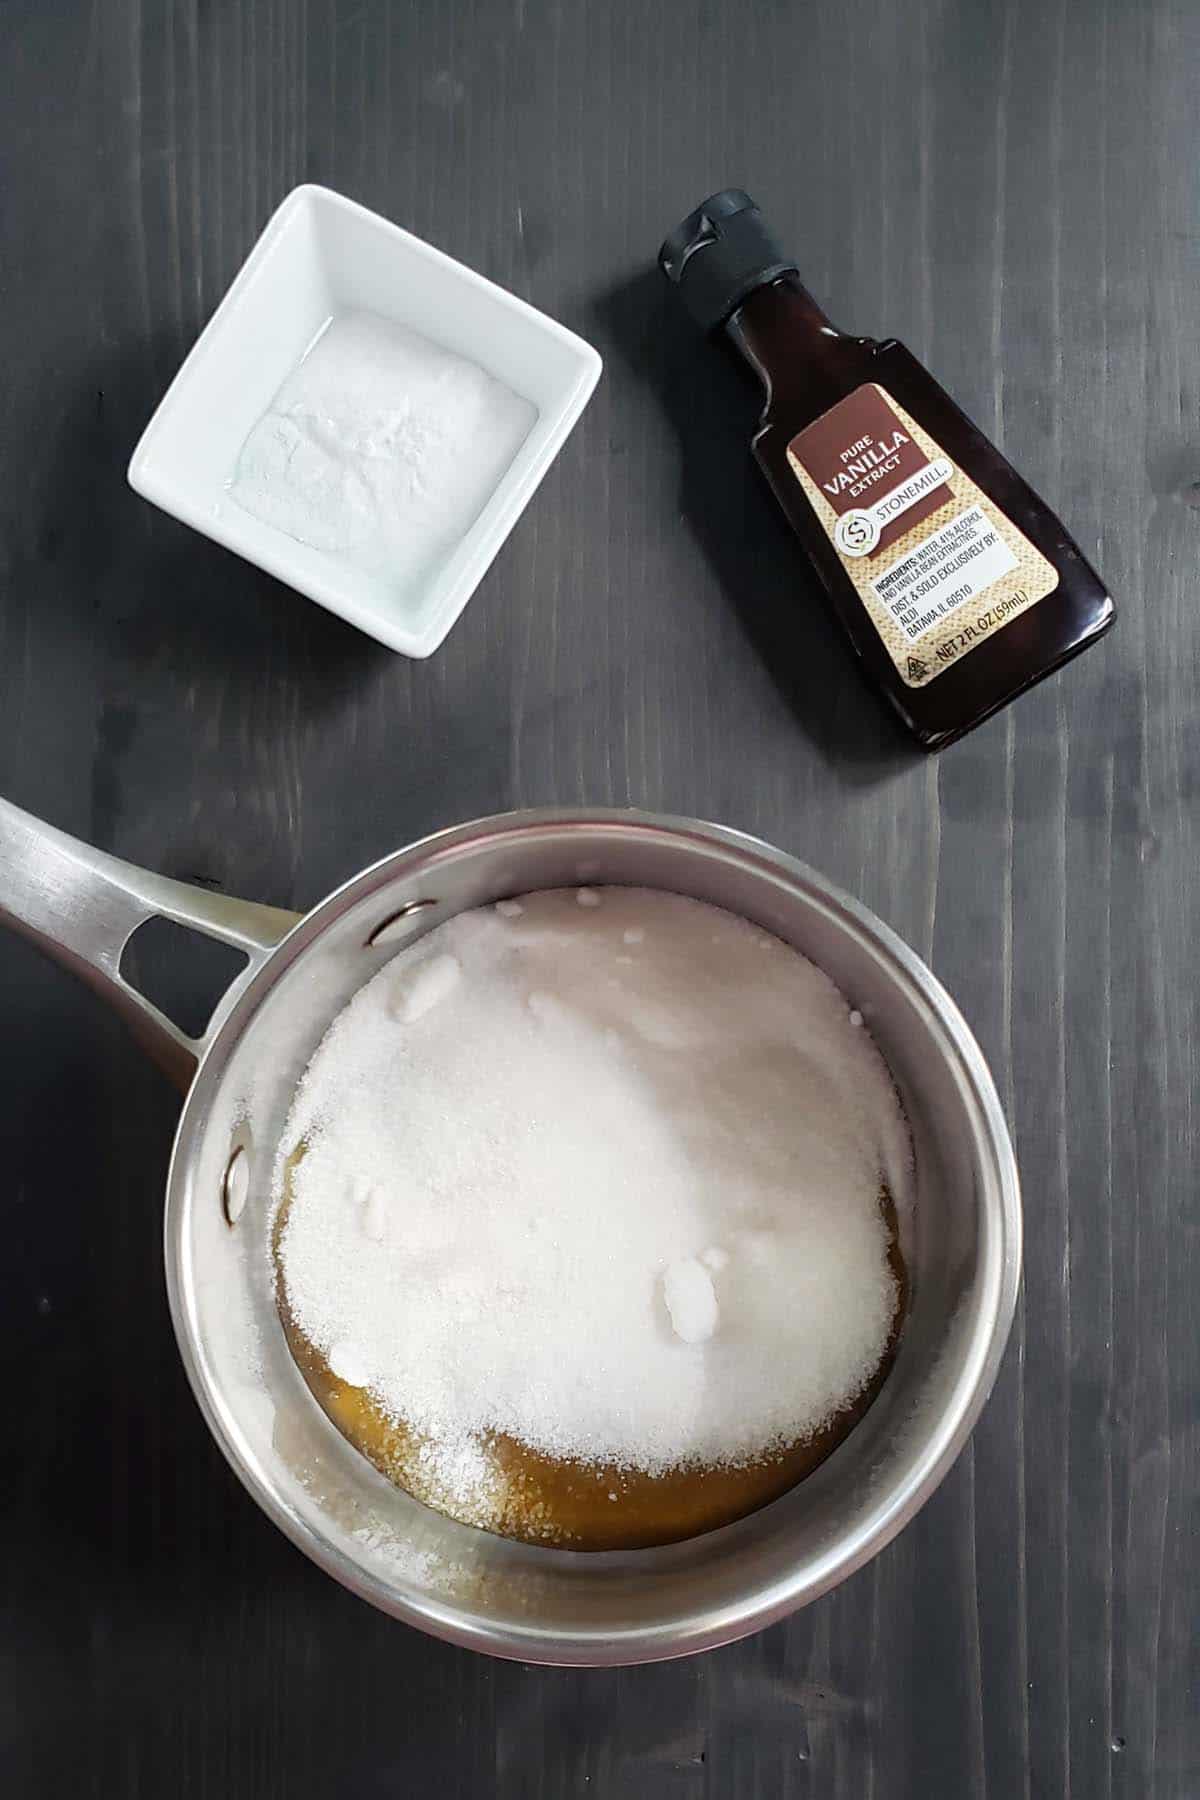
Pre-measure all of your ingredients. The candy-making process moves fast once it gets going and you won't have time to search for ingredients or if you have a small child like me fumble with child safety locks to find your measuring spoons.
Line a baking sheet with a Silpat or parchment paper that has been sprayed with cooking spray.
Combine the sugar, honey, and salt in a light-colored heavy-bottomed large saucepan. Attach your candy thermometer to the edge of the saucepan, and make sure it is submerged in the liquid, but not touching the bottom of the pot.
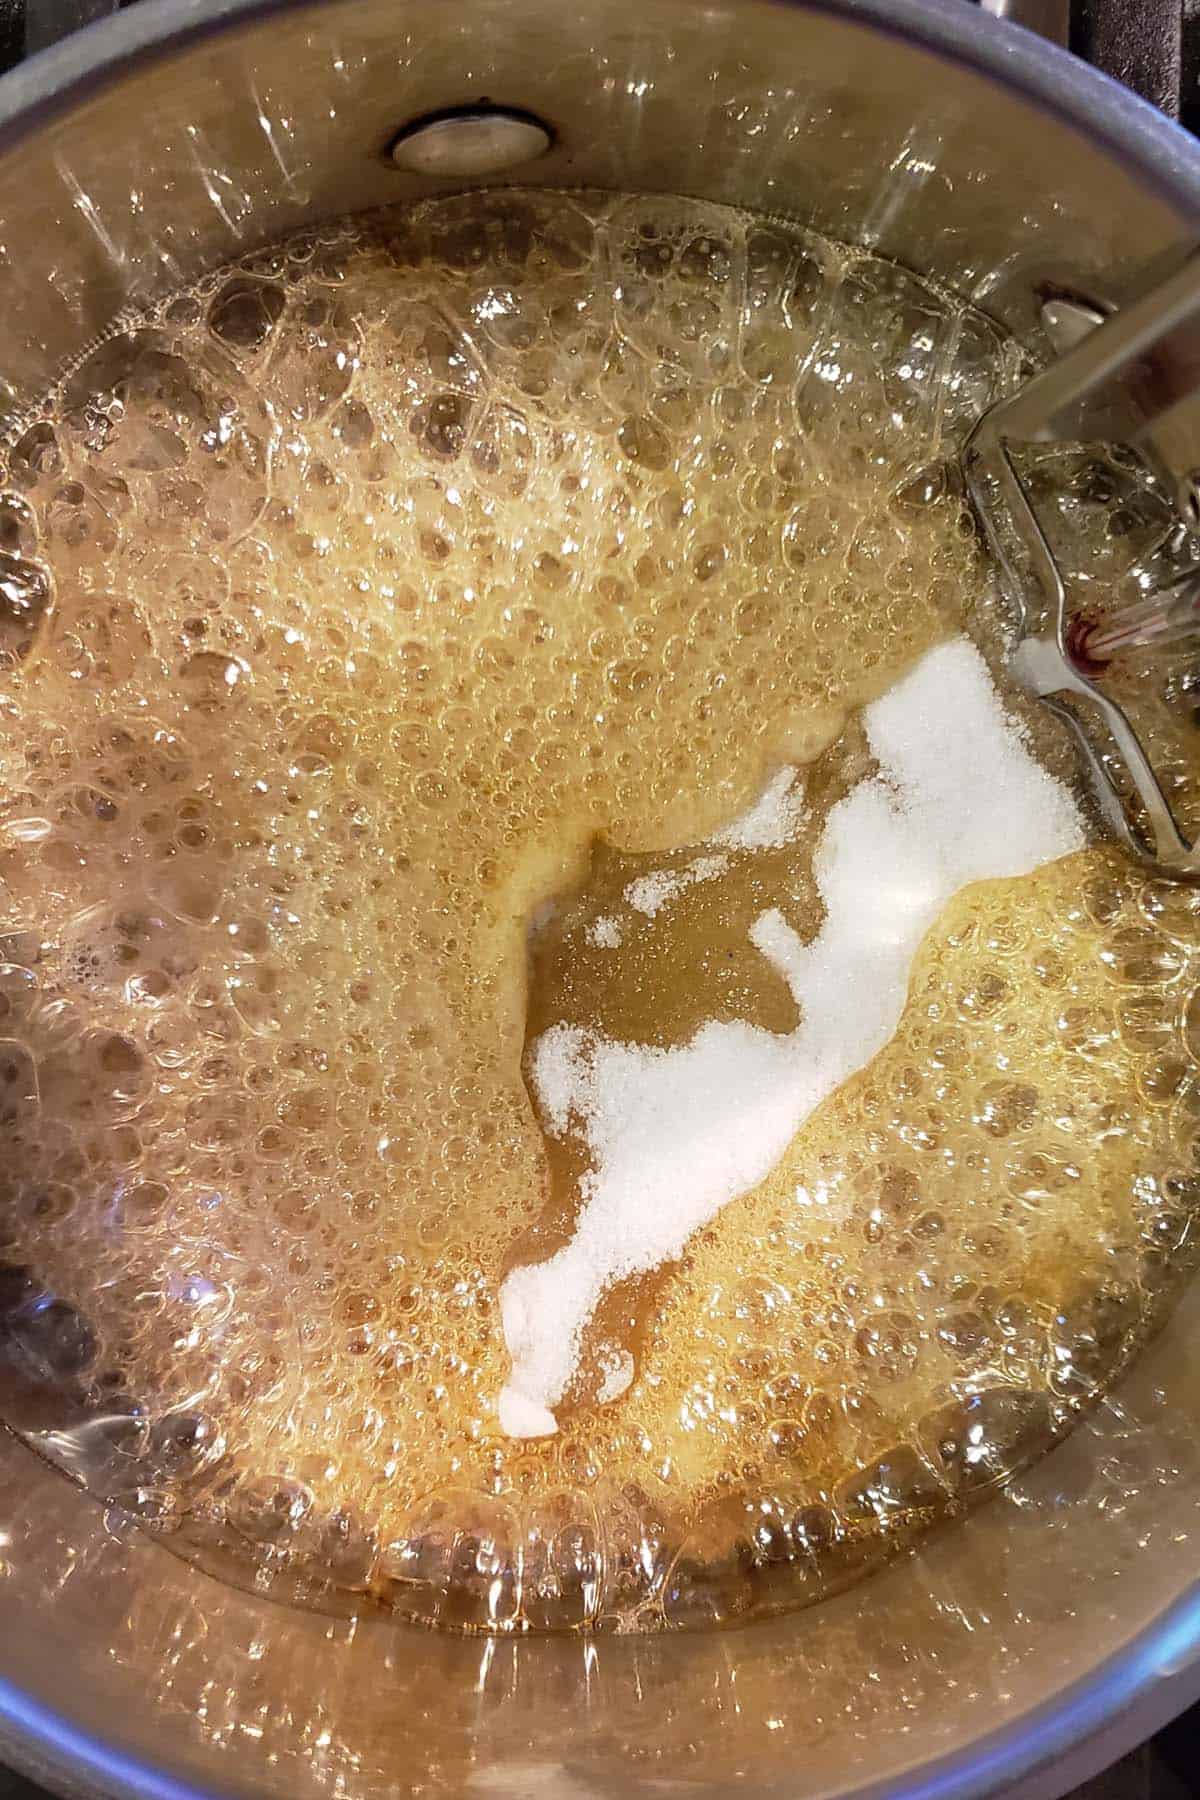
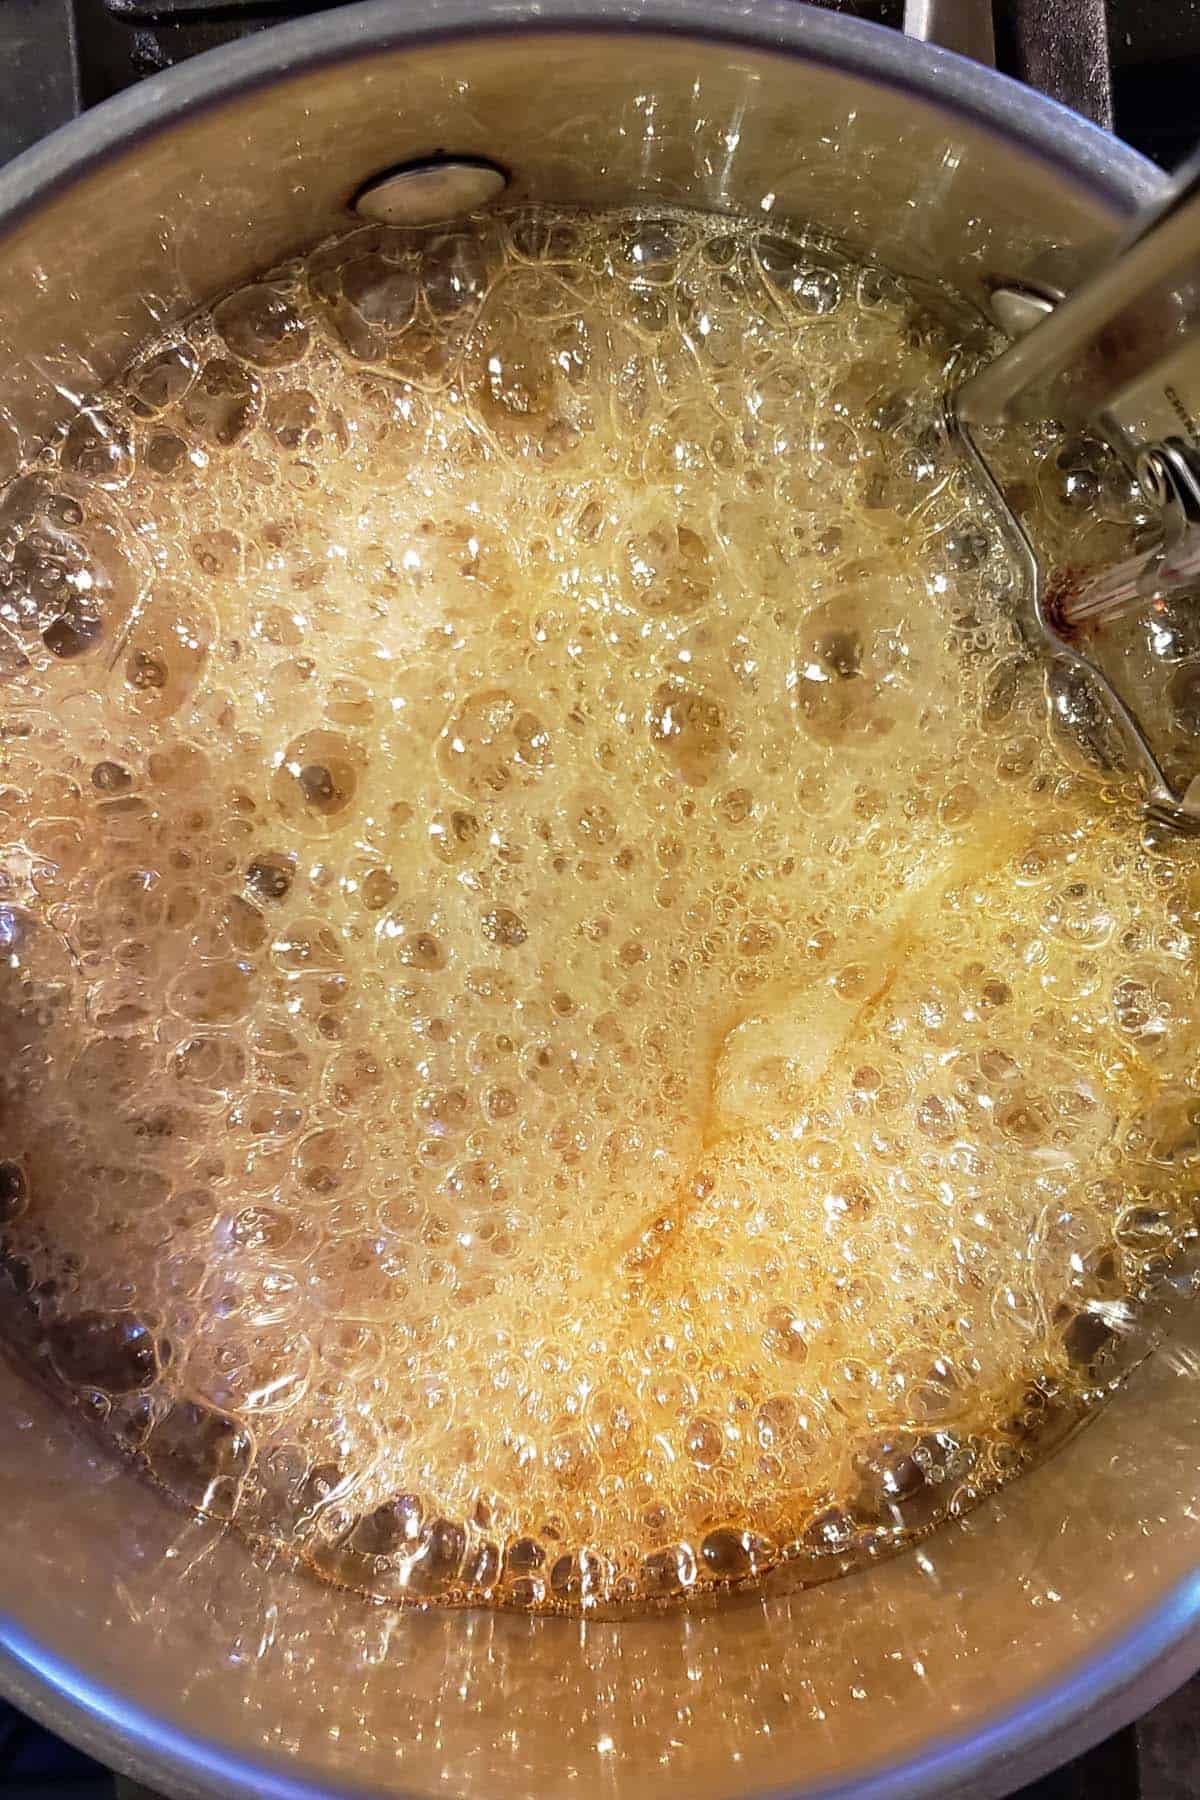
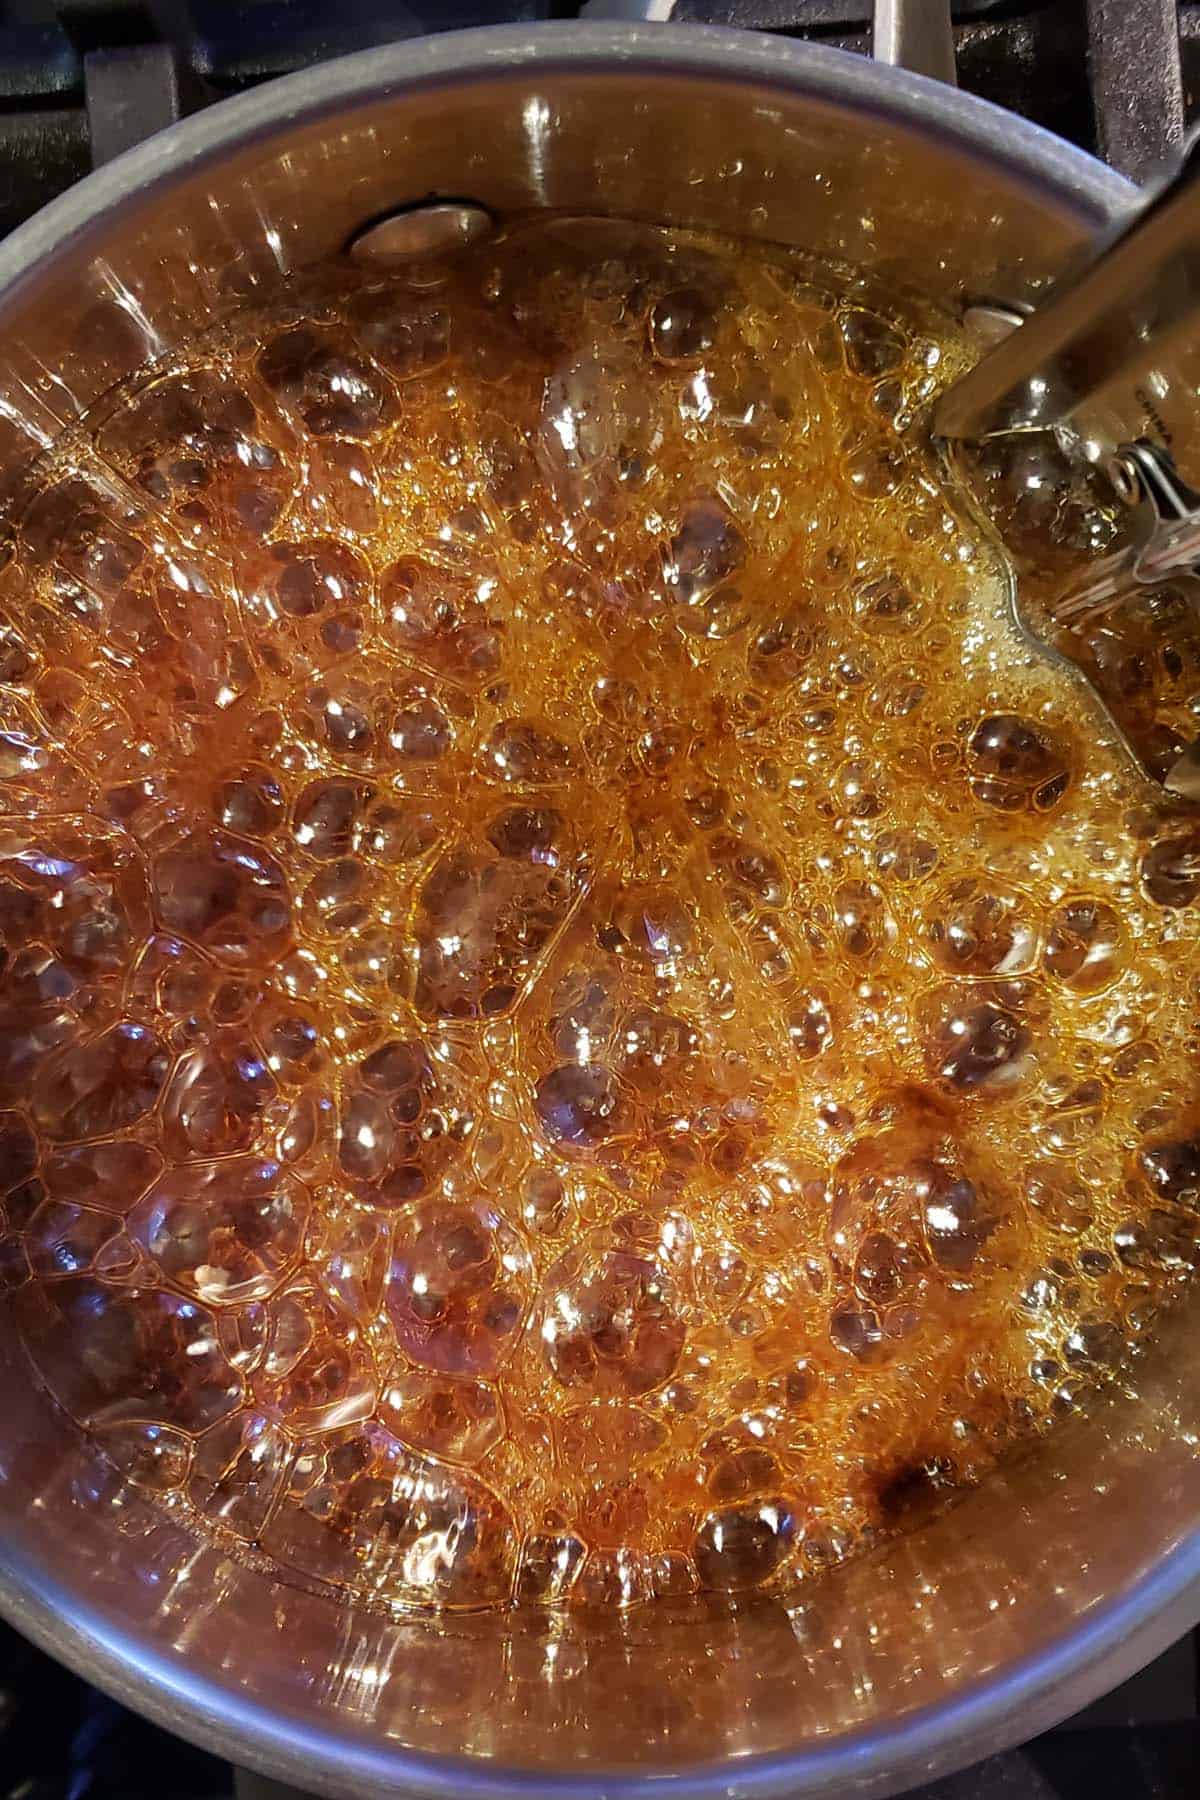
Bring the mixture to a boil over medium heat. If you see sugar clinging to the sides of the pan, use a wet pastry brush to brush down the sides of the pan.
DO NOT STIR the sugar mixture. Stirring the sugar mixture may cause sugar crystals to form creating a grainy texture. You may swirl the pan gently about halfway through the cooking time to be sure all of the sugar dissolves.
Cook the sugar syrup until it reaches 300 degrees Fahrenheit. The length of time needed for the honey/sugar mixture to reach the correct temperature will vary depending on the heat of your stovetop, the thickness of your pan, etc.
This is why a candy thermometer is essential. Don't be tempted to turn your heat up. It is very easy to overcook and burn sugar.
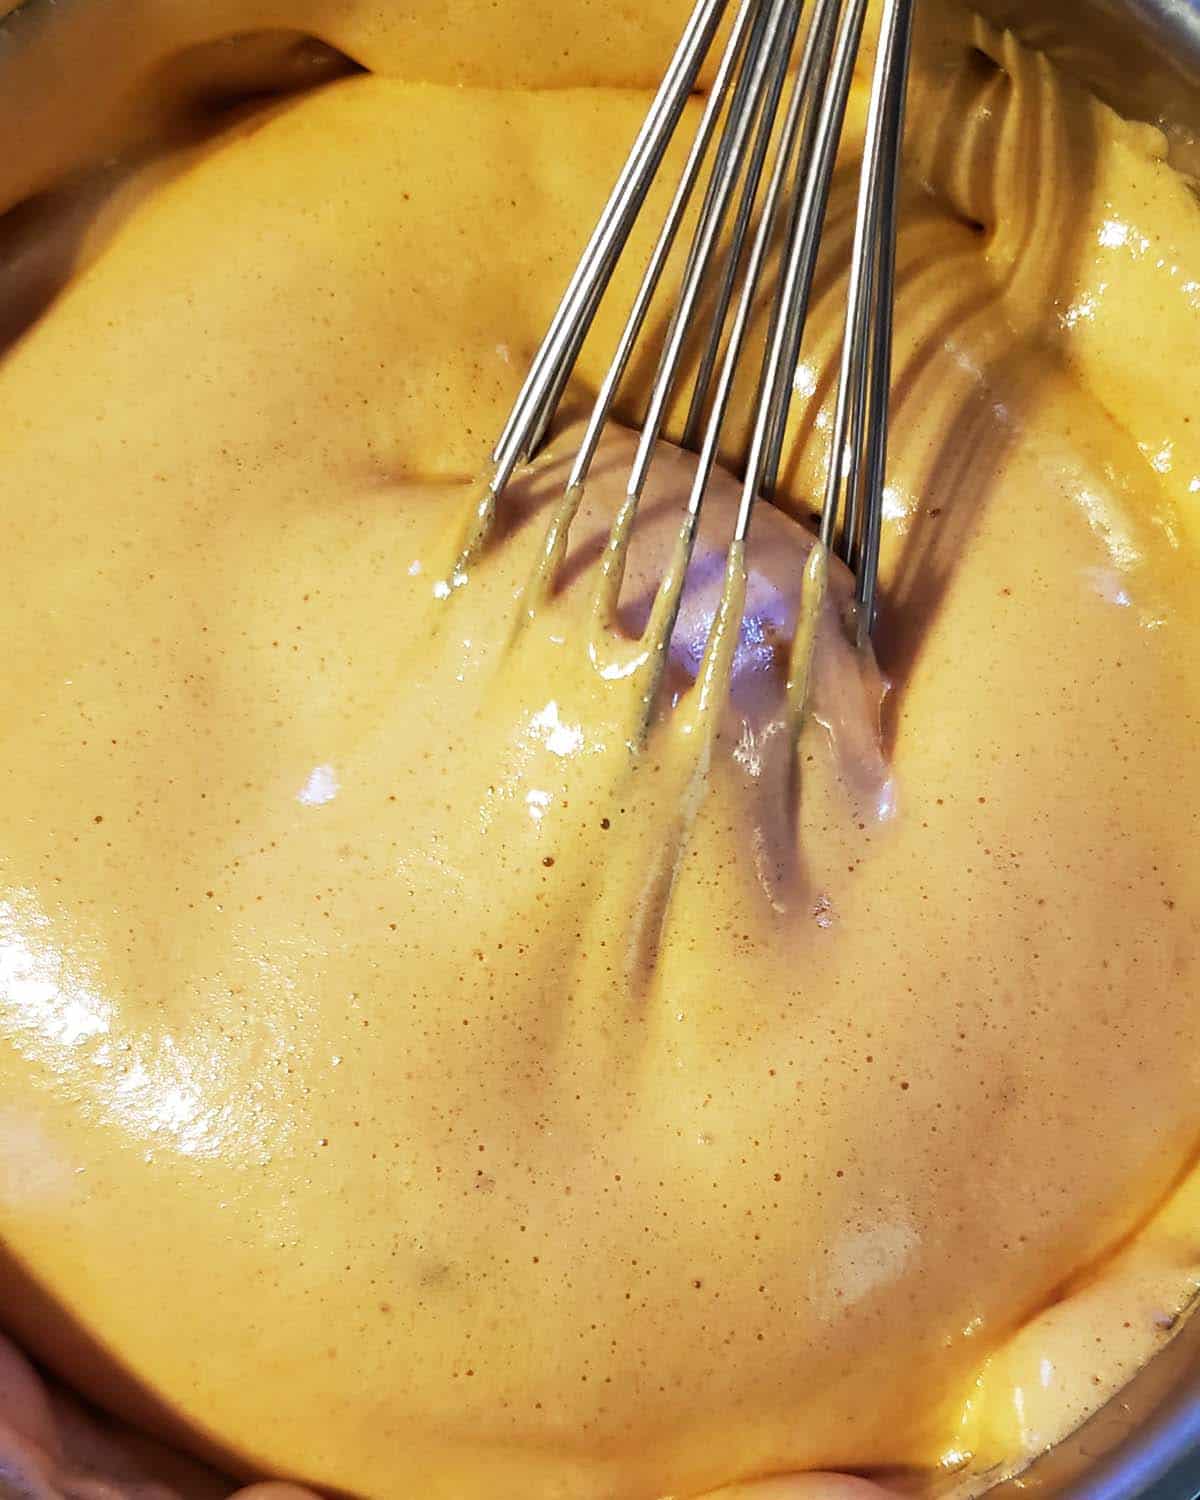
Once the sugar syrup reaches 300 degrees Fahrenheit and is a deep golden color remove the saucepan from the heat and add the vanilla and baking soda.
Whisk until the baking soda is completely incorporated. The mixture will bubble and triple in size caused by the chemical reaction between the baking soda and the acidic caramelized sugar mixture.
You will want to move quickly because sugar can go from caramelized and delicious to burnt and disgusting very quickly.
One of my first batches had a slightly burnt taste because I was trying to photograph every step.
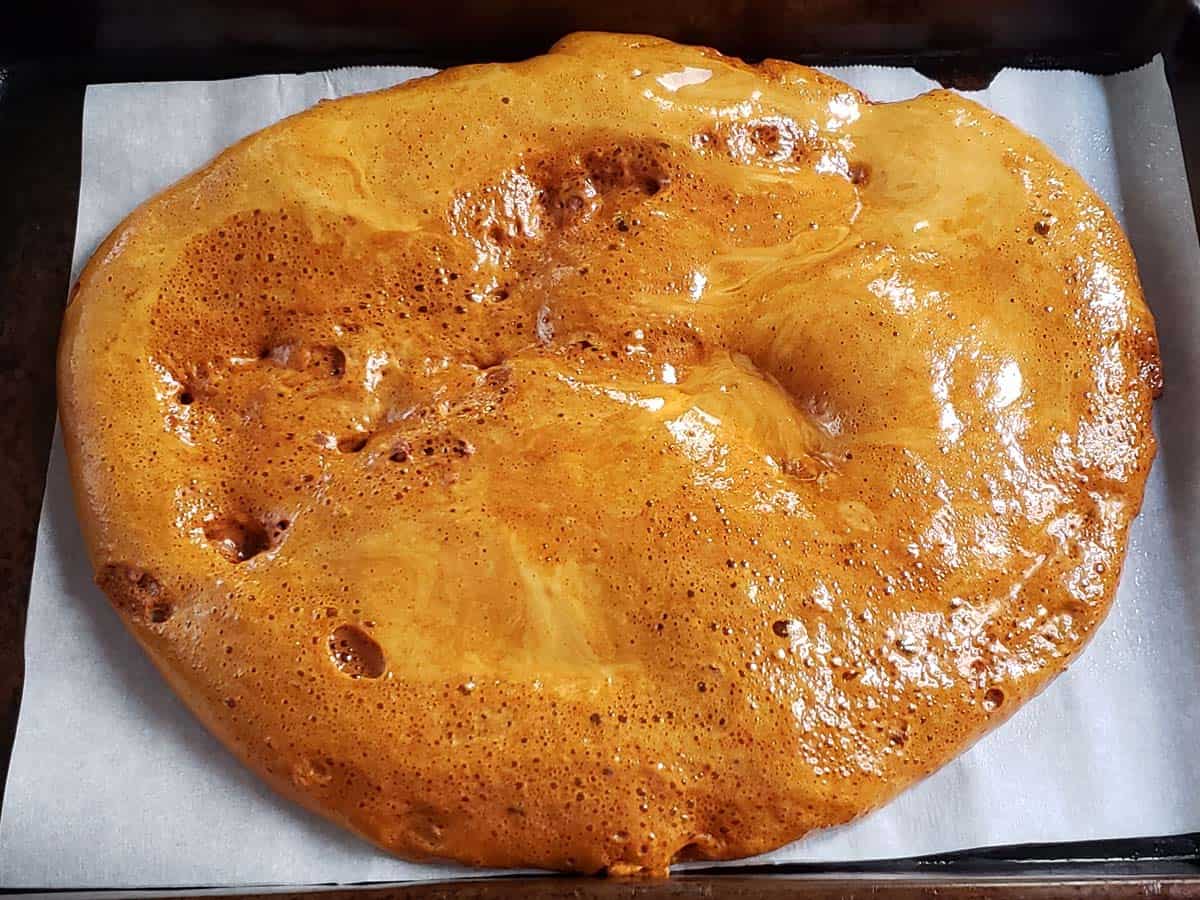
Immediately pour the honeycomb mixture onto the prepared pan and allow it to cool for about one hour.
Do not spread the mixture around you will pop the bubbles that give honeycomb candy its signature texture.
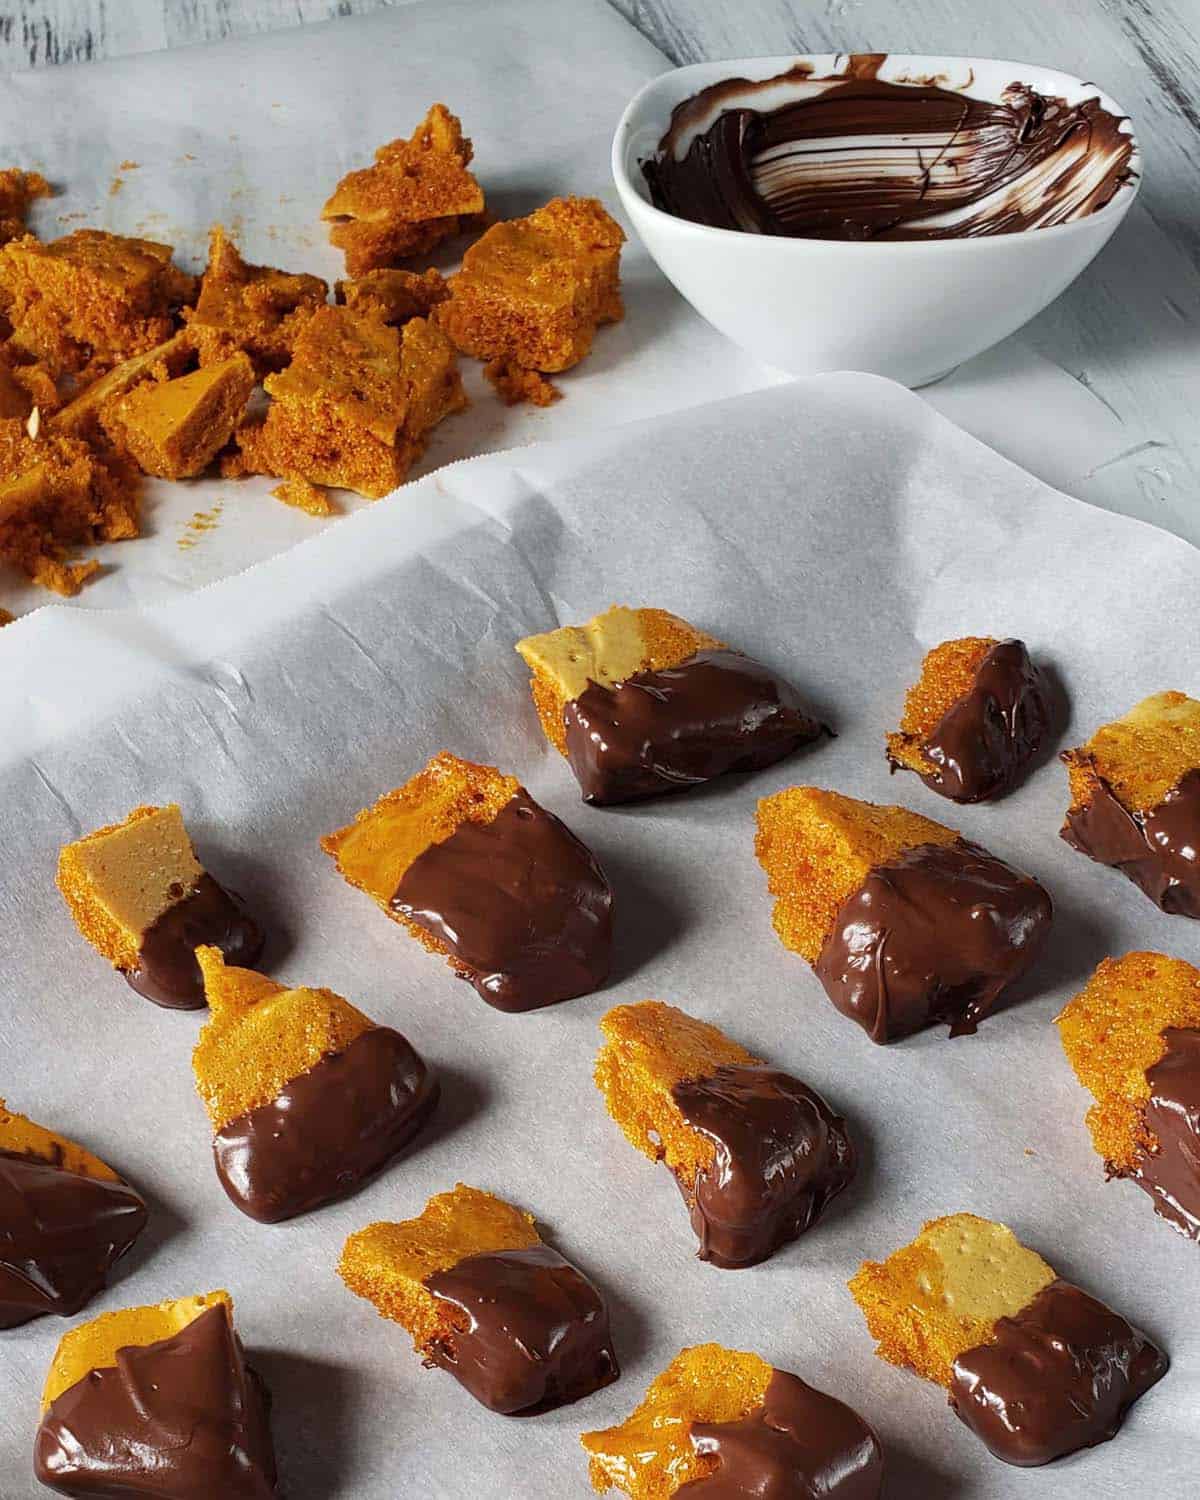
Once the homemade honeycomb candy has cooled, break or chop it into smaller pieces with a knife.
Servings Suggestions
- Dip the honeycomb pieces in melted semi-sweet chocolate, top it with flakey sea salt, and place in the freezer until the chocolate has set.
- Use it as a crunchy topping for cakes and cupcakes.
- Crush it up and mix it into your next batch of chocolate chip cookies.
- Top a bowl of vanilla ice cream with it or mix it in this Honey Almond Ice Cream.
Chocolate-dipped honeycomb pieces also make the perfect gift during the holiday season.
How Long Will Honeycomb Brittle Keep?
Store in an airtight container at room temperature using parchment paper to separate each layer for up to a week. Humidity can cause the honeycomb candy to become sticky and it likes to absorb the moisture in the air so make sure the container is well sealed. Do not refrigerate.
Frequently Asked Questions
Honeycomb and brittle are very similar. They are both cooked to the hard crack stage but brittle often contains a bit of butter as well as nuts.
Honeycomb also has a bit more baking soda added to create its light airy structure.
No, baking powder will alter the flavor of the brittle recipe because it contains additional acidic ingredients.
It is also important to cook the candy to the correct temperature. When cooked to different temperatures or stages sugar takes on different qualities. Honeycomb candy is cooked until it reaches the hard crack stage which is around 300 degrees Fahrenheit.
For more information about candy-making's different sugar stages, check out this illustrated guide from Craftsy. The guide also provides information about how to test the temperature of sugar without a thermometer using just a glass of ice water.
The honeycomb needs at least an hour to cool and completely set up.
Honeycomb candy is very susceptible to humidity. When it is humid the candy will absorb the moisture in the air and become sticky.
When making candy a variance of just a few degrees can result in burnt candy. Candy thermometers should be tested for accuracy frequently.
To test your candy thermometer, bring a pot of water to a boil. Insert your candy thermometer and leave it for a few minutes. If your thermometer reads 212 degrees Fahrenheit then it is accurate.
If your thermometer reads above or below this you will need to adjust the temperature you cook your candy too. For example, if your thermometer read 205 you would need to cook the honeycomb to 307 degrees Fahrenheit rather than 300.
Tips
- Candy-making is best on days when it isn't really humid outside. Ideally, the humidity should be less than 35%.
- Prep your baking sheet and ingredients before you begin caramelizing the sugar. Once the sugar begins to caramelize the process moves quickly.
- Don’t stir the sugar. Stirring the sugar will encourage sugar crystallization which will make your honeycomb grainy.
- Don’t wander away from the sugar while it is caramelizing. It will go from the perfect shade of brown to burnt quickly.
- Melted sugar is extremely hot! In fact, sugar has a higher boiling point than water. Don’t touch the melted sugar and be careful to not drop any on your skin. I usually wear oven mitts when pouring the melted sugar onto the baking pan. Don’t use your fingers to taste or stop drips.
- Melted sugar is very sticky and hardens quickly. Scrubbing your saucepan after making candy can be a time-consuming chore but there is an easier way. To clean your saucepan fill it with hot water and return it to the stovetop. Bring the water to a boil which should melt the sugar away from the sides of the pan. Use a heatproof spatula to help scrape the sugar from the sides of the pan. Pour out the water/sugar mixture and allow the pan to cool before washing with soap and water.
More Dessert Recipies
📖 Recipe
Simple Honeycomb Brittle Candy
Equipment
- thermometer
- heavy-bottomed saucepan
- parchment paper
Ingredients
- ½ cup granulated white sugar
- ¼ cup honey
- ⅛ teaspoon kosher salt
- ½ teaspoon vanilla extract
- 1 teaspoon baking soda
Instructions
- Pre-measure all of your ingredients.
- Line a baking sheet with a Silpat or parchment paper that has been sprayed with cooking spray.
- Combine the ½ cup granulated white sugar, ¼ cup honey, and ⅛ teaspoon kosher salt in a light-colored heavy-bottomed saucepan. Attach your candy thermometer to the edge of the saucepan, and make sure it is submerged in the liquid, but not touching the bottom of the pot.
- Bring the mixture to a boil over medium-low heat. If you see sugar clinging to the sides of the pan, use a pastry brush dipped in water to brush down the sides of the pan. DO NOT STIR the sugar mixture. Stirring the sugar mixture may cause sugar crystals to form creating a grainy texture. You may swirl the pan gently about halfway through the cooking time to incorporate any uncooked sugar.
- Cook the honey/sugar mixture until it reaches 300 degrees Fahrenheit.
- Remove the saucepan from the heat and add the ½ teaspoon vanilla extract and 1 teaspoon baking soda. Whisk until the baking soda is completely incorporated. The mixture will bubble and triple in size as the baking soda reacts with the acidic caramelized sugar mixture.
- Immediately pour the sugar mixture onto the prepared baking sheet and allow it to cool for about one hour. Do not spread the mixture around you will pop the bubbles that give honeycomb candy its signature texture.
- Once the honeycomb has cooled, break or chop it into smaller pieces with a knife.
Notes
- Dip it in melted semi-sweet chocolate, top with flakey sea salt, and place in freezer until the chocolate has set.
- Use it as a crunchy topping for cakes and cupcakes.
- Crush it up and mix it into your next batch of chocolate chip cookies.
- Top a bowl of vanilla ice cream with it or mix it in this Honey Almond Ice Cream.
- Candy-making is best on days when it isn't really humid outside. Ideally, the humidity should be less than 35%.
- Prep your baking sheet and ingredients before you begin caramelizing the sugar. Once the sugar begins to caramelize the process moves quickly.
- Don’t stir the sugar. Stirring the sugar will encourage sugar crystallization which will make your honeycomb grainy.
- Don’t wander away from the sugar while it is caramelizing. It will go from the perfect shade of brown to burned quickly.
- Melted sugar is extremely hot! In fact, sugar has a higher boiling point than water. Don’t touch the melted sugar and be careful to not drop any on your skin. I usually wear oven mitts when pouring the melted sugar onto the baking pan. Don’t use your fingers to taste or stop drips.
- Melted sugar is very sticky and hardens quickly. To clean your saucepan fill it with hot water and return it to the stovetop. Bring the water to a boil which should melt the sugar away from the sides of the pan. Use a heatproof spatula to help scrape the sugar from the sides of the pan. Pour out the water/sugar mixture and allow the pan to cool before washing with soap and water.
Nutrition
Thanks for Reading!
If you try this recipe, let me know! Leave a comment and rate it below! You can also snap a picture and post it on Facebook or Instagram be sure to tag me @RaspberriesandKohlrabi.
Subscribe to get more recipes and tips by email.


Comments
No Comments