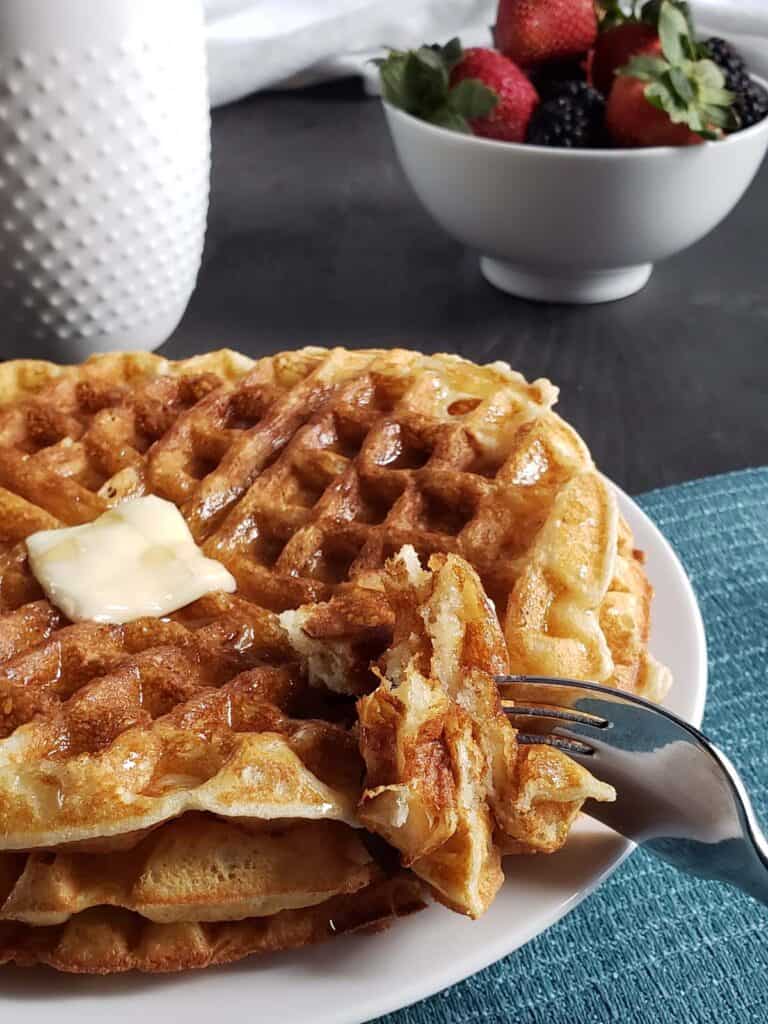
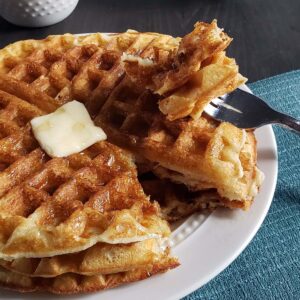
Do you need a Crispy Waffle Recipe made with Buttermilk? You have come to the right place. This classic waffle recipe makes the perfect weekend breakfast treat.
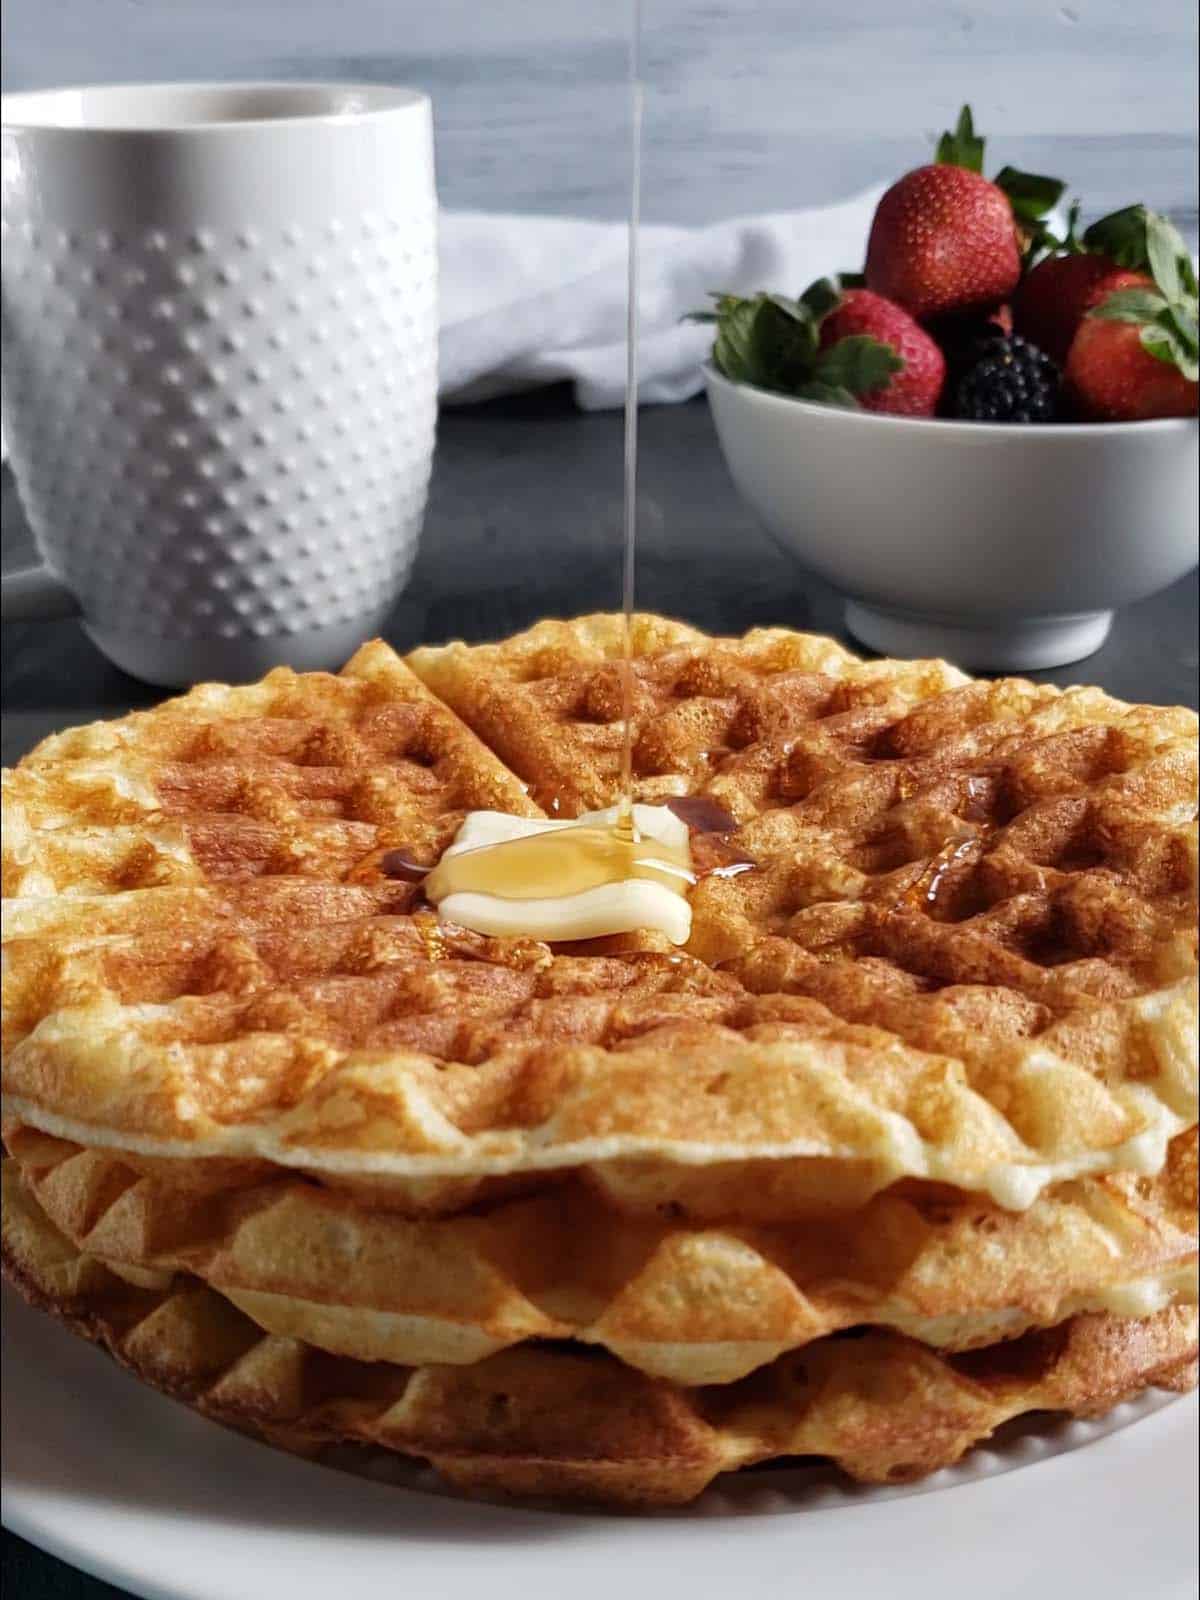
Soak these perfect waffles in butter and syrup or top them with fresh fruit.
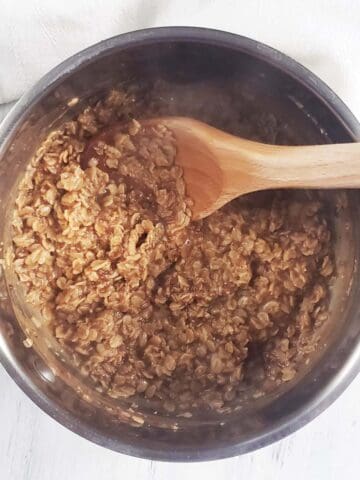
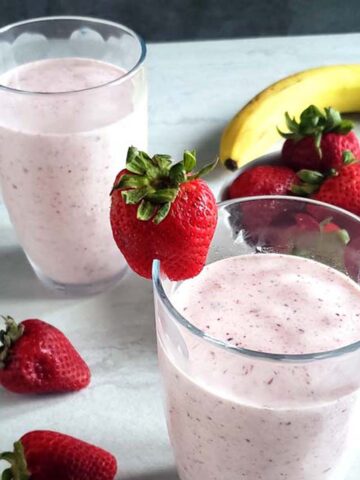
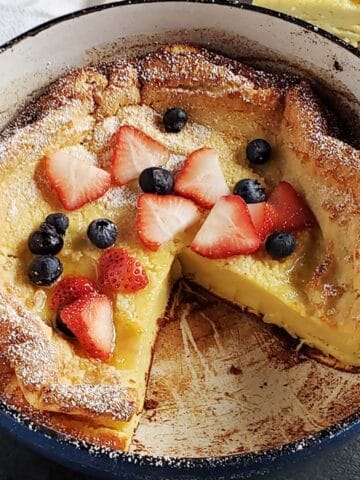
Looking for more breakfast favorites? Check out these recipes Potato Bread French Toast, Brown Butter Pecan Scones, Cinnamon and Spice Oatmeal, and Strawberry Oatmeal Pancakes.
Looking for a lighter breakfast? Try these Egg Nests with Hashbrowns.
Jump to:
Why You Will Love This Recipe
- These Classic Crispy Waffles are thin and golden brown with a crispy exterior and a light and fluffy interior.
- Making buttermilk waffles from scratch is pretty easy and they taste so much better than the cardboard masquerading as waffles at the grocery store.
- These waffles are crisp and sturdy and will hold up to any toppings you choose without becoming soggy.
- This recipe is also freezer friendly. Whip up a double batch and save some in the freezer for another day of the week.
If you have a sourdough starter, you will also want to try these Sourdough Waffles.
Recipe Ingredients
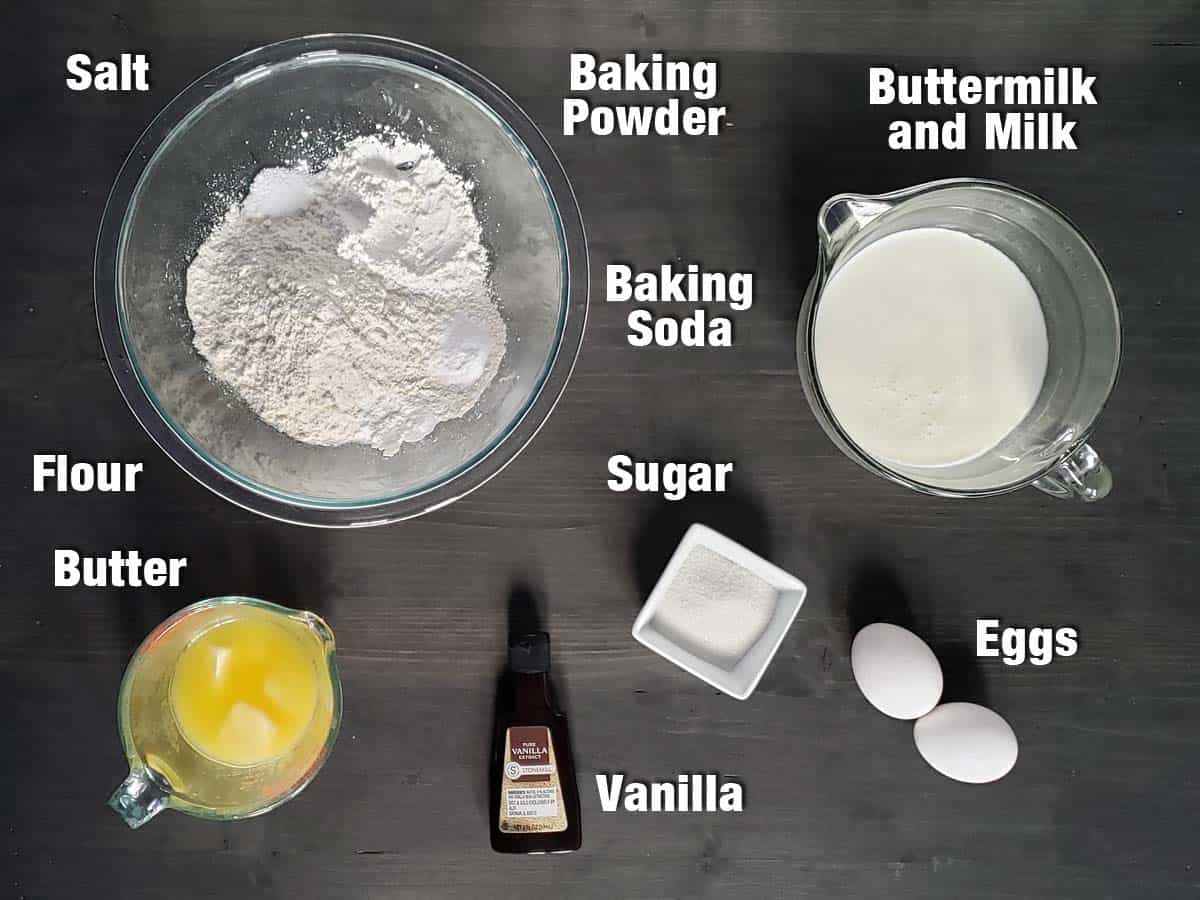
All-Purpose Flour: This recipe uses standard all-purpose flour. No special flour is necessary. For accuracy, the best way to measure the flour is by using a digital kitchen scale.
Tip: If you don't have a digital scale, spoon the flour into the measuring cup and level it with the back of a butter knife. Try not to compress the flour into the measuring cup.
Granulated Sugar: Adding sugar to your egg whites allows the sugar to interact with the egg white proteins and helps stabilize the whipped egg white foam.
Cornstarch: The unexpected secret ingredient in these waffles is cornstarch. Cornstarch helps to keep the waffles crisp on the outside and tender on the inside by preventing gluten formation.
If you don't have cornstarch, you can substitute an equal amount of all-purpose flour.
Baking Powder and Baking Soda: Using both baking powder and baking soda help the waffles to rise and brown. For the lightest best tasting waffles, I recommend using both.
If we were to use just baking soda alone it would neutralize all of the acids in the buttermilk and we would lose the buttermilk's tangy flavor. By adding baking powder which adds acidity, some of the buttermilk's flavor is left behind.
Buttermilk and Milk: Using a combination of buttermilk and milk creates a thinner batter which helps create a crispier waffle.
Buttermilk adds a delicious tang to these waffles but it also thickens the batter. By substituting whole milk for half of the buttermilk you will have all of the delicious flavors of buttermilk while still having a crispy waffle.
Tip: Don't worry if you don't have buttermilk. You can easily make your own. Simply add 1 ½ tablespoons of lemon juice or white vinegar to the 1 ½ cups of milk. Give it a quick stir and let it sit for 5 minutes. The milk we begin to curdle and thicken.
Large Eggs: By separating the eggs and whipping the egg whites into soft peaks before folding them into the batter you will create a light and airy waffle batter resulting in light crispy waffles.
Salt: I add at least a pinch of salt to all of my recipes. Salt complements and intensifies the other flavors. For all of my recipes, I use Morton Kosher Salt which packs more densely than Diamond Crystal Kosher Salt. If you are using Diamond Crystal Kosher Salt you will want to double the amount of salt you add.
See the recipe card for full information on ingredients and quantities.
Substitutions and Variations
For a nuttier flavor substitute whole wheat flour for one cup of the all-purpose flour.
Add some chocolate chips or chopped berries to the batter for extra flavor.
Step by Step Directions
Step 1: Preheat your oven to its lowest temperature.
Tip: Since most people only have one waffle iron, this is the easiest way to keep waffles warm as you make them one by one.
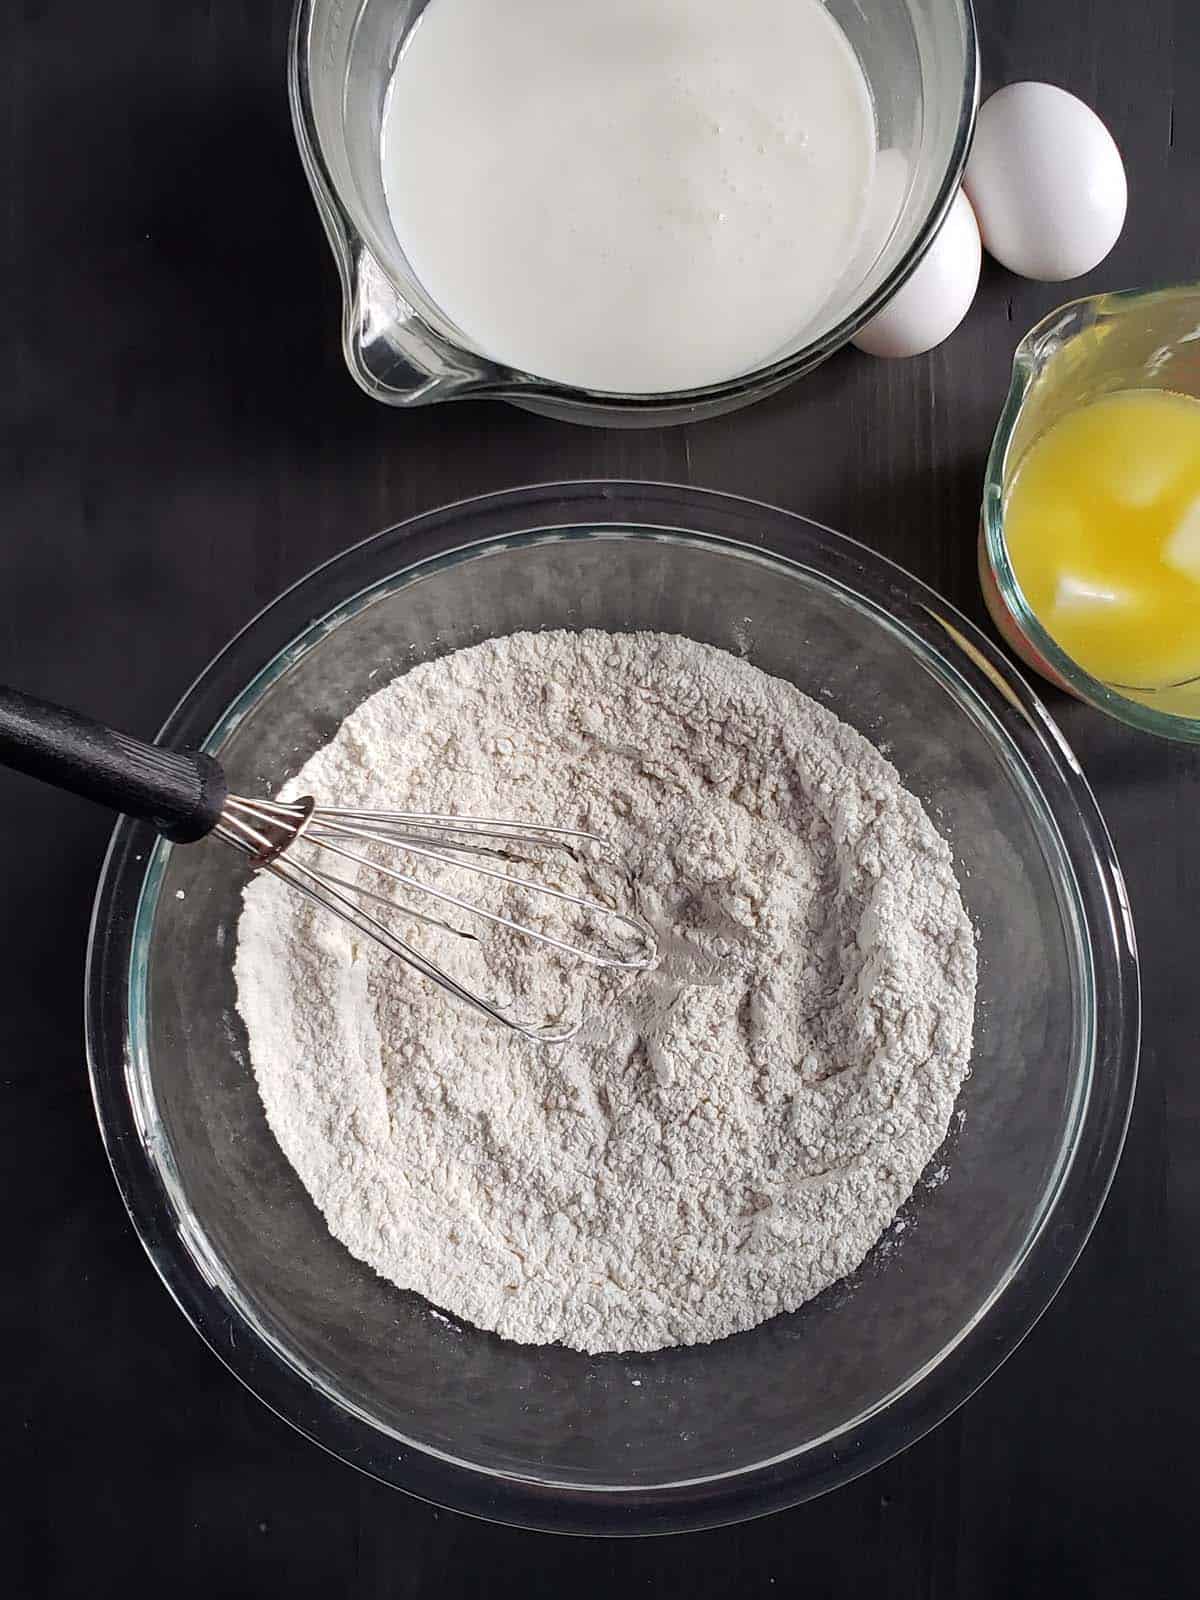
Step 2: In a large bowl, whisk the all purpose flour, cornstarch, baking powder, baking soda, and salt together.
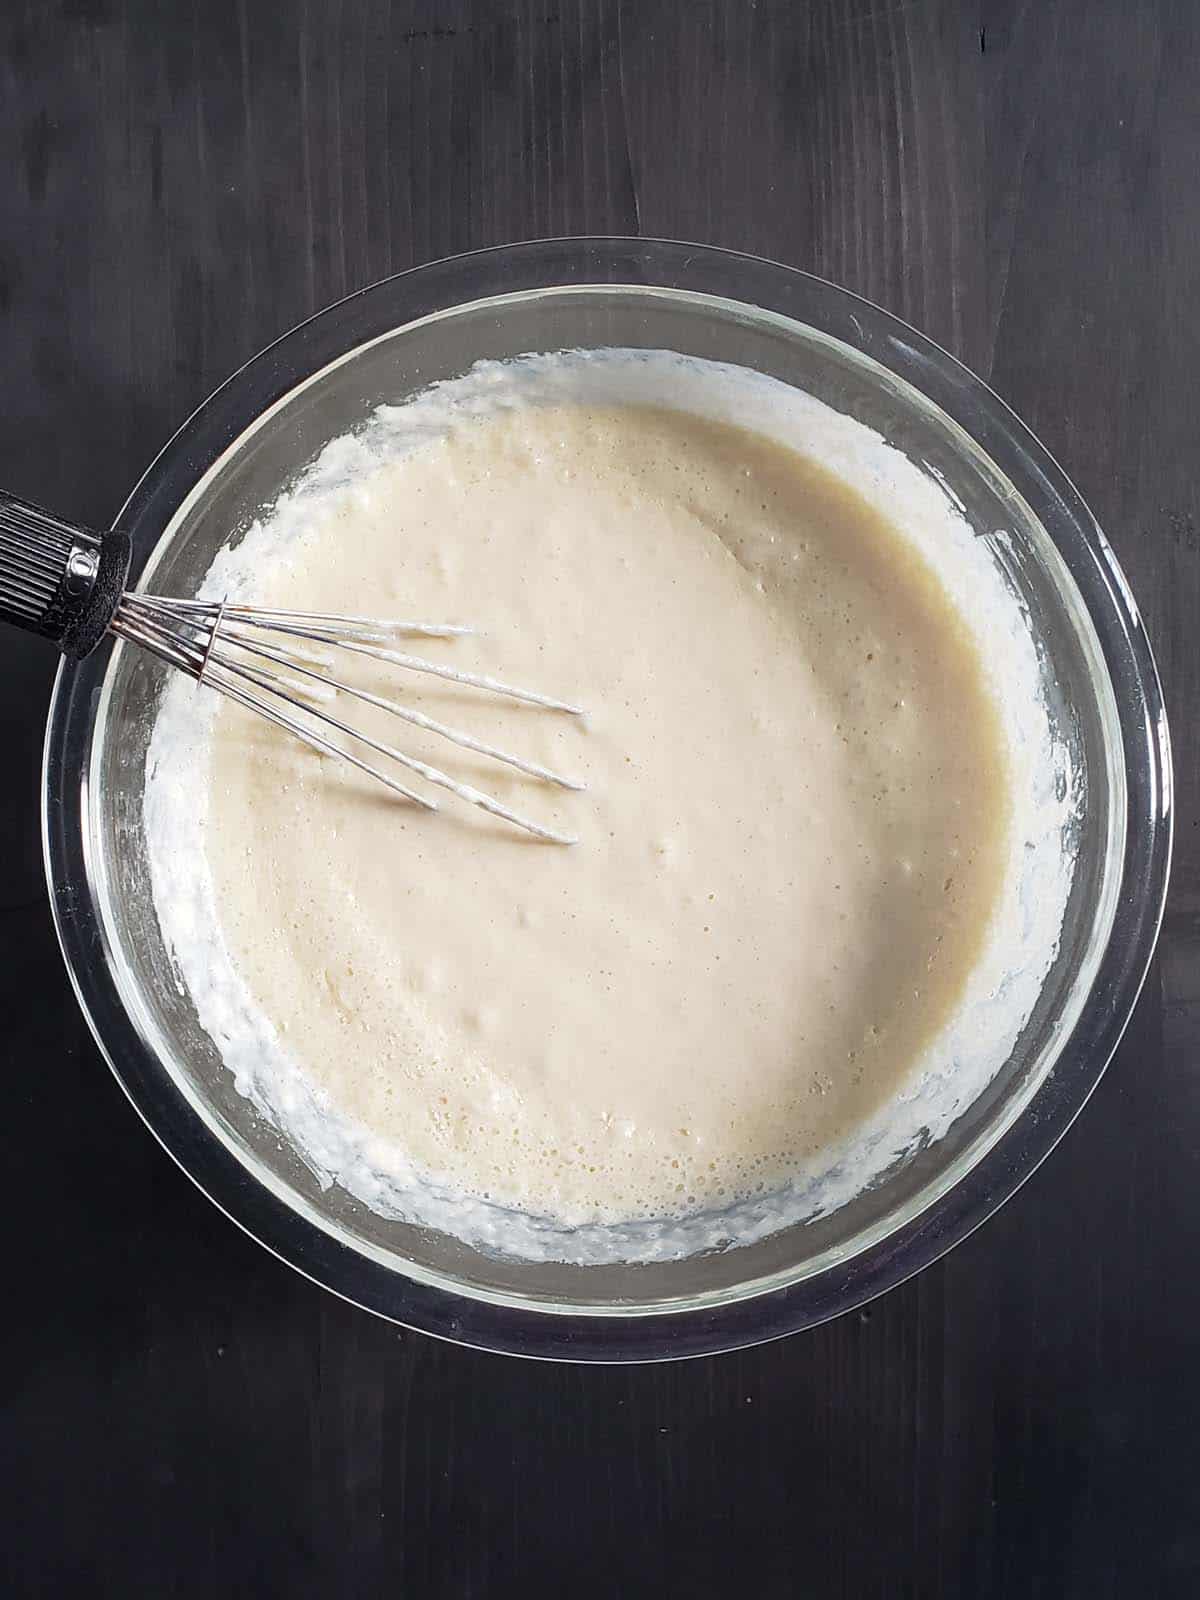
Step 3: Add the buttermilk, milk, melted butter, egg yolks, and vanilla. Stir until just combined.
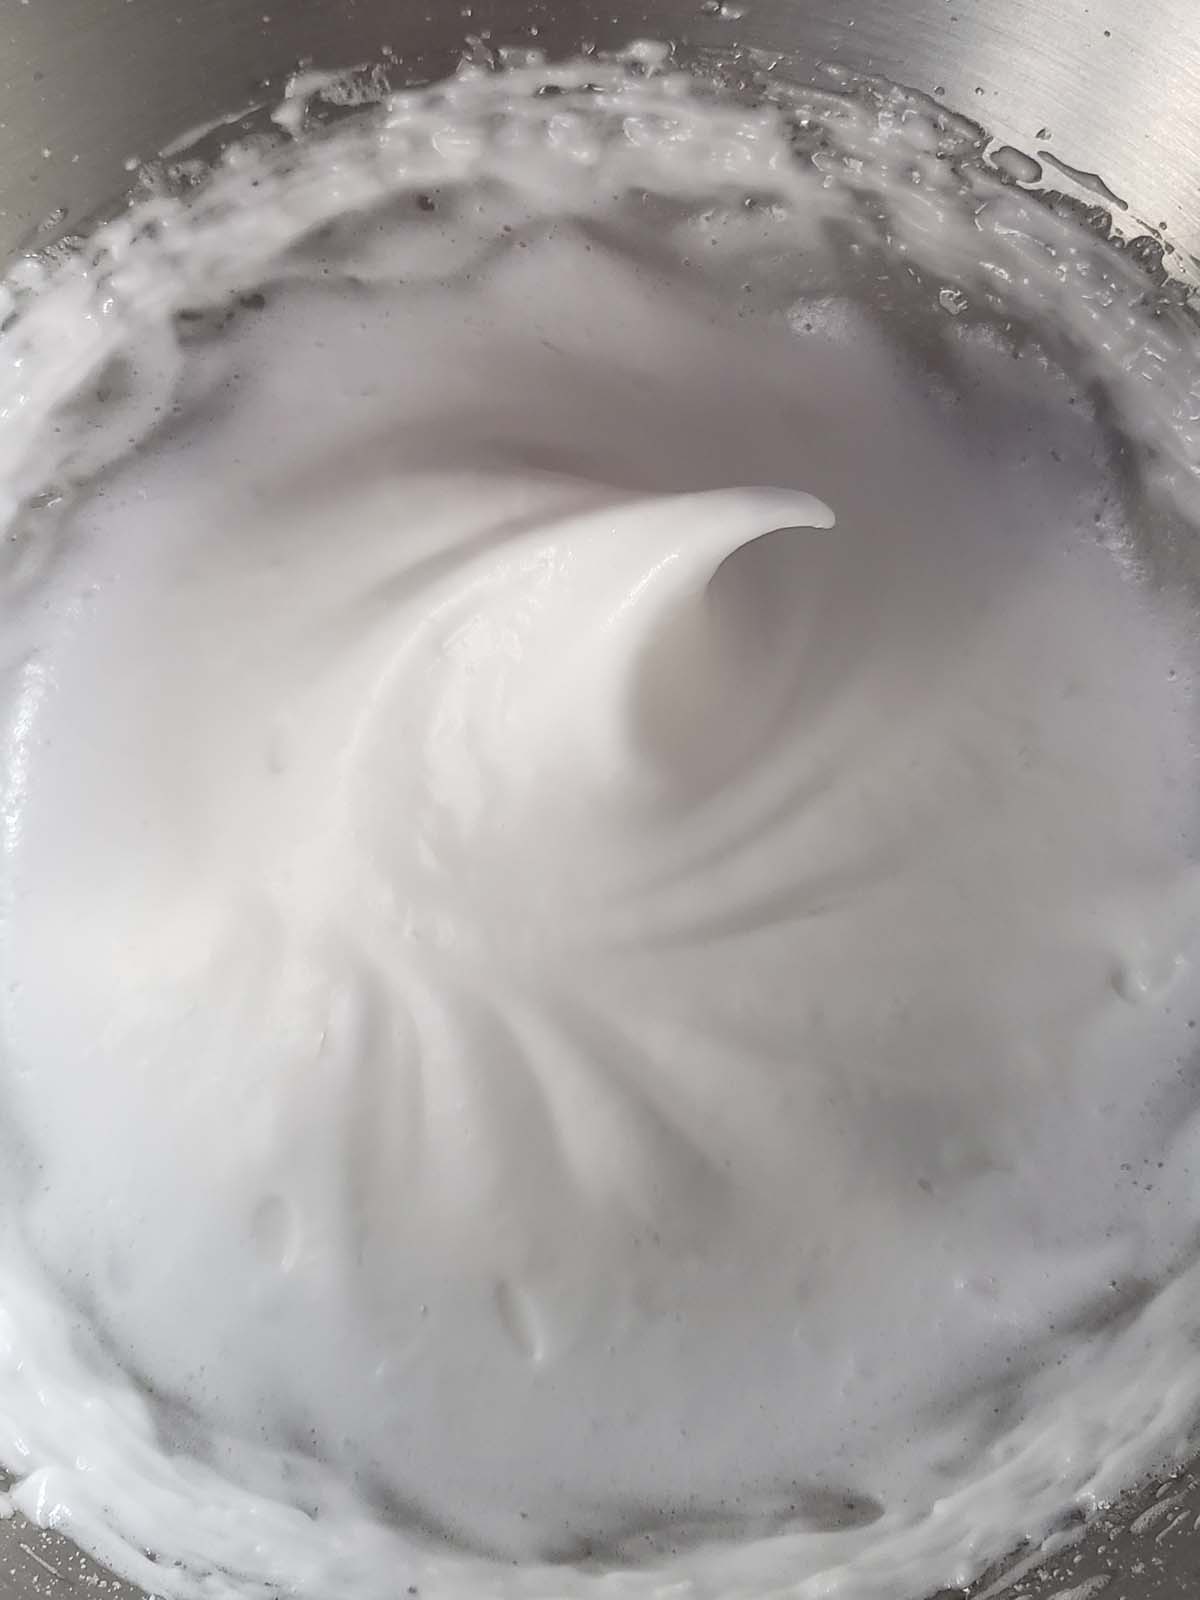
Step 4: In a separate bowl, begin whisking the egg whites. Slowly add the sugar and continue to whisk until the egg whites form soft peaks.
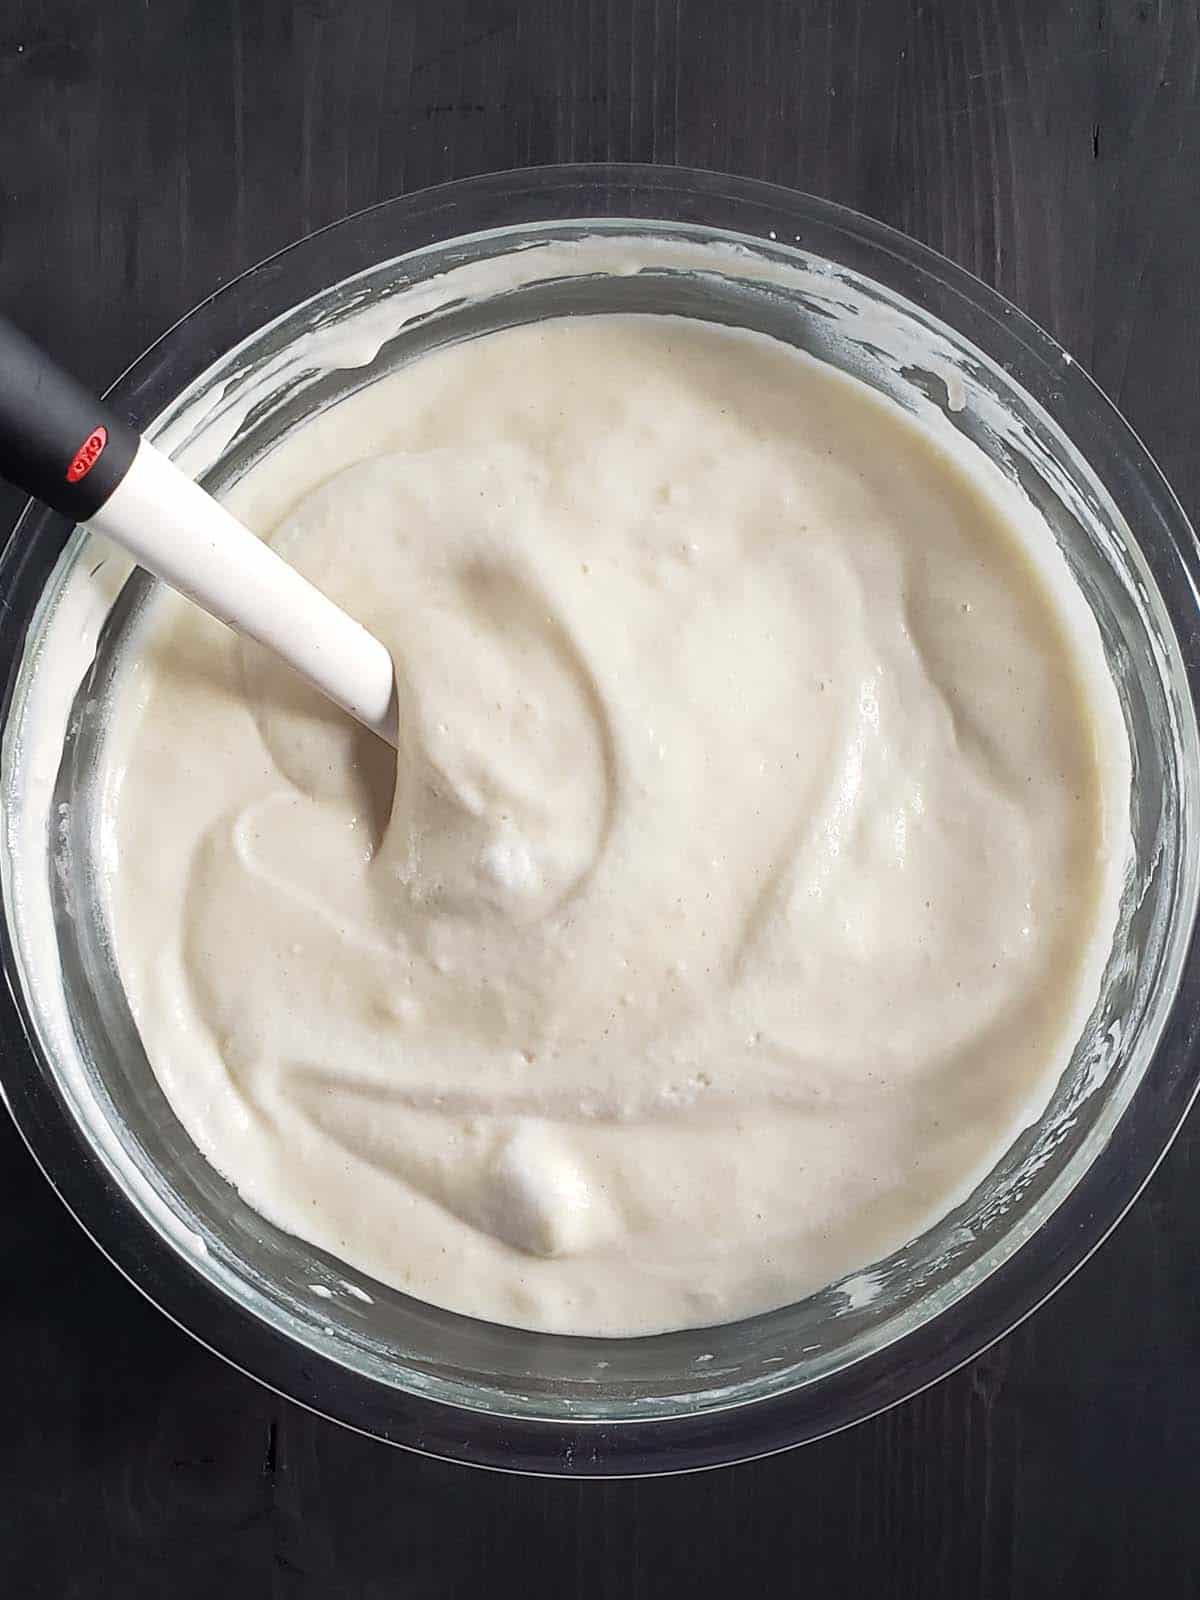
Step 5: Using a rubber spatula, gently fold the beaten egg whites into the waffle batter until just combined.
Let the batter rest while you preheat the waffle maker.
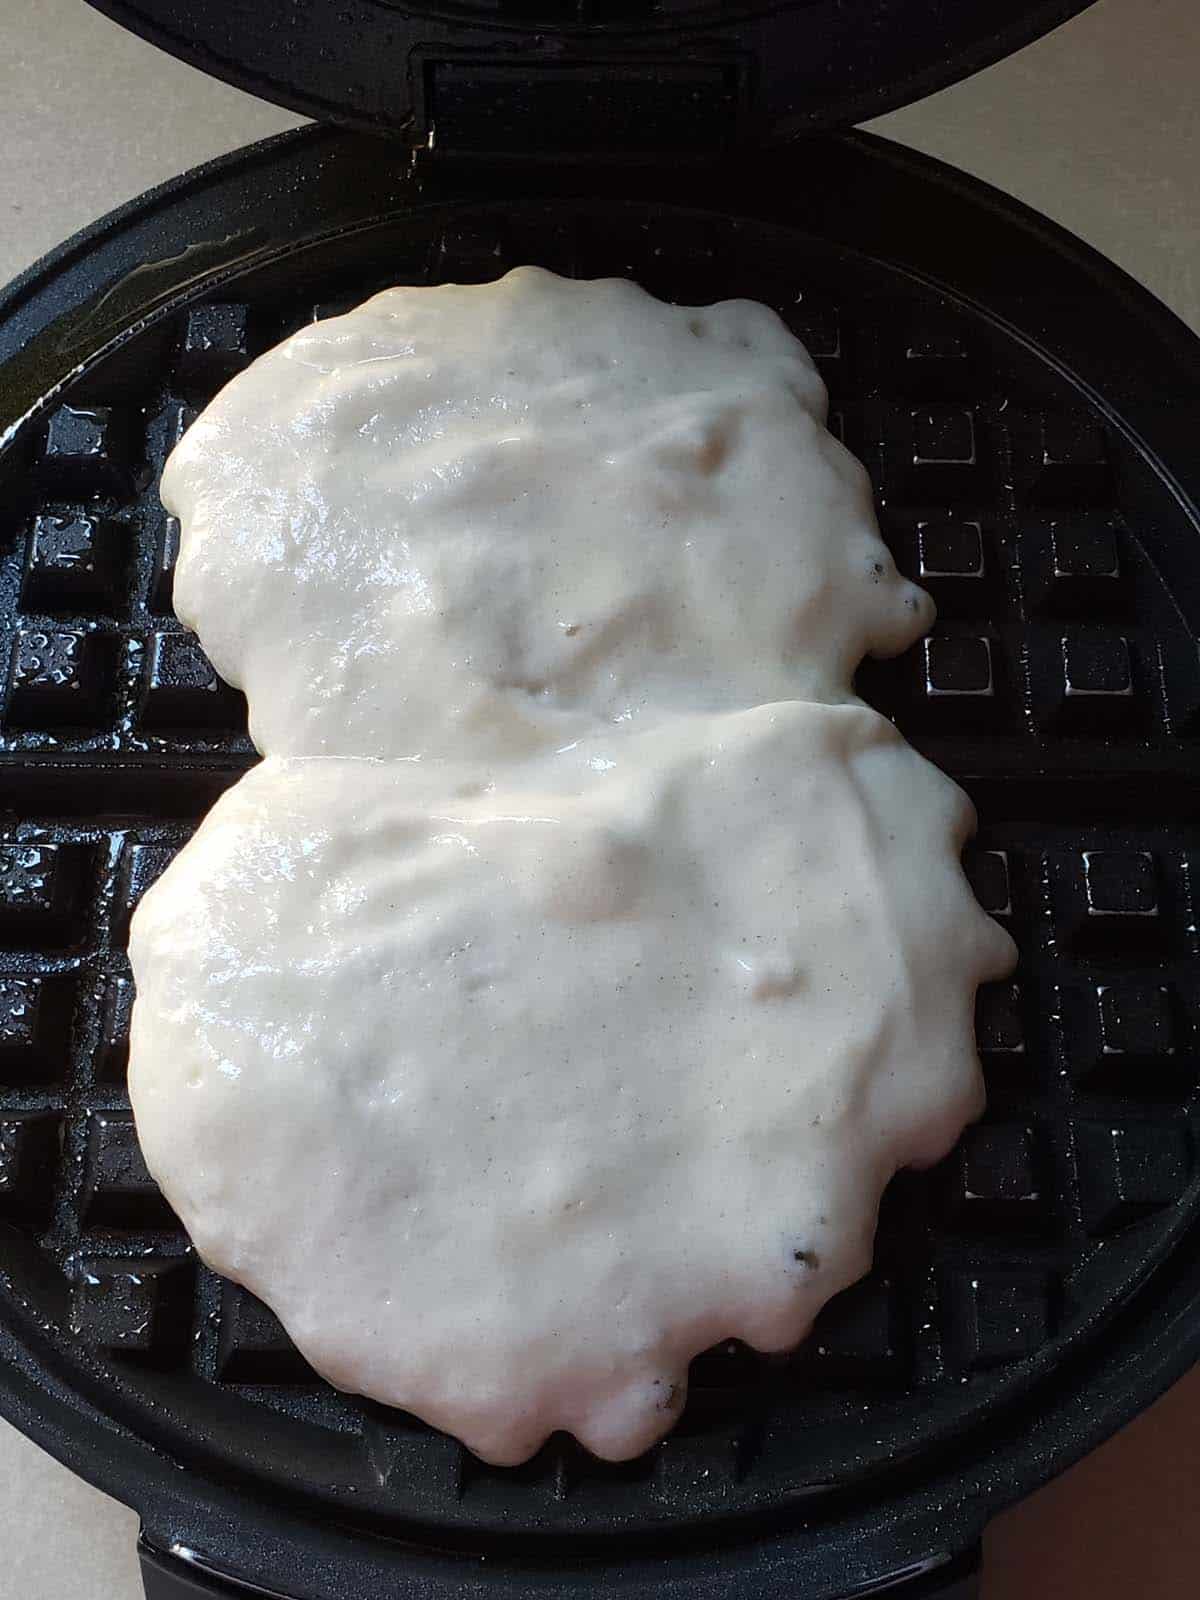
Step 6: Pour the waffle batter onto a hot waffle iron.
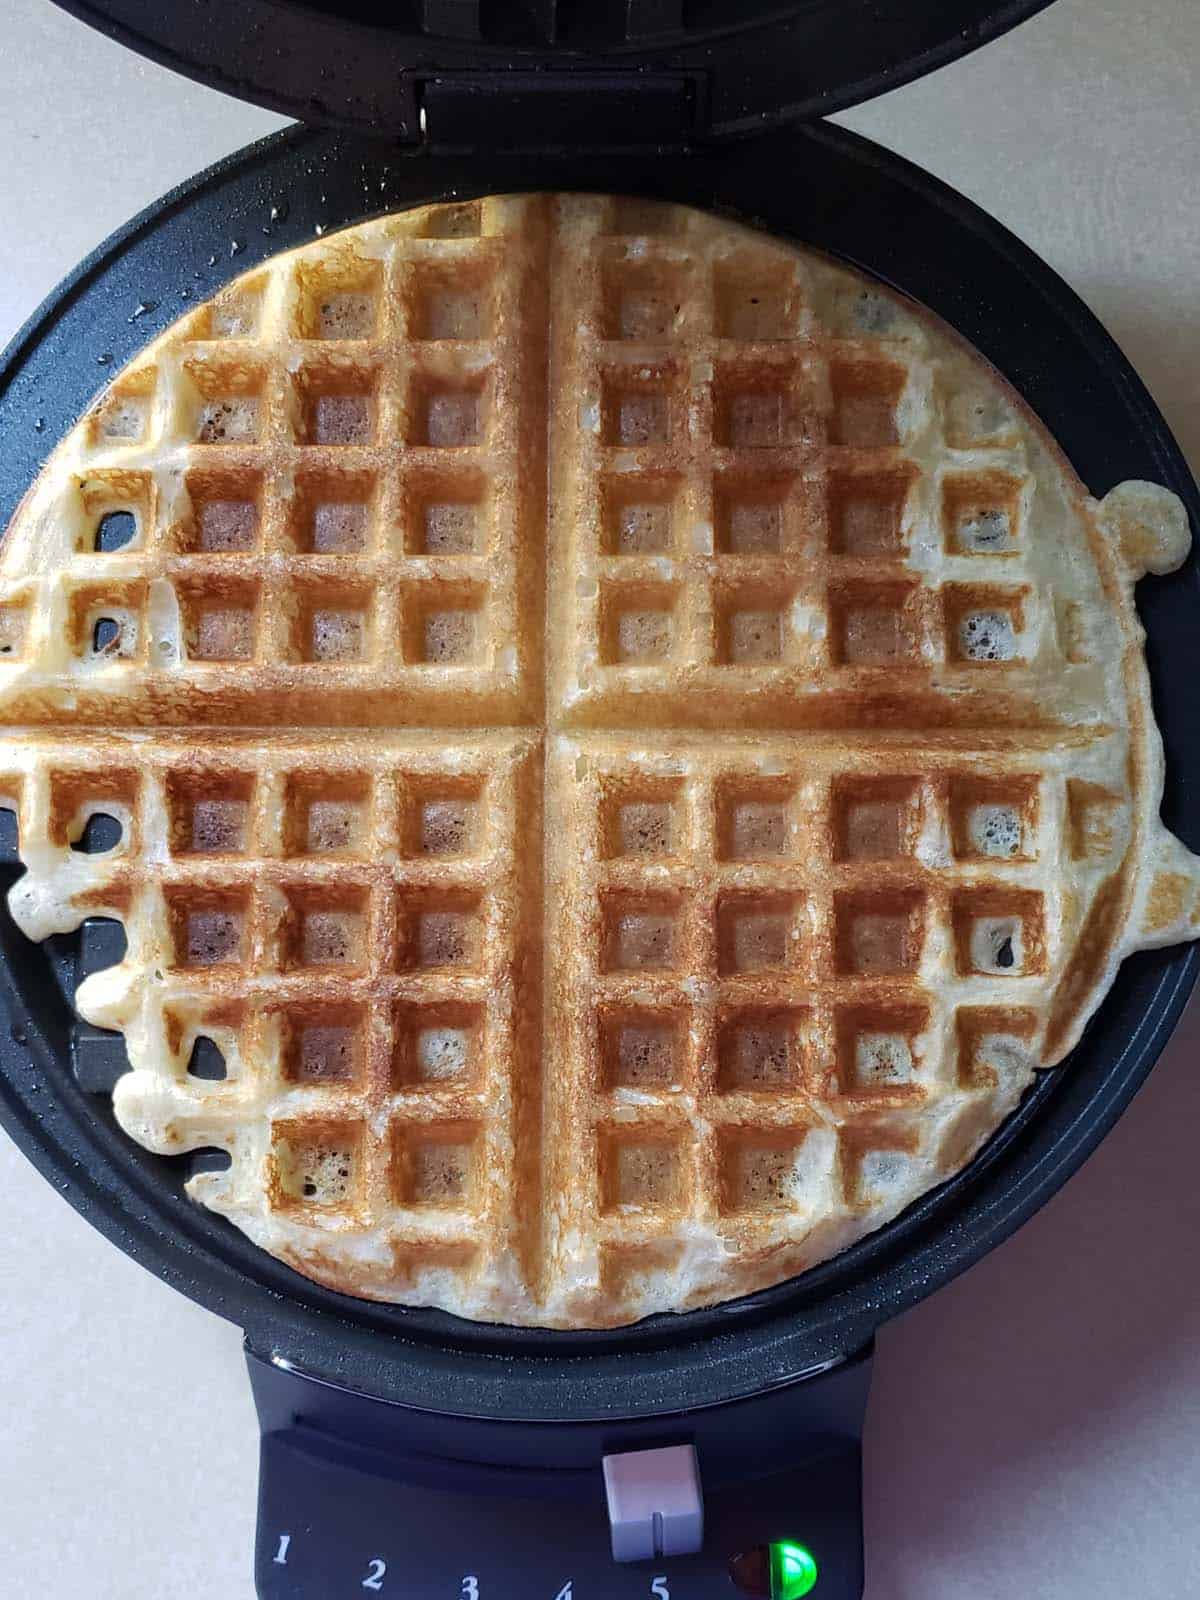
Step 7: Follow the directions on your waffle iron to cook the waffles.
As they finish cooking transfer each waffle directly to the oven rack to keep warm and continue to crisp.
Repeat the process with the remaining batter.
Serving Suggestions
When I want the crispiest waffles I don't add anything extra to the batter for fear of introducing extra moisture and creating soggy waffles. But that doesn't mean I am ok with eating boring plain waffles.
There is an endless variety of toppings you can use to customize your waffles. Here are a few of my favorites.
- Cream Cheese
- Ricotta Cheese
- Fresh or Cooked Fruit
- Jam Try topping them with this small-batch Small Batch Blueberry Jam, this Maple Bacon Onion Jam, or this Roasted Balsamic Strawberry Jam.
- Lemon Curd
- Syrup
- Chocolate Sauce
- Fruit Sauce
- Whipped Cream
- Yogurt
- Nutella
- Peanut Butter
- Toasted Nuts
- Coconut
- Breakfast Cereal
- Granola
- Nuts
- Honey
- Powdered Sugar
Do you have favorite toppings that I am missing out on? Please let me know in the comments below.
Storage and Freezing Instructions
Leftover waffles can be stored in the refrigerator for up to five days. Reheat the waffles in the toaster or microwave.
To Freeze: Once they have cooled completely, lay the waffles in a single layer on a parchment or wax paper-lined baking sheet. Place the baking sheet in the freezer. Once the waffles have frozen solid transfer them to a ziptop bag labeled with the contents and date.
Crispy Waffles will keep in the freezer for up to 6 months. They can be reheated directly from the freezer in a microwave or toaster.
Recipe FAQs
When whipping egg whites start with room temperature eggs and begin whipping at low speed slowly increasing to high speed.
The friction from the whipping will gently warm the egg whites, allowing their proteins to become more elastic so that they take on more air easily and gain more volume. Adding sugar to your egg whites allows the sugar to interact with the egg white proteins and helps stabilize the whipped egg white foam.
Add the sugar in a slow stream at the side of the bowl while whipping the egg whites to avoid deflating the egg whites. Whip the egg whites on high until they reach the soft peak stage.
The soft peak stage is reached when the peaks of the egg whites curl slightly when the beaters are lifted.
First, we want to lighten the batter. Using a rubber spatula, gently mix ⅓ of the egg whites into the batter. This helps to lighten the batter making it easier to work in the remaining egg whites without deflating them.
Add half of the remaining egg whites to the batter. With the blade of your spatula, slice straight down through the middle of the egg whites until you hit the bottom of the bowl.
Scrape your spatula along the curve of the bowl, gently scooping up the batter and the egg whites. Fold them over on top of the remaining egg whites.
Give the bowl a quarter-turn and repeat the process. Slice straight down through the middle of the egg whites until you hit the bottom of the bowl. Scrape your spatula along the curve of the bowl, gently scooping up the batter and the egg whites. Fold them over on top of the remaining egg whites.
Repeat this folding motion until the egg whites have been completely incorporated into the batter. The mixture may still be a bit lumpy and that's ok. If you continue folding until the batter is 100% smooth the egg whites will start to deflate.
Add the remaining egg whites and repeat the folding process.
I wouldn't recommend it. The freezing and thawing process would deflate the whipped egg whites. It would be better to cook the extra batter and freeze the finished waffles.
My waffle maker has an indicator light that turns green when the waffles are supposedly done. But I don't think it is very accurate. The best way to tell when your waffles are ready is to wait until the steam has almost completely stopped rising out of the waffle maker before lifting the lid.
Waffles cook quickly and should be done in a couple minutes.
My biggest issue with waffles is that unless you have multiple waffle irons, you can only cook one waffle at a time. When making waffles for multiple people this just doesn't work. Here's how to keep waffles warm so that everyone can eat together.
1. Set your oven to the lowest temperature possible.
2. Place your cooked waffles directly on the oven rack to keep them warm and crispy while you cook the rest of the waffles.
Expert Tips
- For a nuttier flavor substitute whole wheat flour for one cup of the all-purpose flour.
- Warm the buttermilk before combining it with the melted butter. If you don't the butter will coagulate and you will be left with small bits of butter that won't mix with the rest of the ingredients.
- Waffle batter is similar to biscuit and pie dough. The less you handle it the more tender the end result will be. Do not beat your waffle batter. Stir until all of the ingredients are just combined. A few lumps are fine.
- If you don't have buttermilk, stir one tablespoon of white vinegar or lemon juice into 1 cup of milk. Let the mixture sit for 5 minutes to "sour."
- Figure out how much batter your waffle iron will hold so that your waffles are not always overflowing. I own a standard American-style waffle iron that holds a ½ cup of batter. A larger Belgian-style waffle iron will require more batter.
- Use wooden or rubber utensils, not metal, to remove the waffles. This will help prevent scratches and preserve the nonstick surface of the waffle iron. I like these nylon-tipped spring-loaded tongs.
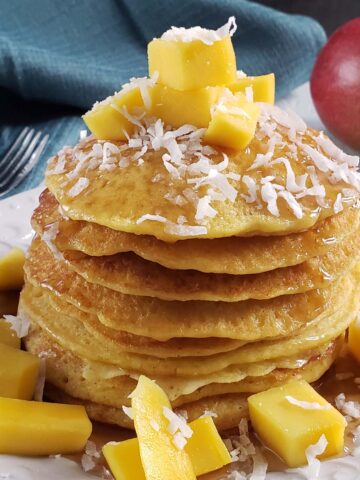
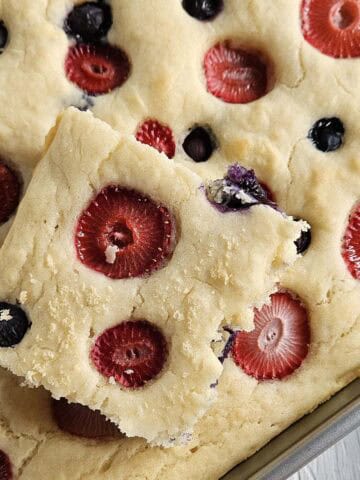
More Breakfast Recipes
Thanks for Reading!
If you try this recipe, let me know! Leave a comment and rate it below! You can also snap a picture and post it on Facebook or Instagram be sure to tag me @RaspberriesandKohlrabi.
Subscribe to get more recipes and tips by email.
📖 Recipe
Crispy Waffle Recipe with Buttermilk
Equipment
- 2 large bowls
Ingredients
- 1 ¾ cups all-purpose flour
- ¼ cup cornstarch
- 1 teaspoon baking powder
- ½ teaspoon baking soda
- ½ teaspoon kosher salt
- 1 cup buttermilk room temperature
- 1 cup milk room temperature
- ½ cup unsalted butter melted
- 2 egg yolks
- 1 teaspoon vanilla extract
- 2 egg whites
- 2 tablespoons granulated sugar
Instructions
- Preheat the oven to its lowest temperature and also preheat the waffle iron.
- In a large bowl, whisk the 1 ¾ cups all-purpose flour, ¼ cup cornstarch, 1 teaspoon baking powder, ½ teaspoon baking soda, and ½ teaspoon kosher salt together. Add the 1 cup buttermilk, 1 cup milk, ½ cup unsalted butter, 2 egg yolks, and 1 teaspoon vanilla extract. Stir until just combined.
- In a separate bowl, begin whisking the 2 egg whites. Slowly add the 2 tablespoons granulated sugar and continue to whisk until the egg whites form soft peaks. Using a rubber spatula, gently fold the beaten egg whites into the waffle batter until just combined.
- Follow the directions on your waffle iron to cook the waffles. As they finish cooking transfer each waffle directly to the oven rack to keep warm and continue to crisp. Repeat the process with the remaining batter.
- Top with the toppings of your choice and enjoy.


Comments
No Comments